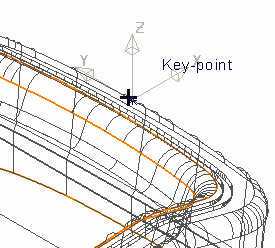
This example shows you how to create a workplane.
- Click Workplane tab > Create panel > At Point. This displays the Create Workplane tab.
When you move your cursor in the graphics window, the workplane is attached.

- Do one of the following:
- Click in the graphics area to create a new workplane.
- Enter coordinates using
 ,
,  , or
, or  and
and  in the Status bar.
 - Or click on any geometry to locate the workplane at a specific location.

When you select the location for your workplane the Create Workplane tab closes.
Note: The workplane is created when you select the workplane location, but it is not the active workplane. It can be activated from the Explorer.
For more information, see editing a workplane interactively.