Use the Point projection finishing page to project a spherical pattern onto the model. The centre of this sphere is the focus of the pattern, which is then machined.
Style — Select a style to define the shape of the pattern.
-
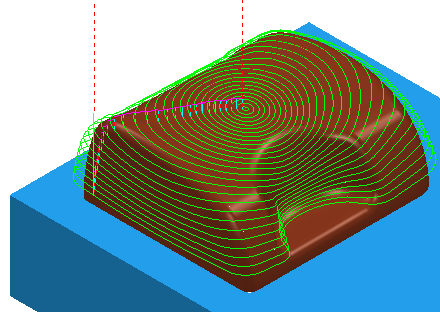
Circular — Projects a circular pattern onto the surface. The centre of the sphere is the focus of the pattern. The range of the pattern machined is defined in terms of azimuth and elevation limits on the
Pattern
page.
-
Spiral — Projects a spiral pattern onto the surface from Elevation Start to Elevation Finish with a Pitch of Elevation Stepover.
When machining using the spiral pattern, the Azimuth angle limits are no longer functional. Instead, a Direction of Clockwise/Anti Clockwise becomes active.

Location — Enter the coordinates of the centre of the sphere.
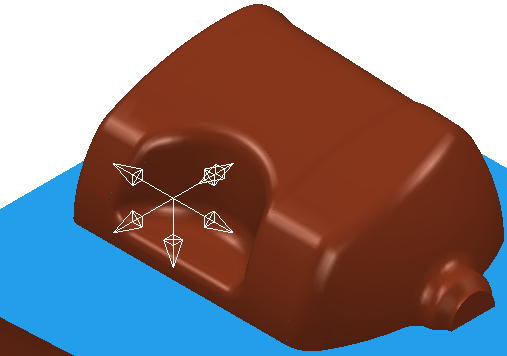
 — Click to display the
Position dialog. Use the dialog to manually enter coordinates and locate items in the graphics window.
Direction — Select the direction to determine which regions are machined.
Tolerance — Enter a value to determine how accurately the toolpath follows the contours of the model.
Thickness — Enter the amount of material to be left on the part. Click the
Thickness
 button to separate the
Thickness
box in to
Radial thickness
 Axial thickness
 . Use these to specify separate
Radial and
Axial thickness as independent values. Separate
Radial and
Axial thickness values are useful for orthogonal parts. You can use independent thickness on sloping walled parts, although it is more difficult to predict the results.
 Radial thickness — Enter the radial offset to the tool. When 2.5-axis or 3-axis machining, a positive value leaves material on vertical walls.

 Axial thickness — Enter the offset to the tool, in the tool axis direction only. When 2.5-axis or 3-axis machining, a positive value leaves material on horizontal faces.

 Component thickness — Click to display the
Component thickness
dialog, which enables you to specify the thicknesses of the different surfaces.
Angular stepover — Enter the angle between consecutive passes.
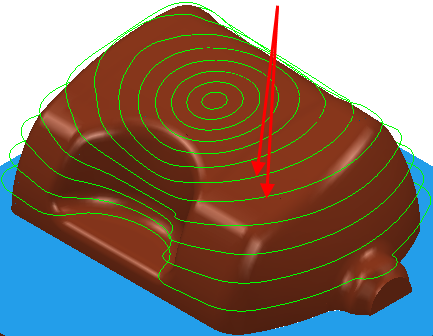
Preview — Click to produce a quick preview toolpath over the projection shape.
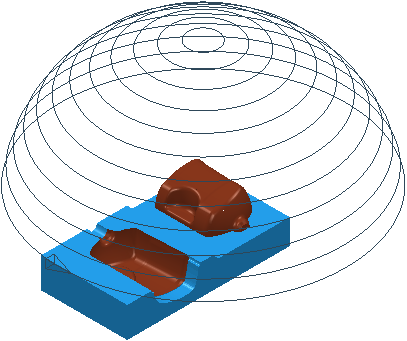
Draw — Select to display the preview pattern.