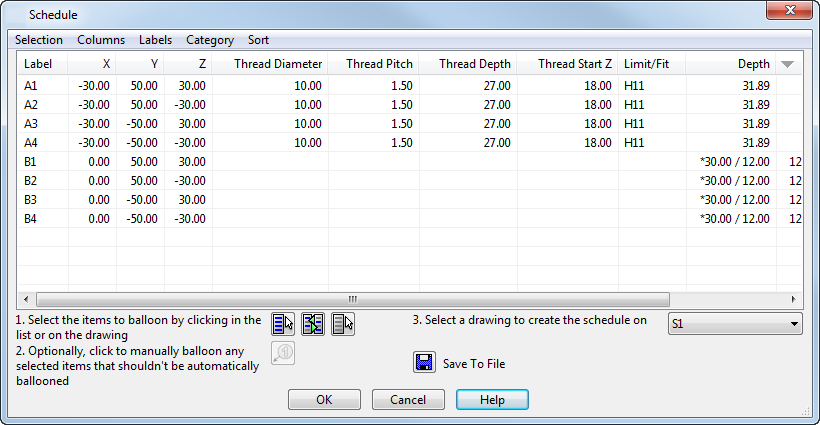
Use this dialog to specify the data that you want to be displayed on the schedule for holes.
To use the dialog:
- Use the menu options on the dialog to specify the data that is displayed.
A check
 icon indicates that the option is selected and the data will be displayed in the schedule.
- Selection menu — Controls the display of the data in the table.
- Columns menu — Enables you to specify the columns of data that are displayed. Select an option to display it, or deselect to hide it.
- Labels menu — Displays all the options for controlling labels and balloons. They work in the same way as labelling in Bill of Materials.
- Category menu — Select the category of item you want to include in your schedule.
-
Sort menu — Select a sorting method.
The default sort option is No origin sort. You can also sort the schedule using the Diameter column. Click on the arrow alongside Diameter to reverse the sorting order.
- Modify the layout of the columns as required:
- Click in the column header using the right mouse button.
- Select the option you require from the column header context menu, from the following:
Move left — Move the selected column to the left.
Move right — Move the selected column to the right.
Increase decimal places — Increase the decimal places in the column data. This option is active only if the column contains numerical data.
Decrease decimal places — Decrease the decimal places in the column data. This option is active only if the column contains numerical data.
- If required, apply balloons and labels to components in drawings that are selected for the schedule.
- Create the schedule on the drawing, or save it to a file. Use
 to toggle between displaying the data as an embedded Microsoft Excel spreadsheet or saving the data in. xlsx or
.csv format.
to toggle between displaying the data as an embedded Microsoft Excel spreadsheet or saving the data in. xlsx or
.csv format.
- Click OK to create the schedule and close the dialog.