You can create a balloon with a dog-legged pointer:

If you have a complex model with many curves and lines displayed, you may find it difficult to find a direct path from the object you want to point to and the label text. In this case, you may find it easier to re-direct the line of the balloon by using a dog-legged balloon.
To create a balloon with a dog-legged pointer:
- Click Annotation tab > Balloon panel, and choose any balloon creation option.
- Click the position where you want the pointer of the balloon to touch.Note: To cancel creating a balloon at any time, right-click in the graphics window. You go back to balloon creation mode, where you can select the type of balloon to create.
- Hold down the Ctrl key and click the positions to dog-leg the pointer.
A rubber-banded line is attached from the last position entered to the mouse cursor.
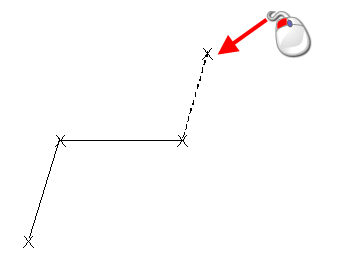
In the example, a position is entered, as shown below:

You can continue adding as many positions as you want in the dog-legged pointer.
In the example, a position is added, as shown below:

- Release the Ctrl key and enter the last position, to specify the location of the balloon:
The balloon is added to the drawing. (You may have to complete the Balloon Confirmation dialog before the balloon is added.)