When creating a hollow solid (often called a 'shell' solid because the thin wall is like a shell), faces of a solid are removed and copies of the other faces are thickened to create a solid wall.
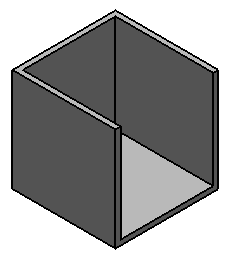
To create a hollow solid:
- Click Solid tab > Feature panel > Hollow to display the
Hollow Solid dialog:
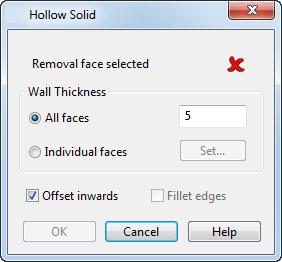
- Use the dialog to remove a face of a solid and offset it to create a hollow solid.
- Move the cursor over a solid.
Valid faces are highlighted:
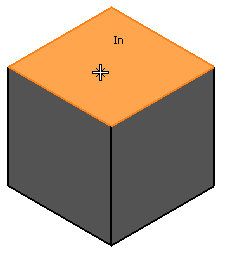
- Click the face of the solid you want to remove to highlight it.
You can select multiple removal faces. Use Ctrl or Shift+Click to add and remove faces from the selection.
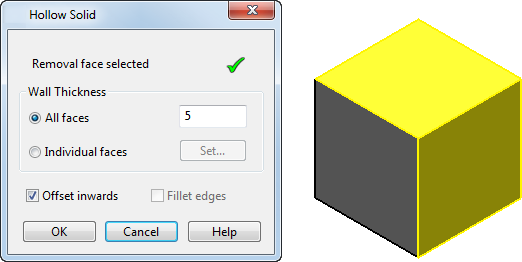
- Select a
Wall Thickness option to set the thickness of the faces in the hollow solid:
-
All faces — All the faces in the solid offset uniformly using the specified value.
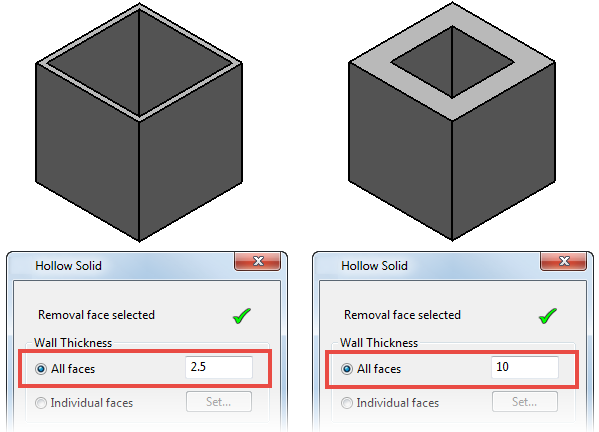
-
Individual faces — Specify a different wall thickness value for each face, using the
Individual Wall Thickness
dialog.
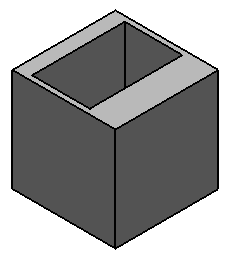
-
All faces — All the faces in the solid offset uniformly using the specified value.
- Select the
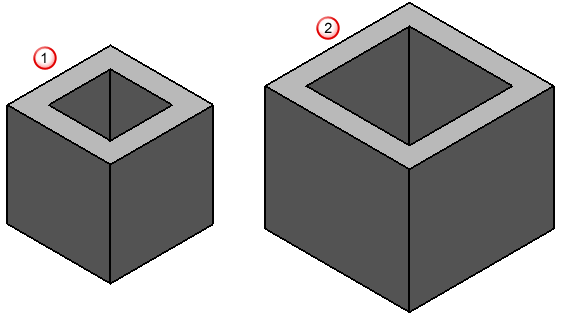
Offset Inwards option to offset faces inwards
 , or deselect this option to offset faces outwards
 :
:
- Select the
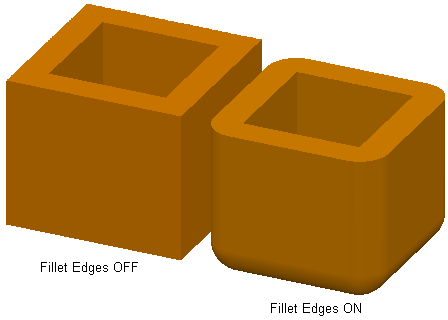
Fillet Edges
option to round the corners. If faces are offset outwards, each face has the same offset value:
- Click
OK to create the hollow solid and close the dialog.
A Hollow feature icon
 representing the operation is displayed in the solid feature tree.