Use this page to select the split surface on the die insert for the core and cavity plates.
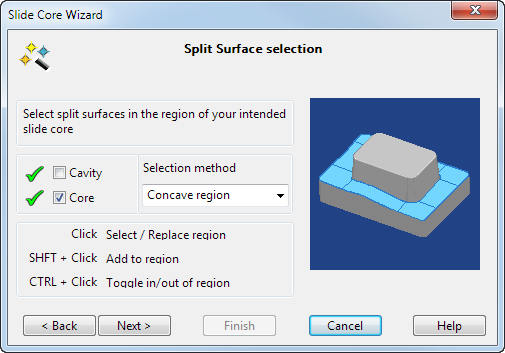
- Select
Core. The die insert for that plate is displayed on the screen and the other one is temporarily removed from the screen.
- Select the split surfaces on the core plate.
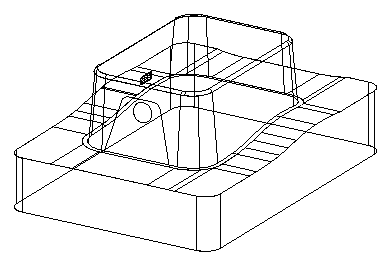
As you move the cursor over the die insert, regions are highlighted
 . These are the regions where you can select the split surface.
- If you click a highlighted region, it is selected and changes colour. Any regions already selected are removed from the selection.
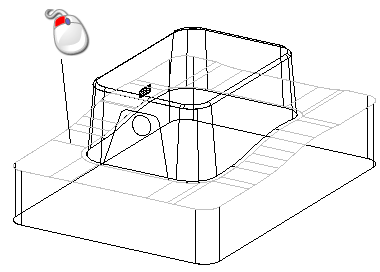
- It is easier to see selected regions in shaded mode.
- You can add and remove regions from the current selection using the Shift and Control keys as shown on the wizard.
- You can use box selection to select regions. Only whole faces within the box are selected, which makes it easier to select groups of faces. You can also use box selection with the Shift and Control keys to add and remove regions.
The four Selection method options determine what type of region is highlighted:
-
Concave region — Highlights concave regions on the die insert.

-
Convex region — Highlight convex regions on the die insert.

- Continuous region — This selects a region of surfaces that are tangent continuous.
- Single Face — Highlights only single faces.
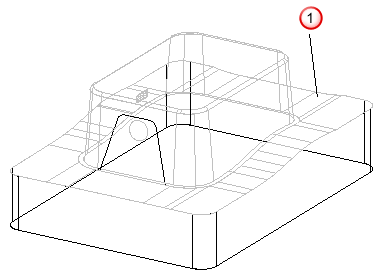
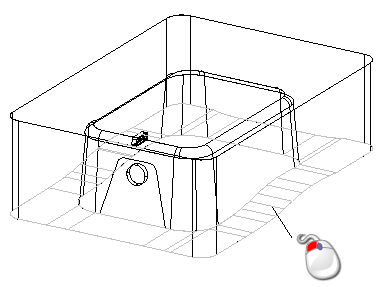
- Select the following face using the
Single face option.
- Select the
Cavity and select the split surfaces on that die insert. You can now pick part of the split surfaces, rather than selecting all the split surfaces.
- Click Next to go to the Undercut region selection page.