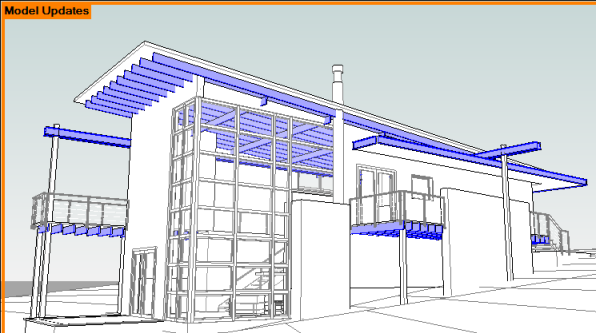
Use worksharing display modes to visually distinguish workshared project elements.
You can use worksharing display modes to display:
- Checkout Status. The ownership status of elements.
- Owners. The specific owners of elements.
- Model Updates. Elements that are out of sync with, or have been deleted from, the central model.
- Worksets. Which elements are assigned to particular worksets.
In the example shown here, the view displays model elements that need to be synchronized with the central model. Views with the worksharing display mode enabled display a colored border and the name of the applied display mode (Model Updates) as shown here. You can turn off or change the display mode at any time.

When you enable worksharing display modes, the following occurs to display styles:
- wireframe remains as wireframe
- hidden line remains as hidden line
- all other display styles switch to hidden line
- shadows are turned off
When you turn off worksharing display modes, the original display style settings are automatically reset.
Worksharing display modes work with ghost surfaces as well as edit modes. Note that in edit modes, elements such as sketch lines may display according to the color enabled in the worksharing display mode. You can turn the worksharing display mode on or off as needed to avoid confusion with edit modes.
Worksharing display modes can be used with Temporary Hide/Isolate. If you are in both modes, the color of elements is determined by the worksharing display colors and the visibility of the elements is affected by Temporary Hide/Isolate.
Printing with Worksharing Display
You can print drawings with the worksharing display mode turned on or off. When you print a drawing and any worksharing display modes are on, the Print with Worksharing Display dialog lists the views in which these modes are enabled. Specify whether to print the display mode color.