Before displaying flanges automatically, you must specify the default flange type in the Routing Preferences dialog.
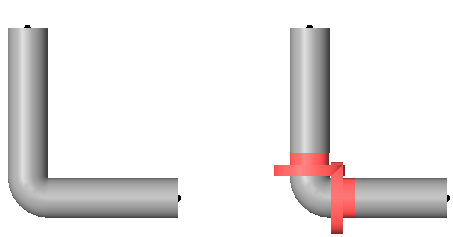
The illustration on the left displays a pipe connection without flanges displayed. The illustration on the right displays highlighted flanges between the pipe ends and the elbow.
- In the Project Browser, open the view where you want to place the flange.
- In the Project Browser, expand Families
 PipesPipe Types.
- Right-click a pipe type, and click Type Properties.
- In the Type Properties dialog, under Segments and Fittings, for Routing Preferences, click Edit.
- In the Routing Preferences dialog, specify the default flange fitting type used with the selected pipe type.
For details, see Specify Routing Preferences for Pipe.
- Click OK twice.
- Draw one or more pipes and add fittings.
Flanges are automatically added between pipe ends and fittings.