Use common sketch tools to sketch a path populated by a system of rebar.
- Click Structure tab
 Reinforcement panel
 (Path). Note: The tool is also available on the selection Contextual Tab for elements that are valid reinforcement hosts.
 - Sketch the path for reinforcement on a concrete host, making sure not to form a closed loop.
- Press ESC.
- If necessary click
 on the Options Bar and click the Flip Control
  , so the rebar extends to the opposite side of the path.
 - Click Modify | Create Reinforcement Path tabMode panel
 (Finish Edit Mode).
 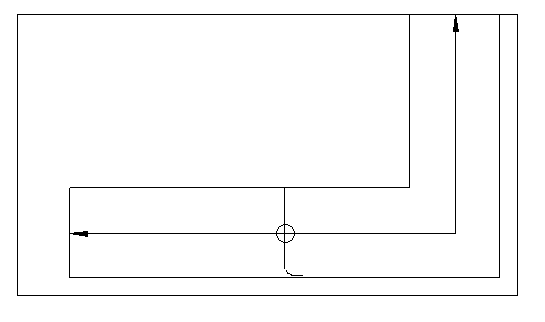 Note: The boundary of the path reinforcement is on by default. Turn it off by clicking View tabGraphics panel
  (Visibility/Graphics) and clearing the Boundary Visibility parameter under Structural Path Reinforcement.
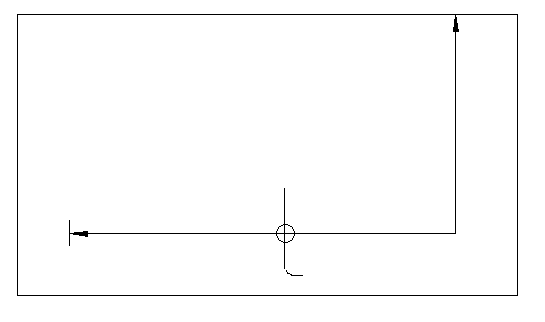
Revit places a Path Reinforcement symbol and a Path Reinforcement tag on the completed sketch at the center of the longest segment of the path.
Note: When you place path reinforcement, the rebar elements are not visible. If you want to display them you can specify the visibility of rebar elements in the Graphics section of the Path Reinforcement Properties palette. The visibility setting is available only when hosting rebar in path reinforcement.