Use this procedure to select portions of the building to include in the view by assigning levels and divisions. You can choose multiple levels and divisions for a view drawing; for example, to create a view of the entire building. This provides the context for the view drawing.
When you select one or more levels as a view context, all constructs that belong to the selected levels are referenced into the view drawing. The lowest level in the view is inserted at an elevation of 0' - 0''. A spanning element would be referenced at the elevation of the lowest level to which it is assigned.
The levels and divisions you choose for the context serve as a preselection for selecting the constructs. For example, if you choose the first level and the south wing as the view context, all constructs belonging to that level and wing are selected as content in the next step by default. You can exclude constructs if you wish, but preselection saves time and effort.
- Define the general properties of the view drawing.
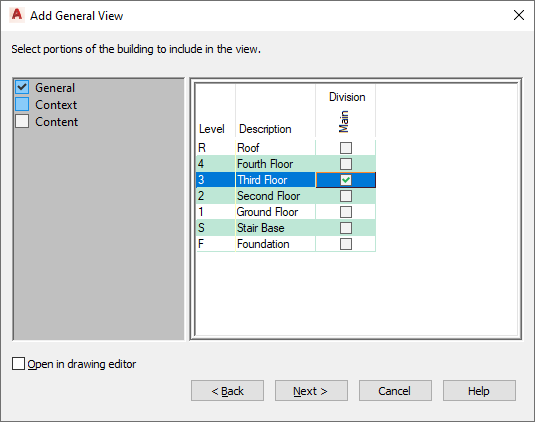
- In the Add <View Type> View dialog box, select the levels and divisions to include in the view drawing.
- When you finish defining levels and divisions, click Next, and proceed to defining the view content.