Change component values on existing components.
You can go back to a component at any time and change it. You can change description, tag, catalog number, location code, terminal numbers, and rating values using the Edit Component tool.
Insert a child contact
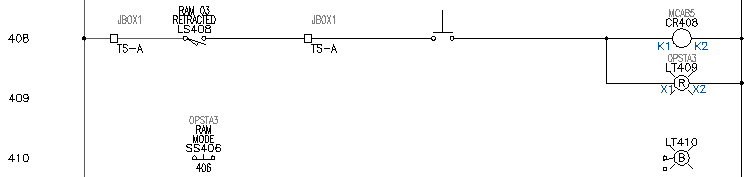
- Zoom in on the blank ladder rung at line reference 410.
- Press F9 to turn on SNAP .
- Click
 . Find
- In the Insert Component: JIC Schematic Symbols dialog box, click Selector Switches.

- In the JIC: Selector Switches dialog box, click 2nd+ NC Contact.

- Respond to the prompts as follows:
Specify insertion point:
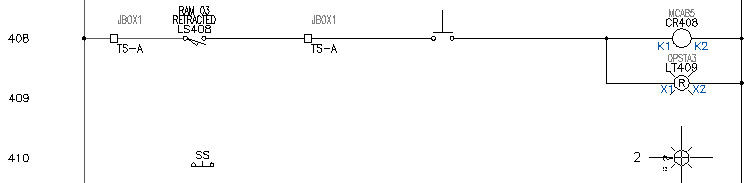
Position the selector switch at line reference 410 near the left side of the ladder and click (1)

- In the Insert/Edit Child Component dialog box, click OK.
Insert a pilot light
- Click
. Find
- In the Insert Component: JIC Schematic Symbols dialog box, click Pilot Lights.

- In the JIC: Pilot Lights dialog box, click Blue Press to Test.

- Respond to the prompts as follows:
Specify insertion point:
Position the pilot light at line reference 410 near the neutral wire but exactly in line with the selector switch and click (2)
- In the Insert/Edit Component dialog box, verify:
Component Tag: LT410
- In the Descriptions section, specify:
Line 1: MAINT
Line 2: MODE
- In the Insert/Edit Component dialog box, click OK.
Edit a child contact
- Press F9 to turn off SNAP .
- Click
. Find
Note: You can also right-click on a component and select Edit Component from the menu.
- Respond to the prompts as follows:
Select component/cable/location box to EDIT:
Select the selector switch on line reference 410
- In the Insert/Edit Child Component dialog box, Component Tag section, click Parent/Sibling.
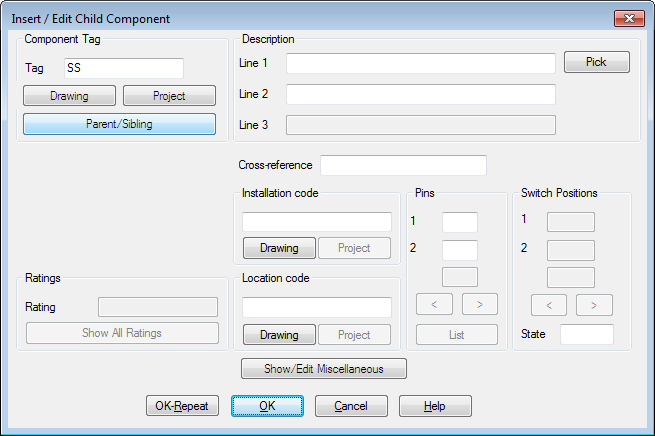
- Respond to the prompts as follows:
Select component:
Select the bottom sibling contact (3) of the existing switch on line reference 408
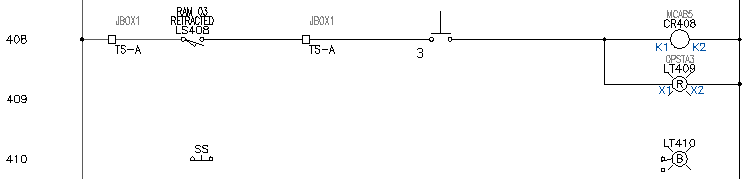
AutoCAD Electrical toolset reads the sibling contact and transfers the appropriate annotation to your new switch contact.
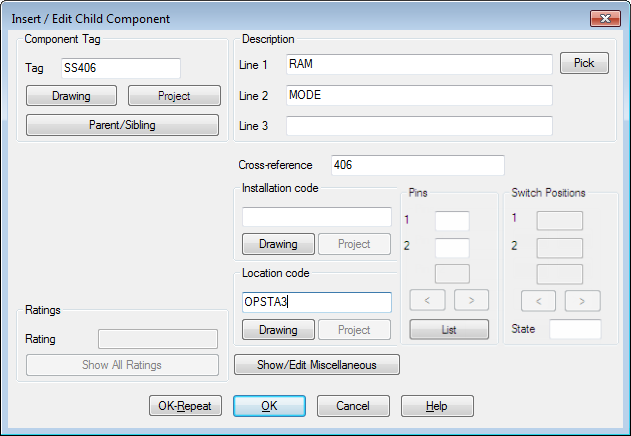
- In the Insert/Edit Child Component dialog box, click OK.
The sibling contact information displays on the drawing.