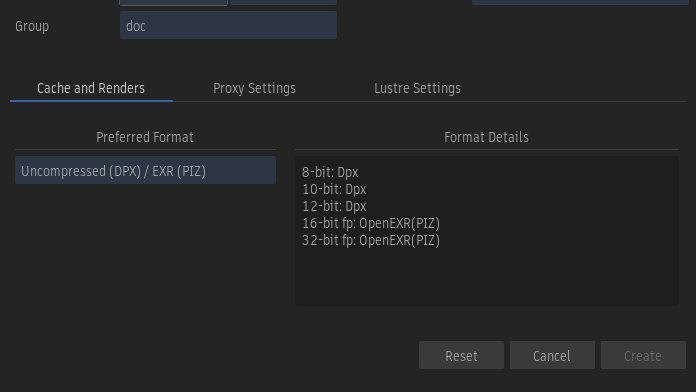
Cache and Renders now shows exactly the formats used for storage, free timings are now displayed, and set a Volume to Shared.
Project Management
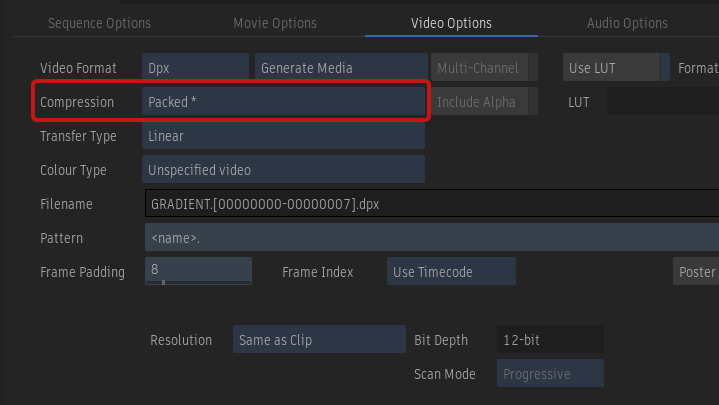
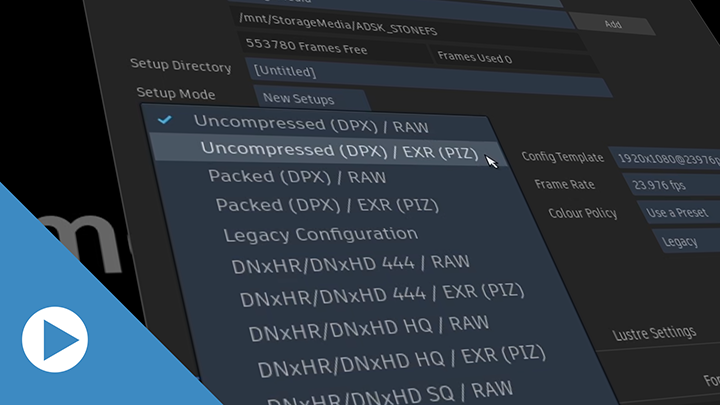
The compression used for Cache & Renders is now displayed for all formats available in .

Cache and Renders now consolidates previous fields in a single Format Details table. It now details exactly what format is used for each bit depth—8 bits, 10 bits, 12 bits, 16-bit floating-point, and 32-bit floating-point.
Sometimes, a format can have a maximum supported resolution, in which case a different format must be used. This now clearly appears in the Format Details field.
In , the Compression menu uses an asterisk (*) to identify the compression used for Cache & Renders: matching compression allows for Linked Media exports.

free Timings in Project
When you create a project, you can now select the free timings that are selected in the Preview tab of the .
Volume Creation
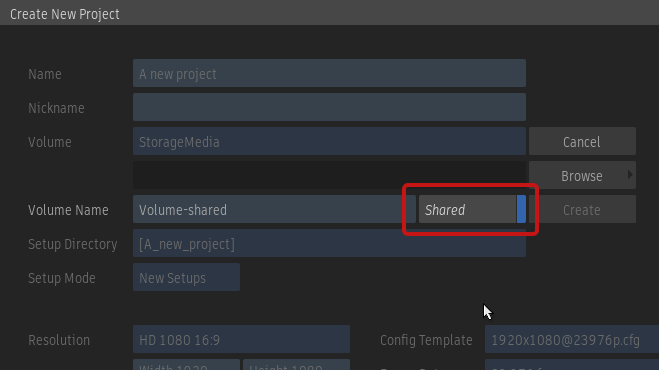
In Project Management, you set a volume to Shared.

You can also use Setup to set the Shared option on an existing volume.
In Setup application:
- Open the Media Storage tab.
- Double-click the Shared cell to switch between True (Shared is enabled) and False (Shared is disabled).
- Click Apply.
Shared allows Flame Family products to read media directly from the storage volume. This improves access performance in scenarios such as accessing media of another Flame using . This option is useful in a SAN or NAS environment.
The device mount point must be identical on all stations that access this partition for this to work properly.
The shared partition must be defined on a single system and its mount point must be unique: no other system can define a partition using the same mount point.
