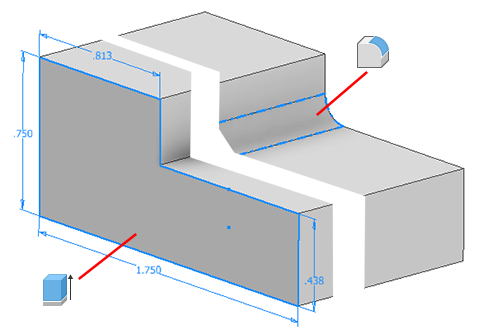
When modeling parts in Autodesk Inventor, you’ll encounter three types of part features: work features, sketched features, and placed features.
Work features are abstract construction geometry used when regular geometry is insufficient for creating and positioning new features.
Sketched and placed features add details to the base feature of the part and are positioned relative to one another using dimensional or geometric constraints. The base feature represents the most basic shape in the part.
Part features can be shared, made adaptive, and incorporated into part bodies and surfaces.
Work Features
Work features consist of planes, axes, and points that can be projected onto a sketch as a reference feature and used to construct new features. A work feature can be incorporated into dimension and constraint schemes, but is not model geometry.
To fix position and shape of part geometry, constrain sketched and placed features to work features.
Because work features are used to position geometry not accessible from a model plane, you often want to use them in a sketch. Work features cannot be created or edited in a 2D sketch, but you can use the Project command to project them into the sketch.
Projected work geometry remains associative to the work feature it is projected from. If you do not want to preserve associativity and want to modify the projected geometry (such as trim or extend), use the Break Link from the context menu. You can delete projected geometry without changing the style.
Sketched Features
A sketched feature is a feature that originates from a 2D sketch. Extruding, sweeping, revolving, or lofting a sketched profile creates volume. The volume created by the sketched feature can be joined with, cut from, or defined where it intersects with the volume of an existing feature.Placed Features
A placed feature consists of a defined mechanical shape that serves a known engineering function in a part or assembly. A placed feature refers to existing extrusion geometry that is used to create new extrusions. Examples are holes, chamfers, fillets, shells, face drafts, and plane cuts.

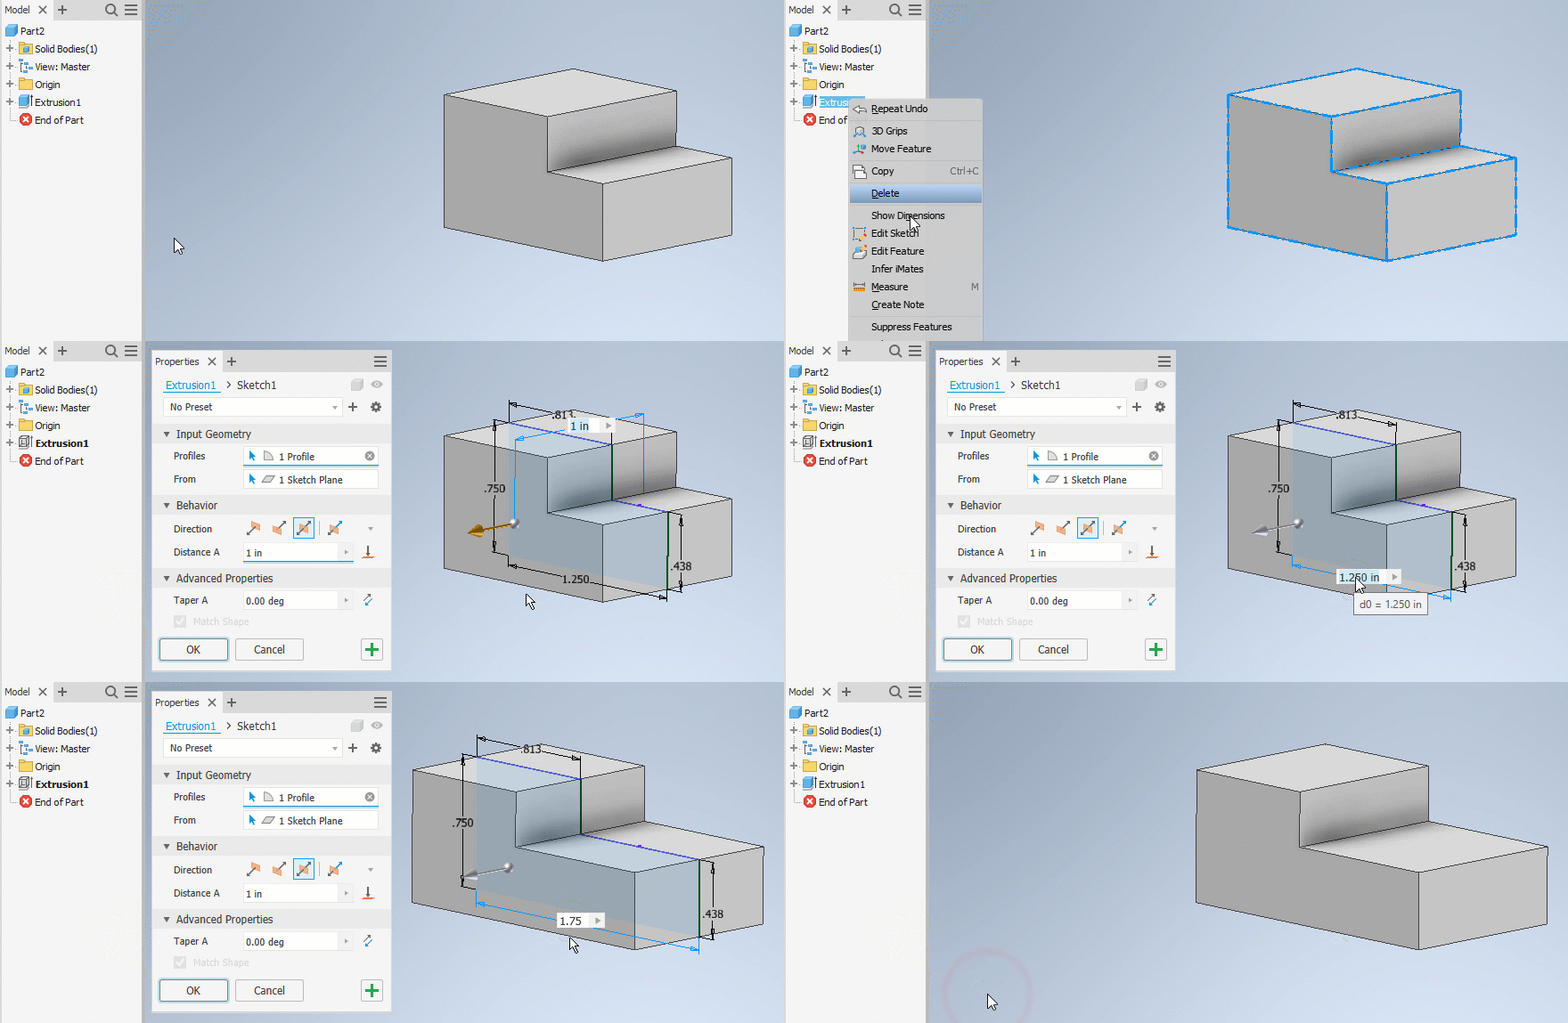
Edit a Sketched Feature
Change a feature by changing values after you create it.

- In the graphics window or the browser, right-click the feature and choose Edit Feature.
- In the property panel or dialog change feature parameters, the method to terminate the feature, or whether it joins, cuts, or intersects another feature. If you click Profile to select a different profile, other values are not selectable until you select a valid profile.
- Click OK.
Change the feature type from solid to surface.
- in the browser, right-click the feature, and click Delete, but retain the feature sketch geometry
- Use the sketch geometry to recreate a feature, and select a different feature type.
Some features may require you to delete and recreate the feature.
Copy Features
- By default, dependent features are not copied. Only features that you select are copied.
- With the paste command, you can copy dependent features as well.
- Autodesk Inventor uses unresolved plane references to position the features.
- Newly copied features are fully independent.
- If you copy and paste a pattern feature, you also paste the parent feature.
- In the browser, select one or more features to copy.
- Right-click and choose Copy, press CTRL + C, or click Tools tab > Clipboard panel > Copy.
- In the graphics window of the same or a different file, right-click and choose Paste.
- Either click to paste the feature on a face in the graphics window, or specify options in the Paste Features dialog box and then click Finish:
- Paste Features. Select the method to paste the feature: Selected, Dependent, or Independent.
- Parameters. Select whether to paste parameters independently or dependently. Then, in the parameter list, specify a value for each named parameter.
For example, say a parameter specifies the angle between the feature and the face where it is placed. In that case, either enter a value or move the mouse to rotate the feature dynamically. In the dialog box, the angle value changes as you move the cursor. Click to select a value.
Note: Click the X under the feature and move the cursor to a new position for the feature on the face. Click the circular arrow to rotate the feature dynamically, or enter a value.
Change a Sketched or Placed Feature’s Appearance

- In the browser, right-click a feature and choose Properties.
- In the Feature Properties dialog box, choose an option from the Feature Appearance menu.
- Click OK.
Rebuild All Part Geometry
- In a part file, click
Manage tab
 Update panel
 Rebuild All.
By contrast, the Update command regenerates only the geometry that has significant edits held in memory. If the Defer Update option is selected (on Assembly tab of the Application Options dialog box), you can continue working without incorporating edits to geometry until you click Update.