You can drive any kind of input with the Time Editor. If you can set an animation key for something in Maya, it can become a clip that you can manipulate in the Time Editor.
Note: Animation Layers are not supported by the Time Editor. Use
Clip Layers instead to set keys on Time Editor animation clips.
For example, to create clips of color attributes that you can interactively blend:
- Create an object, for example, a cube.
- Create a material node in the
Hypershade window (), for example, a Lambert node.
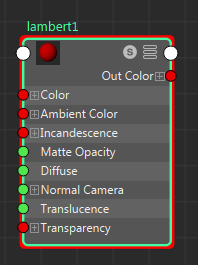
- Set a color for the material.

- Then, with the shader node selected, in the Time Editor, click the
Create Pose clip from Selection icon
 from the
Time Editor menu bar.
Important: Be sure to select the material node, not the object, because you want to animate only the material.
from the
Time Editor menu bar.
Important: Be sure to select the material node, not the object, because you want to animate only the material.A short Pose clip appears on the Time editor track to represent the material color.
- Deactivate the Time Editor by clicking
Mute/Unmute the Time Editor
 in the
Time Editor toolbar. The Cube turns grey again.
in the
Time Editor toolbar. The Cube turns grey again.
- Move the Current Time Marker so it is not directly over the new clip.
- Set a different color for the material using the same Lambert node, and in the Time Editor, press
P to create a Pose clip for the new color.
Now there is a clip for the two color states of the object's material.
- Reactivate the Time Editor by clicking
Mute/Unmute the Time Editor
in the
Time Editor toolbar.
- Move both clips to the same track and create crossfades, transitions, Time Warps, and Speed Curves to modify this animation.
