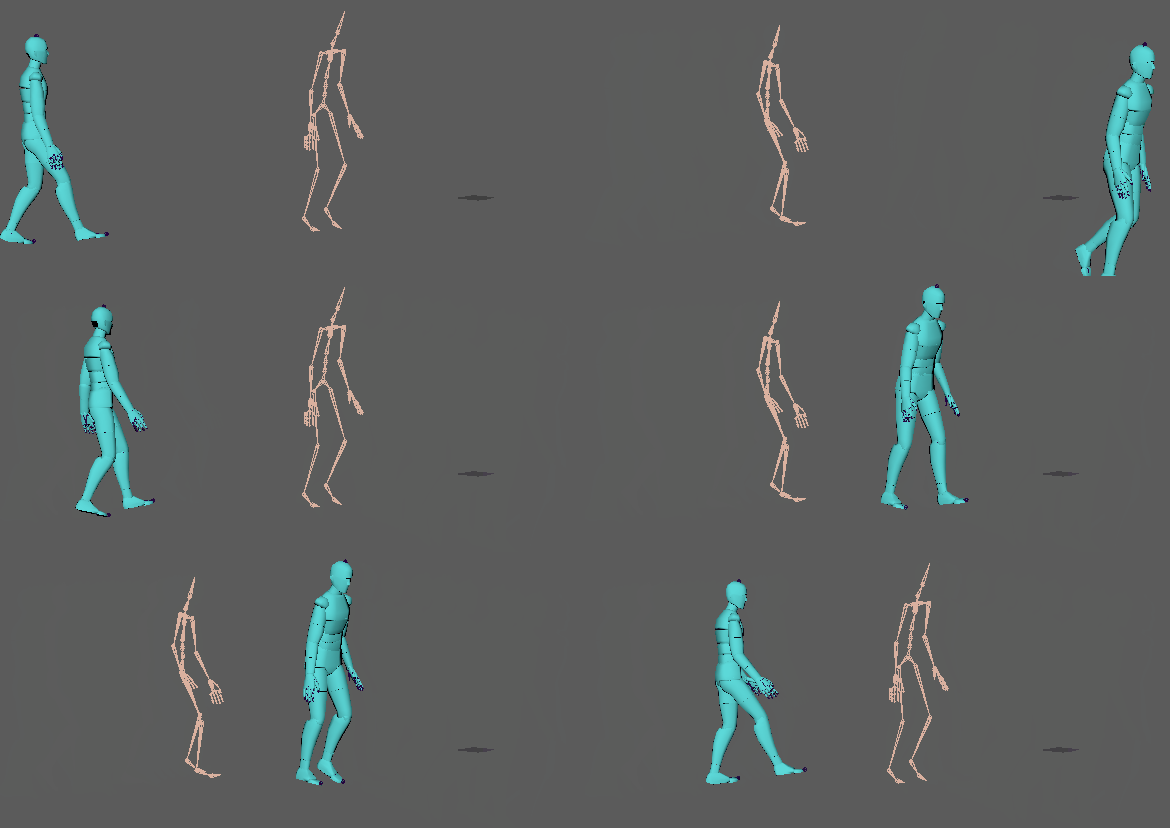
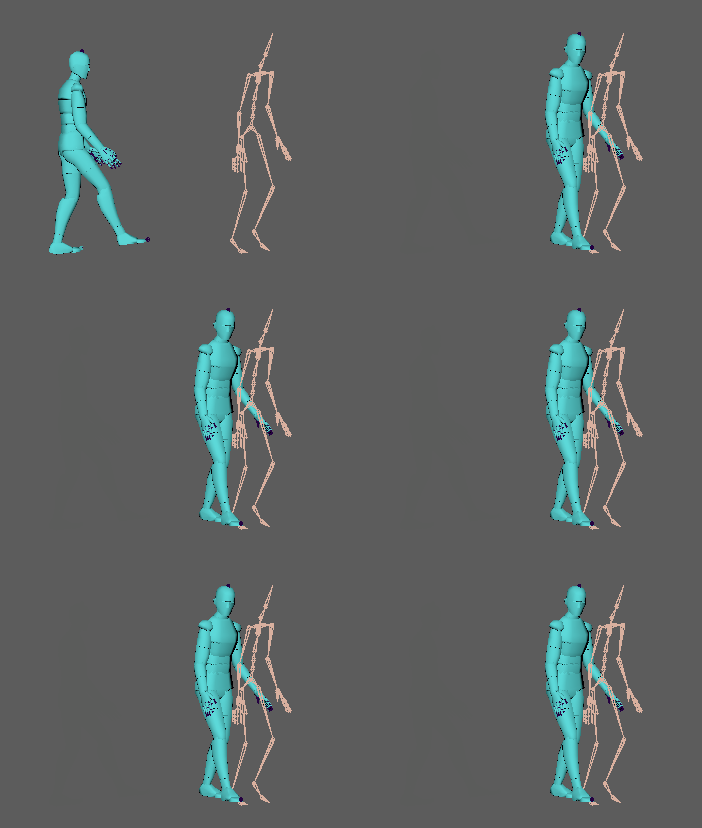
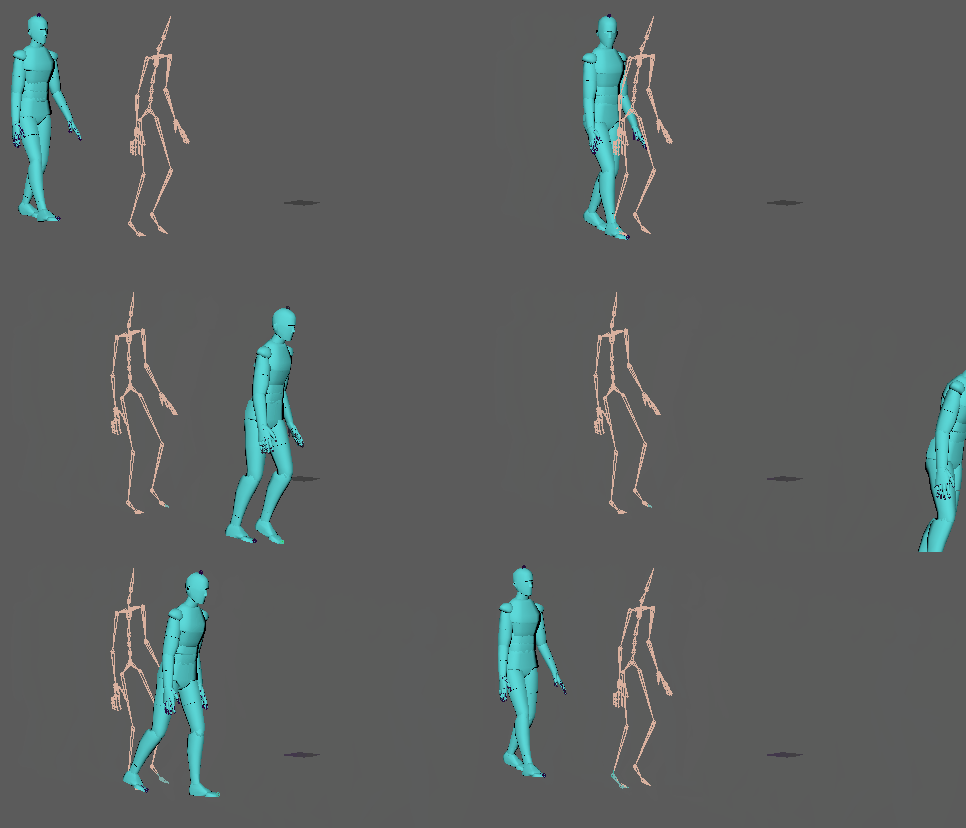
The
Time Editor
Match Relocator options let you align clips based on a specified object, so you can combine them to create a new animation.
Note: It is helpful for the match if the character's positions are closely aligned. See
Reorient a character's position with Relocate to position your matching characters near one another.
Note: If multiple roots are driving your animation clip, for example, if you had a rig with no explicit hierarchy that has a controller acting for the entire character, you can select the clip click
Edit Relocator at any time to set another root as a Relocator in the
Relocator Options.
- Add two animation clips for the same character on the same track.

- Trim the clips to facilitate the match process. For example, locate a frame in both clips where the character’s left foot is flat on the ground. If the end of the first clip is similar to the beginning of the second clip, the match is smoother and requires less tweaking.
 Tip: Blend the two clips together at the match point to get an idea of what the result will look like.
 - Right-click the first clip and select . The Matching options appear.
- Next, In the
Outliner, select a character body part from the first animation clip to be the matching object, for example the left ankle. and click Select
 .
The Time Editor uses this object as a point of reference for the match.Note: If you select a body part, turn off Root Objects in the Matching Objects area.
 - Choose Next or Previous from the Matching Clip options to match the chosen object with the next/previous clip.
- Select a at which point in the transition you want the clips to be matched from the Matching Time options.
- Select a Matching Pose. For a description of the Matching Pose options, see Matching options.
- Click
Match.

The two clips are seamed together.

Note: If the match produces unwanted results, try assigning a Root Object other than the one that is automatically assigned. See
Root Objects in the
Matching options and refer to the
Pose matching best practices.