
Blue Pencil drawings appear as frames on the
Time Slider, and you can rearrange them.
- For information about showing or hiding Blue Pencil frames on the Time Slider, see the Blue Pencil options in the Time Slider preferences
- For information on importing or exporting Blue Pencil frames, see Import or Export Blue Pencil frames
- Add a Blue Pencil frame
- Open the Blue Pencil tool and start drawing in the Viewport: a Blue Pencil frame automatically appears at the position of the Time Slider Current Time Indicator. This frame is considered the Active Blue Pencil frame.
-
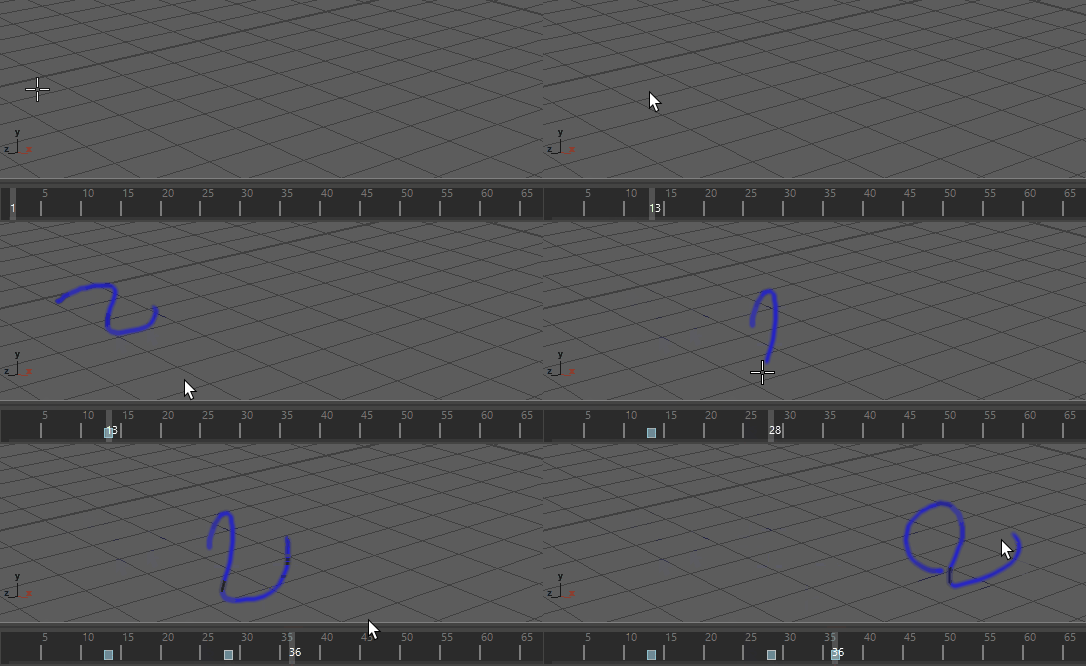
- You can also click
Add Frame
 in the
Blue Pencil Toolbar, or right-click the Time Slider and select
from the Animation Controls menu.
-
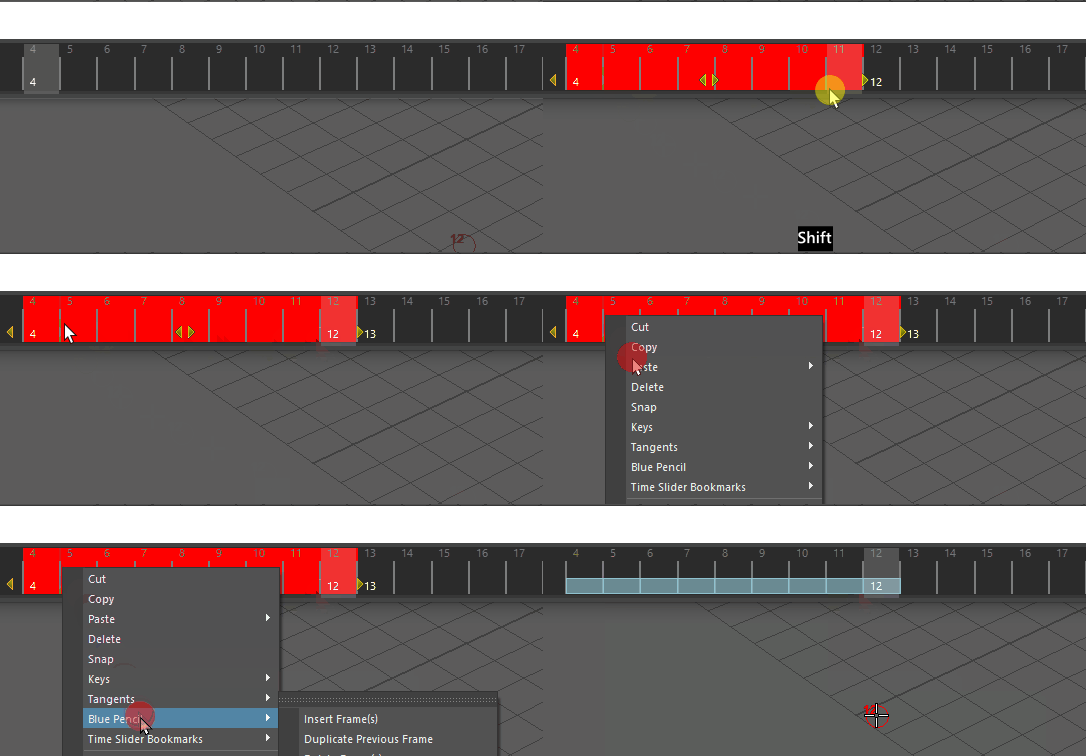
Tip: To add more than one frame at a time, Shift-select a range on the Time Slider, right-click and select . A Blue Pencil frame is created for each frame in the selected range.
- Cut, copy, paste, clear, or delete Blue Pencil frames
- There are many ways to do these basic tasks with your
Blue Pencil frames:
- Use the
 (Cut),
 (Copy),
 (Paste),
 (Clear), or
 (Delete) buttons on the
Blue Pencil Toolbar or the
Blue Pencil Tool Settings
- Select Frame > from the Blue Pencil Marking menu
- Right-click the Time Slider and choose an option from the Blue Pencil rollout in the Animation Controls menu
- Use the
- See Clean up Blue Pencil sketches for more about removing frames or their content, and see Difference between Copy Frame(s) and Duplicate Previous Frame, below.
-
- The difference between Copy Frame(s) and Duplicate Previous Frame
- The
Copy Frame(s) (
 ) and
Duplicate Previous Frame (
 ) functions on the
Blue Pencil Toolbar may sound alike, but they create a different effect:
-
- Copy Frame(s) lets you copy a frame to the clipboard and paste it anywhere on the Time Slider (provided there is not a frame there already).
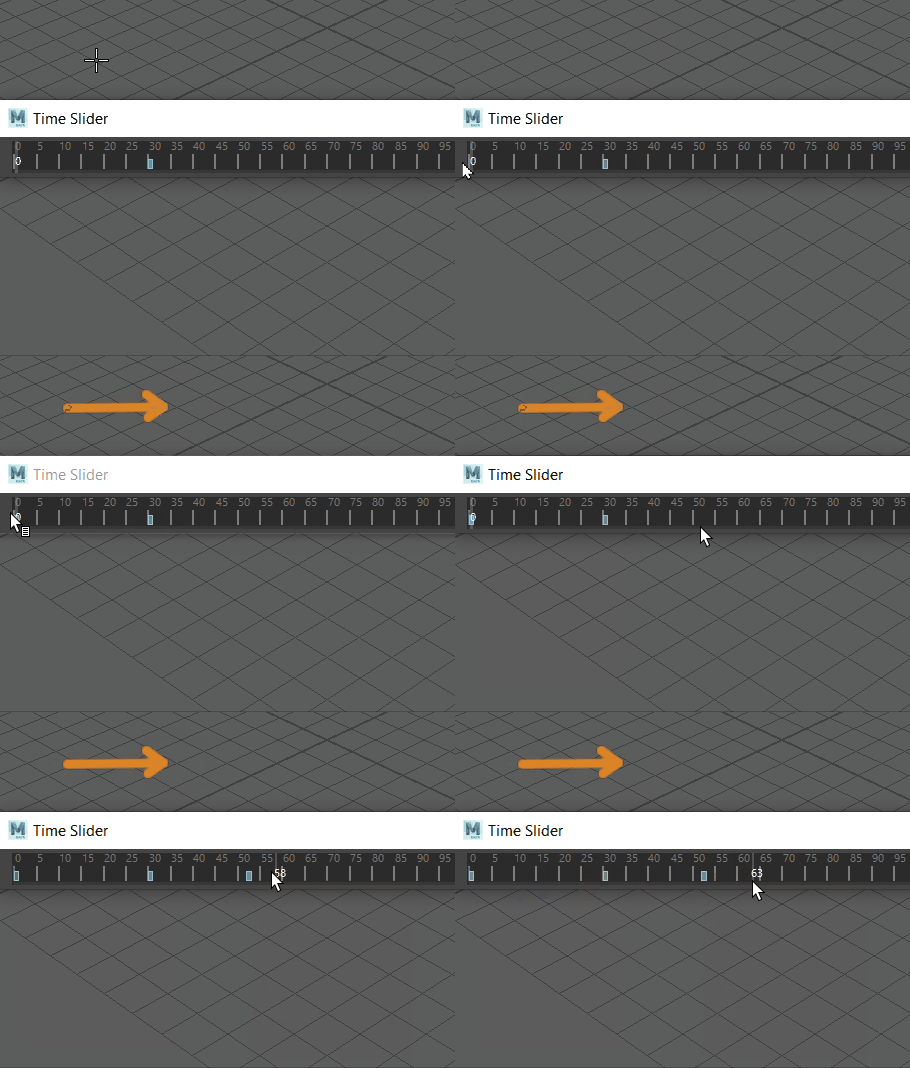
- Duplicate Previous Frame creates an identical version of the
previous frame at the current time (provided there is no frame there already). Use
Duplicate Frame when you want an image to persist or repeat throughout a scene.
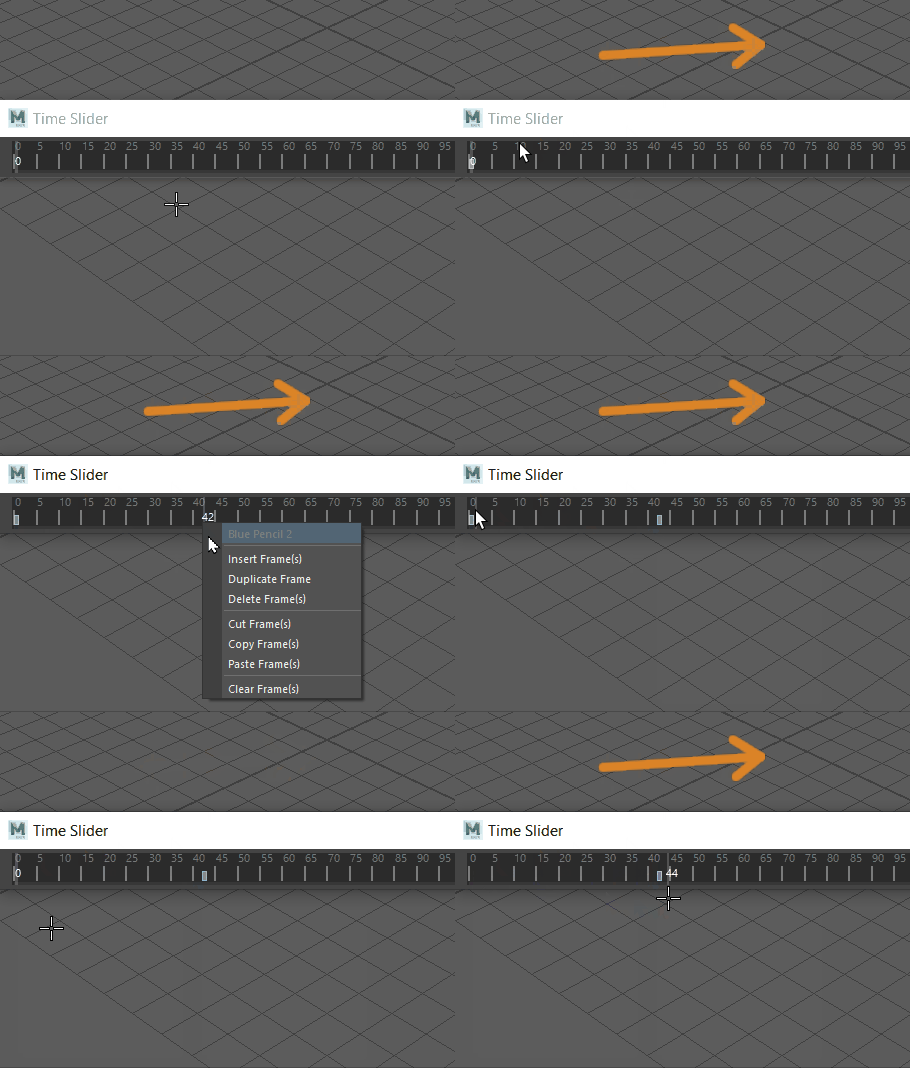
- Copy Frame(s) lets you copy a frame to the clipboard and paste it anywhere on the Time Slider (provided there is not a frame there already).
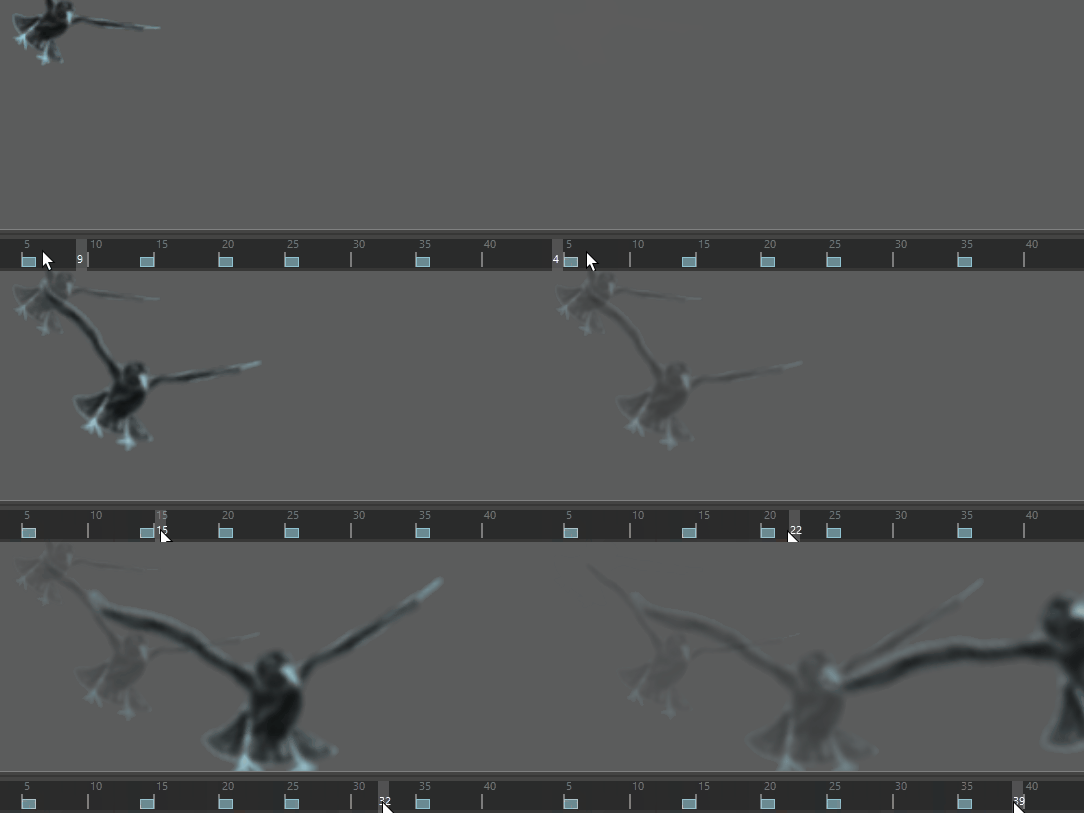
- You can quickly create animation sequences with
Duplicate Previous Frame by copying and transforming sketches along the Time Slider. In the following example, a sketch of a bird duplicated and transformed a few frames apart to create the illusion of flight. See
Modify drawings with Blue Pencil Transform mode.
- Move Blue Pencil Frames
- Shift + click to highlight one or more frames on the Time Slider. Once highlighted, drag the selected area to a new location. You can Shift + drag multiple frames.
-
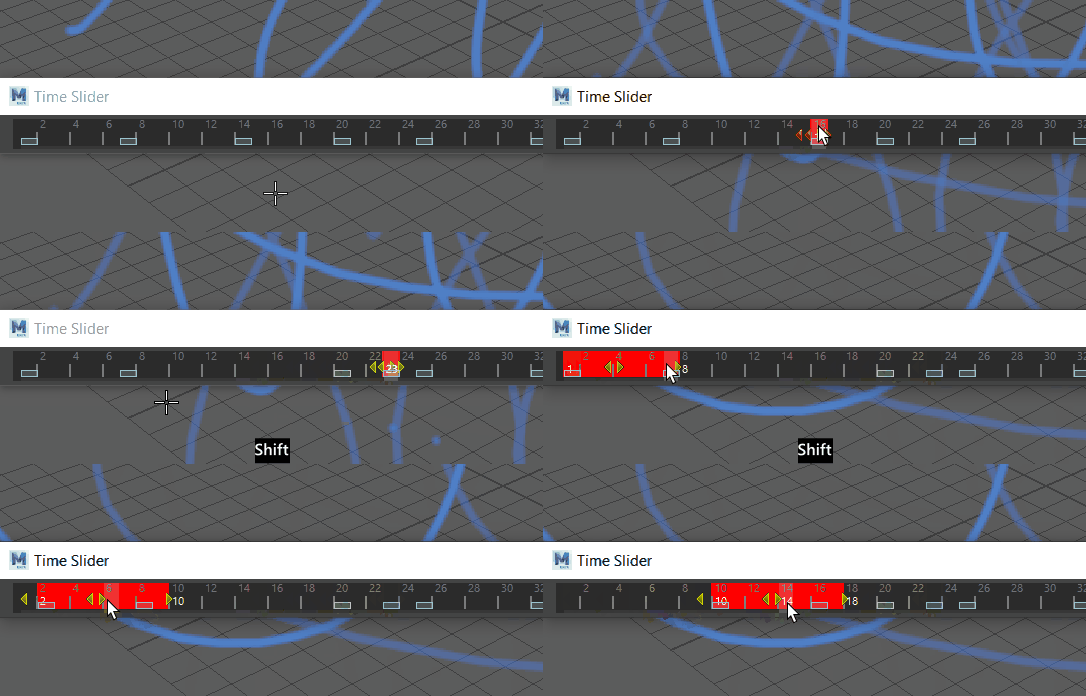
- You can also use the Retime frame tool to move frames incrementally.
- Scale Blue Pencil Frames
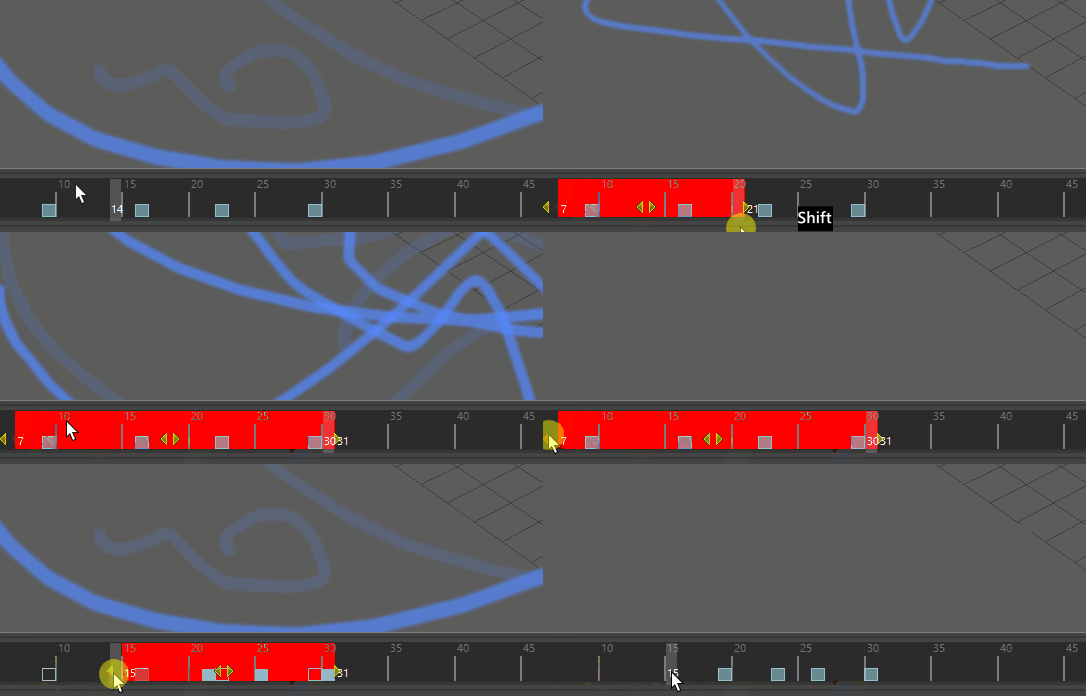
- Shift + click to highlight one or more frames on the Time Slider. Once highlighted, drag the arrows at either end of the highlighted area to grow or shrink the timing between the frames.
-
- Retime Blue Pencil Frames
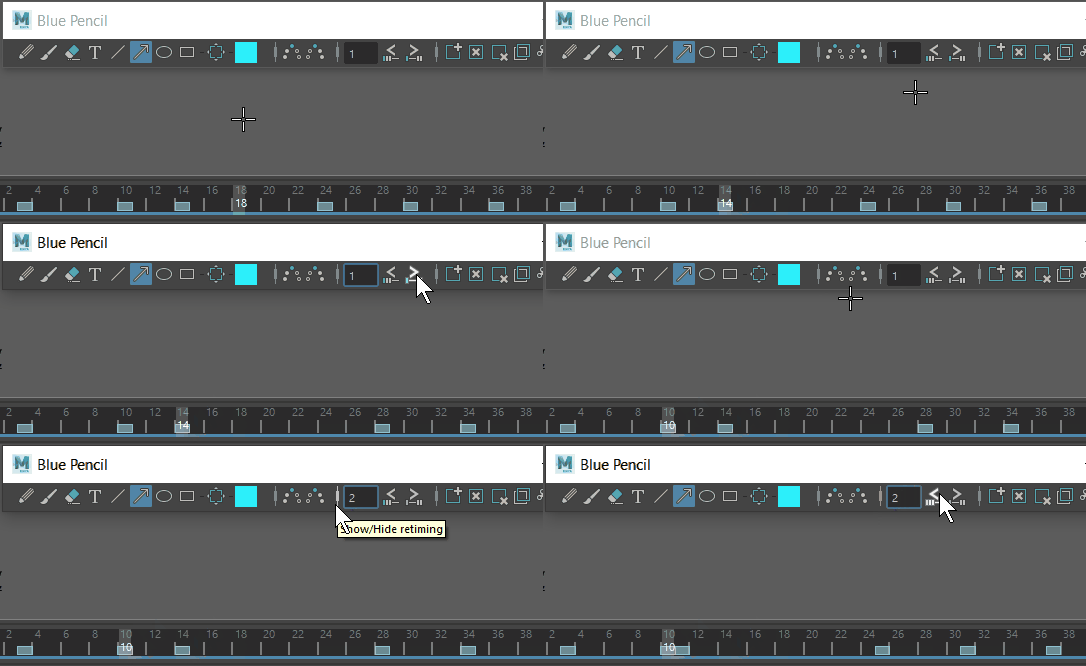
- Click the Retime Forward (
 ) and Retime Backward (
 ) buttons on the
Blue Pencil Toolbar to shift
Blue Pencil frames from the selected frame ahead or behind along the Time Slider. Set the number of frames you want to move frames in the Frame Range field.
-
- Save and export Blue Pencil frames
- You can save all Blue Pencil sketches in a scene with the
Export Blue Pencil Frames (
 ) button on the
Blue Pencil Toolbar. See
Import or Export Blue Pencil Frames.
-
Note: If you reference Blue Pencil drawings into another scene using File Referencing, they do not appear. They are meant to be added to the final scene.
- Import legacy Grease Pencil frames
- You can import legacy Grease Pencil frames into Blue Pencil. See the section Import Grease Pencil frames into Blue Pencil in Import or Export Blue Pencil Frames.
- Playblast a sequence of Blue Pencil images
- Once you draw a series of
Blue Pencil sketches, you can
Playblast them and create a quick movie of your 2D animation.
Note: If you don't want Blue Pencil sketches to appear in your Playblasts, disable them in the Playblast section of the Panel > Show menu. See Show or Hide Blue Pencil images, below.
To playblast Blue Pencil sketches
- Ensure that HUD is active in the Panel > Show menu.
- Select , or refer to Playblast an animation for more information.
(If HUD option is not checked, Blue Pencil drawings will not appear in the Viewport.)
- Show or Hide Blue Pencil images
-

- You can hide/unhide
Blue Pencil drawings in the Viewport.
- In the Panel > Show menu, select Blue Pencil to display Blue Pencil images. The default is On.
- To have the drawings hidden in a Playblast, select Panel > Show menu > Playblast and select Blue Pencil.