- Select the scalp area of the character's head and then select XGen > Create Description. Tip: If you use a guide-based workflow, add the splines to a polygon mesh that only defines the scalp region of your character's head. Doing this gives you better control over which areas of the mesh are populated with curves.
- In the XGen window, set the following:
- What kind of Primitives are made by this Description? to Splines (use for long hair, vines, etc).
- Generate the Primitives to Randomly across the surface.
- Control the Primitives by to Placing and shaping Guides.
- Click Create.
The mesh is now bound to the Description. Use the Add Guide tool to place the guides on the mesh surface.
- In XGen toolbar, click this icon
 to select the Add or Move Guides tool.
 - Click areas on the mesh to place guides.
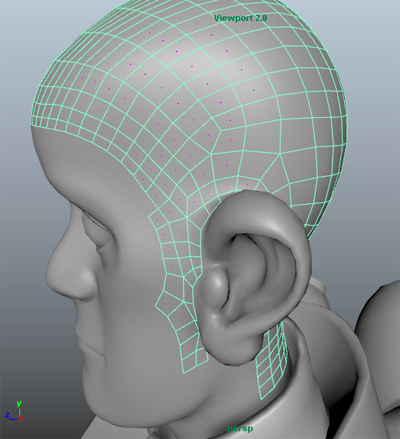
Place at least one guide in the areas you want splines to appear. You do not need to cover the mesh with guides to generate splines on the entire mesh. For this workflow example, 10 to 15 guides are placed on half of the scalp.
The guides are mirrored to the opposite side using Mirror Selected Guides later in the workflow.

- In the Outliner, expand the contents of the Description to see each guide identified by an icon and ID.
 -select the guides.
 - In the Maya toolbox, select the Scale tool and scale the guides to set the hair length.

You may notice that some guides need to be rotated so they better follow the contour of the character's head.
- (Optional) Select the Rotate tool, and adjust any guides that do not properly project from the surface of the mesh.