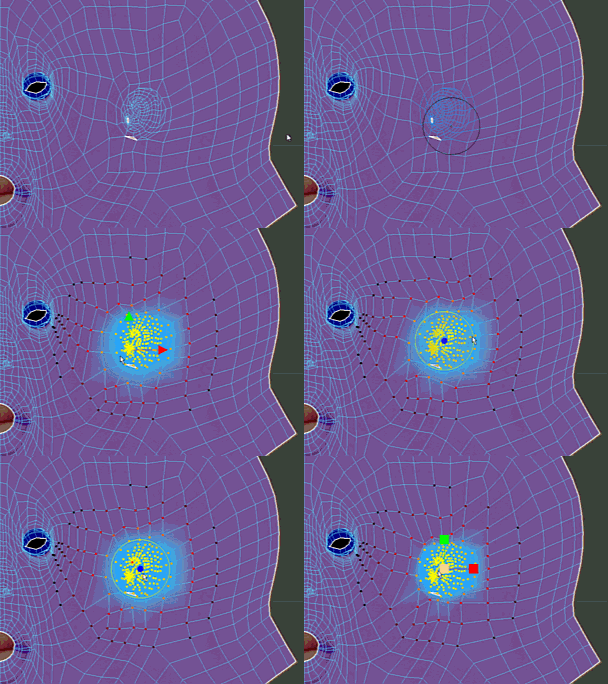
The Pin UV Tool locks affected vertices so they cannot be modified. By default, pinned UVs appear blue. Ctrl select UVs to unfreeze them.
The following options appear in the
Tool Settings window when you select
Tools > Pin >
 .
.
Brush
- Size
- Sets the radius of the tool.
Hotkey: B + drag or MMB-drag left/right to adjust the brush size.
- Strength
- Determines how much the tool affects the UVs.
Hotkey: M + drag or MMB-drag up/down to adjust the brush strength.
- Invert
- Inverts the function of the
Pin UV Tool. Unpins areas of the shell that are pinned.
Hotkey: Ctrl
- Unpin All
- Removes all the pinning on the UV shell.
- Invert Pin
- Reverses the pinned and unpinned parts of the UV shell.
Falloff
Controls the profile (cross-section) of the UV tools. Falloff controls how the tool's strength diminishes from the center of the brush towards its outer edge. The tool assigns a falloff value to each UV within the brush's radius depending on its distance from the center point. The farther a UV is from the center point, the more falloff is applied. The following falloff types use different methods to measure this distance. See also Adjust tool falloff.
- Surface/Volume
-
(Default) Surface/Volume is a combination of Surface and Volume falloff types. To determine which vertices to affect, the brush walks along the surface until it reaches the end of the surface or the edge of its radius, whichever comes first. To determine the falloff values of each vertex, the brush draws a straight line from the center of the brush to each vertex.
- Surface
- The brush measures distance by starting at its center point and walking along the surface to find vertices. It searches for vertices until it reaches the end of the surface or the edge of the brush's radius, whichever comes first. Vertices are assigned a falloff value depending on how far away they are from the center point. Surface falloff is useful when you want the sculpting tool to conform to a surface. For example, you can separate the upper lip from the bottom lip on a character's face using this falloff type.
Note: Sculpting with Surface falloff may result in a slower performance than sculpting with the other falloff types.
- Volume
- The brush measures distance by drawing a straight line from the center of the brush to each UV within the brush radius. UVs are assigned a falloff value depending on how far away they are from the center point. Volume falloff affects all the shells that are within the brush radius.
- Curve
-
Controls the profile (cross-section) of the UV tools. The falloff curve determines how the tool strength diminishes from the center towards its outer edge.
- Snap to Grid
-
Constrains points to the Curve grid.
- Reset Curve
- Resets the falloff curve to its default shape.
- Save Custom Curve
-
Saves the current falloff curve to the Custom Curve presets.
- Preset Curve
-
Lets you quickly set the Falloff curve by selecting from frequently used shapes.
- Custom Curve
-
Lets you quickly set the Curve by selecting from custom shapes.
Ctrl-click a custom curve image to delete it.
Display
- Show brush ring during stroke
- Always displays the brush ring when you draw stroke. Turn off to always hide the brush ring.