Using emission maps, you can emit fluid properties, including Density, Heat, and Fuel from 2D textures.
To use a fluid emission map
- Create a 3D or 2D fluid container by selecting >
 or > . See Create fluid containers without emitters.
 - Do one of the following:
- To add a surface emitter, shift-select the polygon or NURBS object you want the fluid to emit from, then select > .
In the Emit from Object Options window, select Surface from the Emitter Type list and click Apply.
- To add a volume emitter, select > .
In the Emitter Options window, select Volume from the Emitter Type list and click Apply.
- To add a surface emitter, shift-select the polygon or NURBS object you want the fluid to emit from, then select >
- Adjust the emitter settings. See fluidEmitter.
- Select the fluid container.
- In the Attribute Editor, click the fluidEmitter tab.
- In the Fluid Attributes section, click the icon for the type of emission you want to use.
For example, to emit density using an emission map, click the
 icon to the right of Density Emission Map.
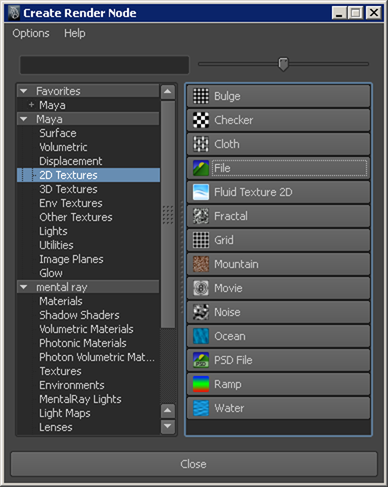
 The Create Render Node window appears.
- In the Create Render Node window, under Maya, select 2D Textures from the list.
- In the right panel, click the 2D texture you want to use.
For information about textures, see 2D and 3D textures.