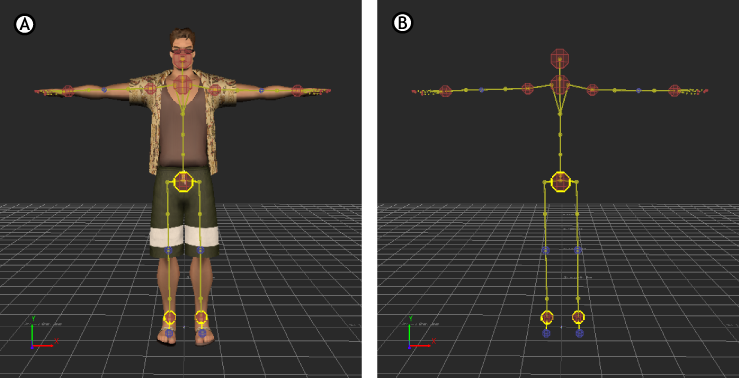
A Control rig is a character manipulation tool that lets you change the position and orientation of a character to create or alter animation. You can only create Control rigs for characters that are characterized.

A. Character with Control rig B. Control rig
Control rigs are equipped with kinematic tools that let you control the skeleton of a character intuitively and automatically achieve smooth and predictable results over the entire body. They provide body part pinning, automatic floor contact, and three different keying modes. All these elements help you achieve quick, high-level manipulation of a complex structure.
- Create character animation from scratch.
Control rigs are one of the three types of motion source that you can connect to your character to make it move. You can use the Control rig to manipulate your character, then set keyframes on its position over time to create animation.
- Create, save, and reuse poses as you manipulate.
For example, you may want to repeat a certain pose to create a cycle, or use a pose in multiple takes. You can even include any extra limbs, wings, or tails in these poses, using a Character Extension.
- Edit animation.
When you import a skeleton with animation data into MotionBuilder, you have to plot that animation to a Control rig in order to edit it. When you finish creating or editing animation with a Control rig, you plot the animation back to the model’s skeleton to prepare it for export to other 3D software.
While editing character animation with the Control rig you can exaggerate or lessen the character’s movements. You can also use the Control rig to permanently offset body parts when retargeting animation from one character to another.
- Compensate for missing data.
If you are working with imported motion data, you can use the Control rig to fill in any missing animation.
Control rigs let you do the following:
You can save, modify, and load Control rigs just as you would any other asset. This is useful if you want to use the same settings for pinning, stiffness, reach, and pull on multiple characters.