After initially defining coordinates for the project base point, you can move it later if needed.
To move the project base point
- In the site plan view or another view that displays the project base point, select the project base point.
- Drag the project base point to the desired location.
As an alternative, using the Properties palette or the Project Base Point fields in the drawing area, enter values for N/S (northing), E/W (easting), Elevation, and Angle to True North.
Setting the angle to True North is the same as using the Rotate True North tool.
- Optional: To ensure that the project base point does not move inadvertently, pin it in place by clicking Modify tab
 Modify panel
 (Pin).
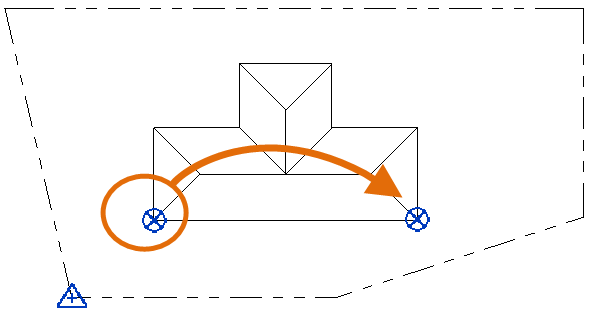
Move the project base point to another location in the model
For example, suppose you want to move the project base point from one building corner to another.
To do this, unclip the project base point and move it.
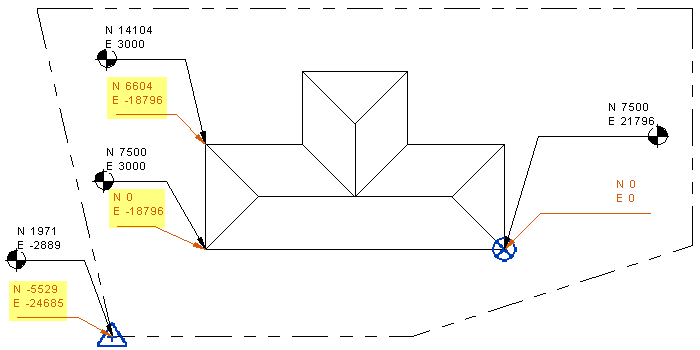
In the model, coordinates update to reflect the change in proximity between the project base point and the survey point.
In the following image, black spot coordinates are based on the survey point, and orange spot coordinates are based on the project base point. When you move the project base point, only the yellow highlighted coordinates change.
Move the project base point to the internal origin
When you create a new model, by default the project base point and the survey point are placed at the internal origin, also called the startup location. To establish the project coordinate system, you move the project base point away from the internal origin to another location, such as the corner of a building.
If you later want to return the project base point to its startup location, Right-click the project base point, and click Move to Startup Location