Explore and iterate on your design with the new linking workflow between FormIt and Revit.

In Revit 2023, it's easier than ever to work back and forth between Revit and FormIt for early-stage and detailed modeling. Several improvements bring more fluidity to the workflow.
FormIt Files in Link CAD
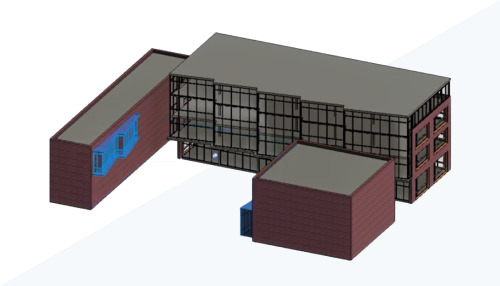
You can now share FormIt files by using the Link CAD feature in Revit, which now accepts the FormIt AXM file format. This feature improves collaboration between designers working in FormIt and Revit. Access Link CAD on the Insert tab. For more information, see CAD Linking/Importing File Support.
Linking in the 3D Sketch Workflow
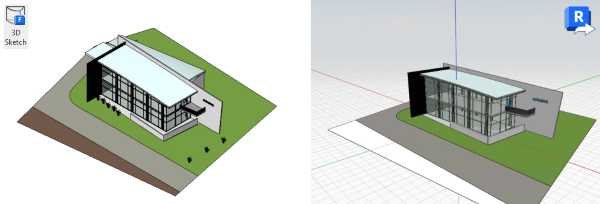
The 3D Sketch workflow now links a FormIt model to Revit for improved coordination. This is an improvement over previous versions, where models were imported, not linked, using this workflow. Launch a model in FormIt by using the 3D Sketch button in Revit, which opens the model in FormIt as a link. Once you’ve sketched a design in FormIt, send the updates back to Revit by clicking the Send to Revit button or by saving the FormIt model.

Edit in FormIt
The Edit in FormIt button allows you to directly edit a FormIt link from Revit with one click. Select a FormIt link (from an AXM file) in Revit to access the Edit in FormIt button on the Modify tab. The Edit in FormIt button will launch the model in FormIt Pro for Windows for editing. Once you’ve completed your edits, click Send to Revit or save the model in FormIt to update the model in Revit.
Preview Send to Revit Selections in FormIt
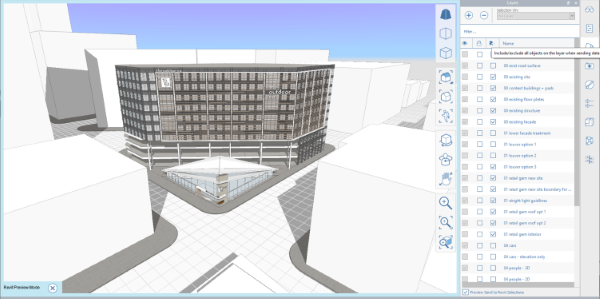
Preview the geometry and layers in FormIt that will be sent to Revit, giving you a better control over the content that will be sent back. In FormIt, enable the preview mode by using the Preview Send to Revit Selections checkbox in the Layers panel. A blue frame indicates that the Revit Preview Mode is enabled. A new column in the Layers panel indicates which layers will transfer to Revit when linking the AXM or when using the 3D Sketch – Send to Revit workflow.

Silhouette Edge Improvements
