The following workflow describes how to create a sphere that travels through a tube. It highlights the
Conform modifier's
Shrink Wrap projection method and illustrates how you can animate your deformations.
Create the conform object
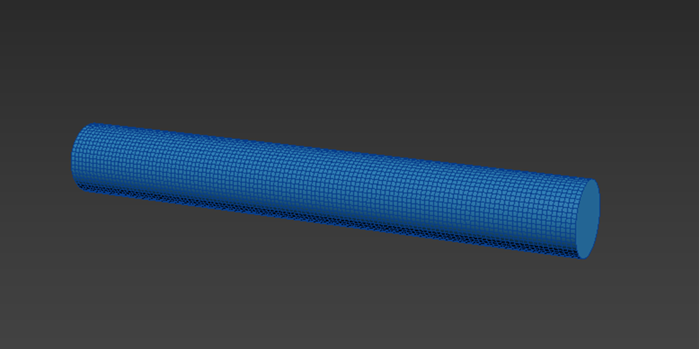
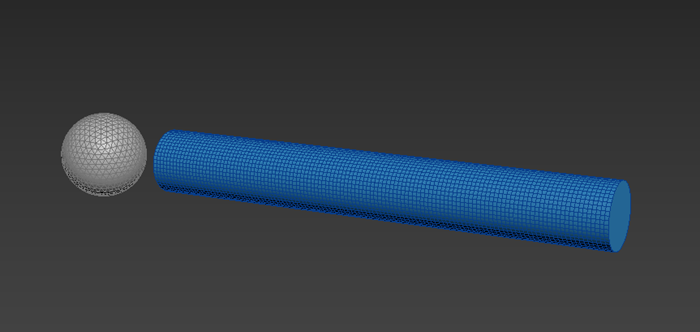
In this example, a cylinder acts as the conform object.
- Create a cylinder (Cylinder001).
- In the
Parameters rollout, set the following values:
- Radius: 40
- Height: 600
- Height Segments: 120
- Sides: 50
- Select the Rotate tool.
- Select the
Transform Type-in (Edit > Transform Type-in) and set
Absolute:World
X value to 90.
This positions the cylinder on its side.
Create the target object
In this example, a geosphere acts as the target object, travelling through the cylinder.
- Create a geosphere (GeoSphere001).
- In the
Parameters rollout, set the following value:
- Radius: 55.0
Create an animation
- In the
Animation and Time Controls, turn on
Auto Key mode.

- Drag the time slider to 50.
- Move GeoSphere001 to the opposite end of Cylinder001.
- Drag the time slider back to 0.
Add an Edit Poly and Vol. Select modifier
- Select Cylinder001.
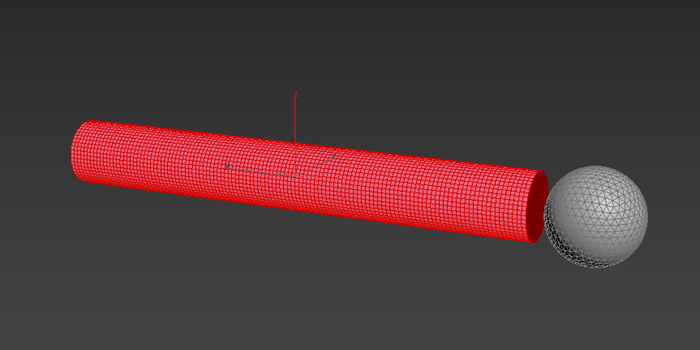
- In the Modify panel, select Edit Poly from the Modifier List.
- In the
Modifier stack, select
Polygon sub-object mode.
- Delete the end caps of Cylinder001.
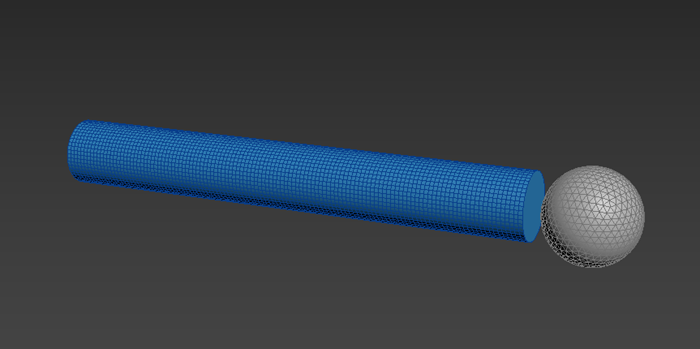
Now the cylinder is open, allowing the sphere to run through it.
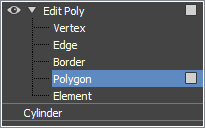
- Select all the remaining faces of Cylinder001.
- In the Modify panel, selectVol. Select from the Modifier List.
- In the
Parameters rollout, set the following values:
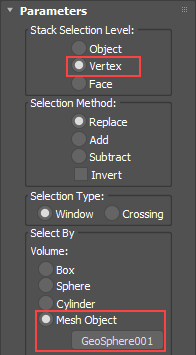
- Stack Selection Level: Vertex
- Select By: Mesh Object; click the None button to select Geosphere001 in your scene.
- Select GeoSphere001.
- Play the animation.
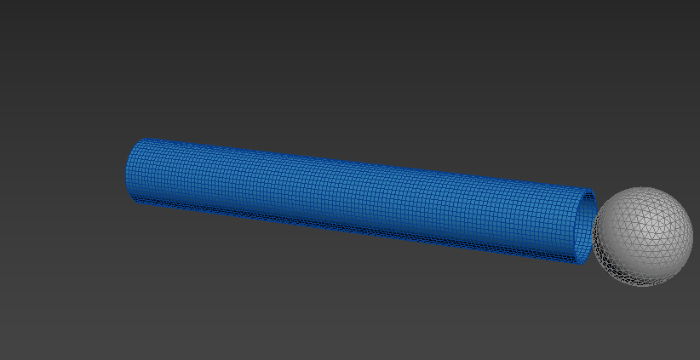
As the geosphere moves through the cylinder, vertices from Cylinder001 that are inside GeoSphere001 are selected.Tip: Turn on Wireframe Override in the Per-View Preference Viewport Label menu to better view this selection.
Add a Conform modifier
- Select Cylinder001.
- In the Modify panel, select Conform from the Modifier List.
- In the
Conform Modifier Rollout, set the following values:
- Method: Shrink Wrap
- Pick Object: Select GeoSphere001 to add it to the Targets list.
-
As the geosphere moves, the cylinder's selected vertices (red in the following example) conform to the surface of Geosphere001.Tip: Turn on Wireframe Override in the Per-View Preference Viewport Label menu to better view this selection.
- Click Pick Object again to exit pick mode.
Adjust the conformed vertices
Adding an additional Volume Select modifier can create a smoother transition as the geosphere moves through the cylinder.
- Ensure Cylinder001 is selected.
- In the Modify panel, select Vol. Select from the Modifier List.
- In the
Parameters rollout, set the following values:
- Stack Selection Level: Vertex
- Select By: Mesh Object; click the None button to select Geosphere001 in your scene.
- In the
Soft Selection rollout, set the following values:
- Use Soft Selection: On
- Falloff: 20.0
Now, any vertices that are directly in contact with GeoSphere001 are fully selected, while the selection of vertices in the area surrounding GeoSphere001 gradually decreases.Tip: Turn on Wireframe Override in the Per-View Preference Viewport Label menu to better view the selection.
Add realism to the tube
Let's add a few additional modifiers to create a convincing animation that shows the geosphere fully enveloped in the cylinder.
- Ensure Cylinder001 is selected.
- In the Modify panel, select Push from the Modifier List.
- In the
Parameters rollout, set the following values:
- Push Value: 1.0
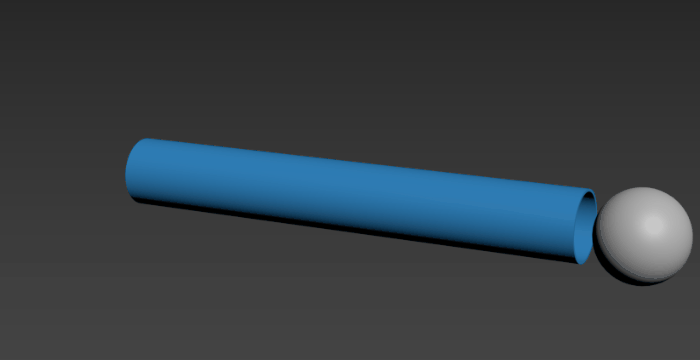
The Push modifier minimizes the interpenetration of Geosphere001 with Cylinder001.
- Push Value: 1.0
- In the Modify panel, select Shell from the Modifier List.
- In the
Parameters rollout, set the following values:
- Outer Amount: 3.0
This Shell modifier gives Cylinder001 some thickness.
- Outer Amount: 3.0
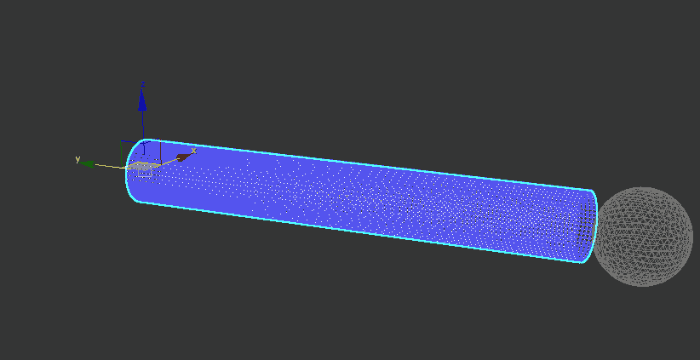
- Play the animation.
Geosphere is fully enveloped by the cylinder.
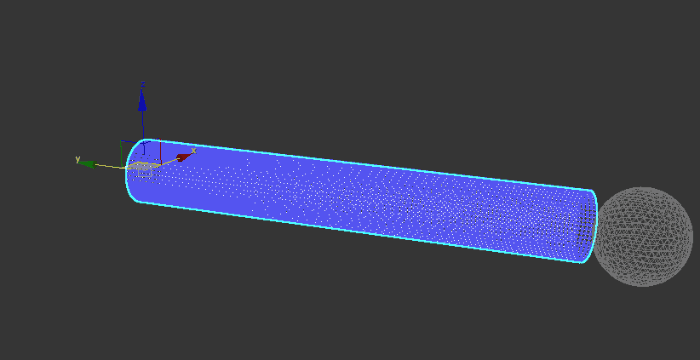
Make additional changes
- Try adding a
Relax modifier between the
Push and
Shell modifiers in the modifier stack.
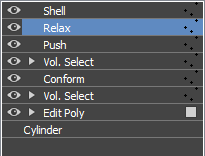 This step softens the movement of the geosphere in the cylinder, so vertices do not conform as tightly to the geosphere. In the following example, the Relax Value is set to 1.0 and Iterations is set to 30.Tip: Select the Push modifier and adjust the Push Amount if any interpenetration occurs.