
The following workflow describes how to create a daisy using the
Array modifier. It highlights the
Phyllotaxis Distribution method and uses other
Array modifier rollouts to build and tweak the array.
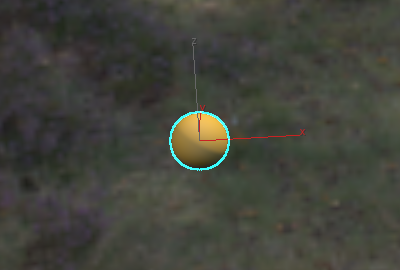
Create the center seed of the flower head
- Create a geosphere.
- In the Modify panel, set Radius to 2.0.
- Apply a PBR (Metal/Rough) material to the geosphere. See To Apply a Material to an Object.
- Adjust the
Base/Albedo color, so it appears yellow/orange.
This geosphere acts as the center seed in the daisy head.
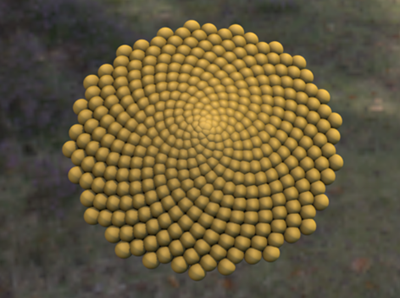
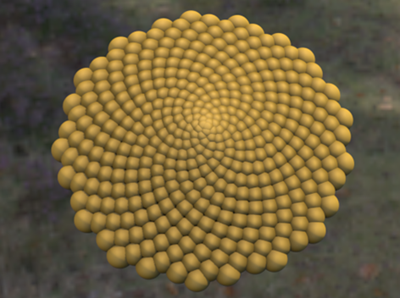
Fill out the flower head
The
Phyllotaxis Distribution method can be used to create the spiral pattern found in the head of the flower.
- In the Modify panel, select Array from the Modifier List.
- In the
Distribution rollout, set the following:
- Distribution method: Phyllotaxis
- Count: 400
This parameter sets the number of seeds in the flower head.
- End Radius: 30
This parameter makes the flower head more compact.
- Radial Bias: -5.0
This parameter tightens the spacing of the seeds toward the center of the head.
- Axial: -10.0
This parameter domes the center of the flower head:
- In the
Array Modifier's
Transform rollout, set the following:
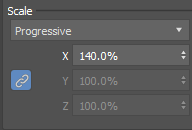
- Scale Method: Progressive
- Scale Link (
 ): On
): On
- Scale
X: 140.0%
This step increases the scale of the clones progressively from the center outwards:
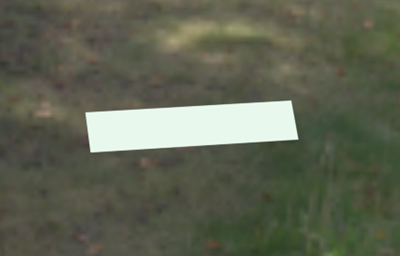
Create a single petal
In this example, a plane is used to create a flower petal.
- Create a plane.
- In the Modify panel, adjust the plane's parameters:
- Length: 18.0
- Width: 90
- Length Segments: 2
- Width Segments: 4
- Apply a PBR (Metal/Rough) material to the plane. See To Apply a Material to an Object.
- Adjust the
Base/Albedo color, so it appears cream:
- Apply an Edit Poly modifier to the plane.
- Ensure the Edit Poly modifier is selected in the Modifier stack.
- In the Modifier stack, select
Vertex sub-object mode:
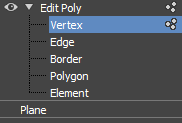
- Adjust vertices on your plane until you've created a shape like a petal:

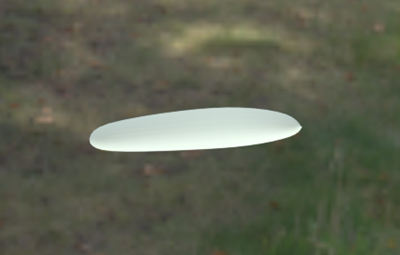
- Apply a MeshSmooth modifier to the plane.
- Ensure the MeshSmooth modifier is selected in the Modifier stack.
- In the Modify panel, set the following parameter in the
Subdivision Amount rollout:
- Iterations: 2
This step smooths out the edges of the petal:
- Iterations: 2
- Apply a Noise modifier to the plane.
- Ensure the Noise modifier is selected in Modifier stack.
- In the Modify panel, set the following parameters:
- Noise > Scale: 0.6
- Strength > Z: 0.9
Now, the petal is no longer completely smooth and appears more organic: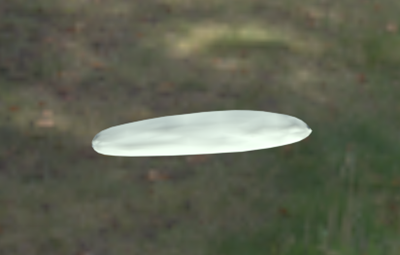
- Apply a Shell modifier to the plane.
- Ensure the
Shell modifier is selected in the Modifier stack:
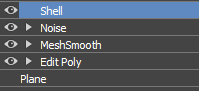
- In the Modify panel, set the following parameters:
- Outer Amount: 0.45
Now, the petal has some thickness: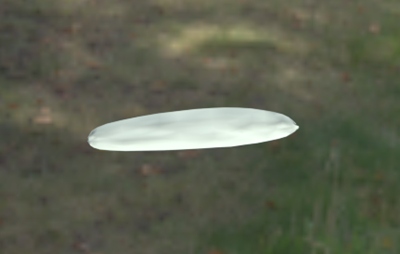
Create an array of petals
Let's use the Phyllotaxis Distribution method to quickly create a ring of petals.
- Select the plane (petal).
- In the Modify panel, select
Array from the
Modifier List.
Note: Ensure that the Array modifier is at the top of the Modifier stack.
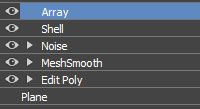
- In the
Array modifier
Distribution rollout, set the following parameters:
- Distribution method: Phyllotaxis
- Count: 32
The clones are placed in a phyllotactic spiral: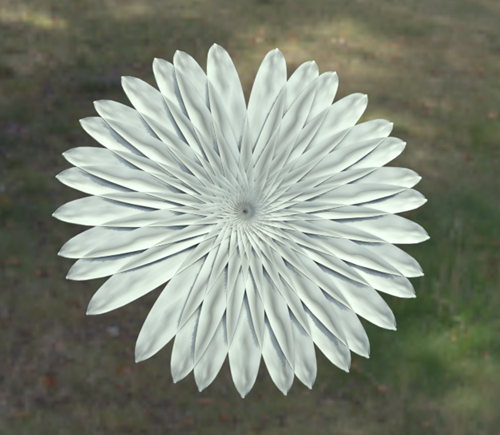
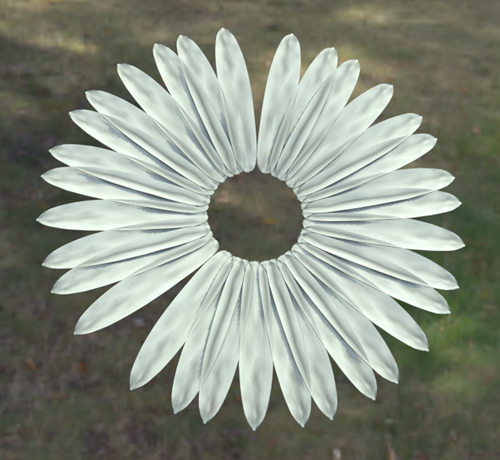
Let's continue to make adjustments in the Phyllotaxis rollout, so the petals form a ring.
- Set the following:
- Start Radius: 25.0
- End Radius: 25.0
These parameters push the petals out from the center to form a ring.
- Axial Bias: -10.0
This parameter adds depth to the petals.
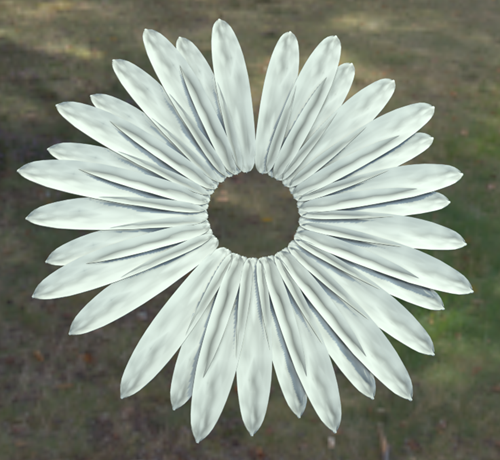
Final Adjustments: add realism to the array
Let's use some of the other Array Modifier rollouts to add additional details to the petals.
- In the
Array modifier
Transform rollout, set the following parameters:
- Scale Method: Progressive
- Scale Link (): On
- Scale
X: 120.0%
Together, these parameters make the outer petals appear older and larger.
- In the
Array modifier
Randomization rollout, set the following parameters:
- Rotation Link (): On
- Rotation X: 2.0
- Scale Link (): On
- Scale X: 6.0
Together, these parameters create some randomizations in the petal sizes and positions, creating a more organic appearance.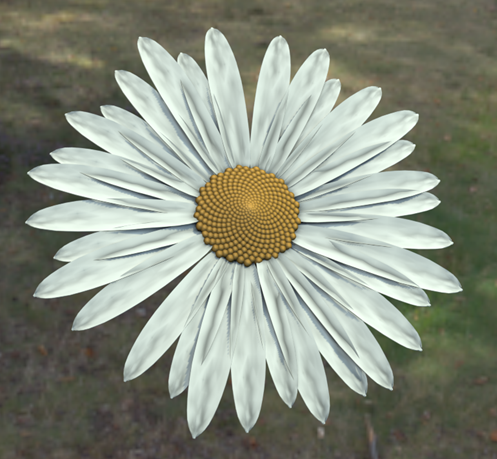
- Rotation Link (
Make additional changes
To make the daisy appear more realistic, try the following:
- Create more than one petal shape and turn on
Array By Element, so all of the shapes are used in the array.
- Use a more accurate form for the center seed.