Review Temperature of the two-shot overmolding process
In this task you review the Temperature and Temperature (overmolding) results.
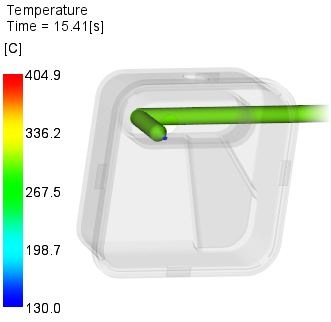
Select the Temperature result in the Study Tasks pane.
Find the first shot material in the database, and note the ejection temperature.
Click
 (Results tab > Properties panel > Plot Properties).
Select the Scaling tab.
Select Specified and enter 130, the ejection temperature you noted earlier, in the Min field.
Uncheck Extended color, then click OK.
Animate the result and stop around 15s. Notice that the part has cooled down below the ejection temperature, 130 ºC. The only section above that temperature is where the hot runner is touching the part.
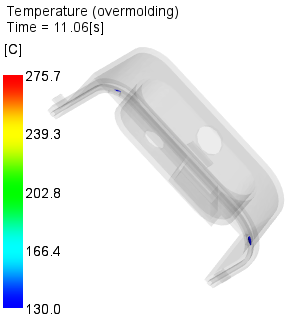
Repeat the process for the Temperature (overmolding) result.
Animate one step at a time to see how the temperature changes over time. You can get an idea how large the unfrozen area is at various times.
This shows which areas, in both shots, are above the transition temperature of the first shot. Notice the last point to cool down is the last point of filling of the 2nd shot you noted in previous steps.
Click the Next topic link below to move on to the next task.
Parent topic: Two-Shot overmolding
Previous topic: Review Time to reach ejection temperature of the two-shot overmolding process
Next topic: Review the Re-melt zone, overmolded components (overmolding) result