Two-Shot overmolding
This tutorial familiarizes you with the setup of the two-shot overmolding process, and helps you to review key results. It is expected that you understand the two-shot overmolding process.
Tutorial duration: Approximately 50 minutes.
 Download the files for this tutorial from Autodesk Knowledge Network - Two Shot Overmolding tutorial.
Note: This topic assumes that you are following simulation best practices, and that you are confident your model is ready for a two-shot overmolding analysis. This means that you have already imported and run a thermoplastics injection molding analysis on each part separately to confirm that the components fill. You have imported the assembly of both components, generated and checked the quality of the mesh, and created the runner systems for each shot, or component.
In this tutorial you learn how to:
- Setup a two-shot overmolding analysis for a Fill + Pack + Warp analysis.
- Review key two-shot overmolding results.
Note: A Cool (FEM) analysis is outside the scope of this tutorial.
Pre-requisites:
Use the sdy file provided, to learn how to set up the two-shot simulation on a ready-to-go model. To complete this tutorial using your own model, you need to know how to:
- import assemblies and orient the parts correctly in the mold
- create appropriate meshes, and if necessary, fix mesh problems
- run a thermoplastics injection molding analysis and interpret the results to ensure your model components are free from defects and appropriate for further analysis.
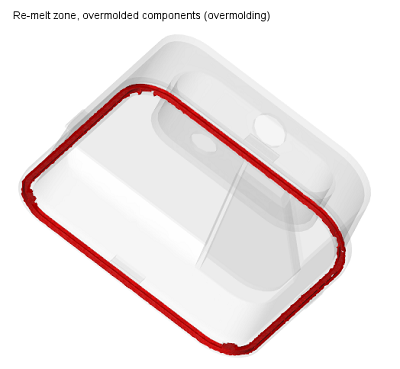
The figure above shows the Re-melt zone plot, which is an important result from an overmolding analysis. You will review this result later.