Guided edge points enable you to inspect the boundary of a surface. To measure an edge point you must manually probe a point on the surface near the edge you want to inspect, followed by a point against the edge.
Note: Guided Edge groups are available only when creating inspections for CNC and Manual machines.
To probe guided edge points:
- Create a Guided Edge group and play it. The Guided Points dialog is displayed, and a yellow triangle is displayed on the surface.
- Probe a point on the surface near the triangle. The position of the point is displayed on the left of the dialog, and a bar at the bottom of the dialog indicates how close the probed point is to the guided point.
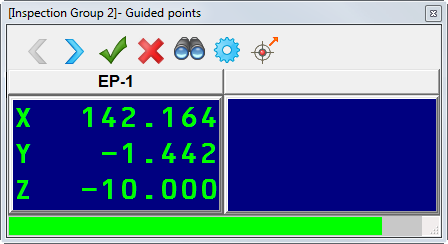
You cannot take the point until the probe is within the Proximity criteria specified in the Measurement Parameters dialog.
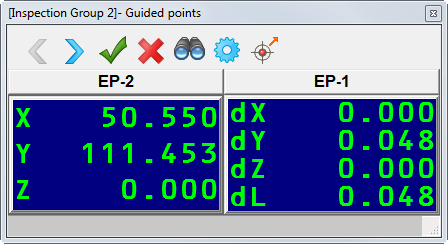
- Probe a point on the edge at the yellow triangle. The triangle changes to green and the deviation of the edge point is displayed on the right of the dialog. In addition, the position of the next guided point is displayed on the left of the dialog, and a yellow triangle indicates its position on the part.
- Click
 to save the edge point measurements and probe the next edge point.
 - Repeat steps 2 to 4 to measure more edge points. When you have finished probing, click
 to save the points and close the dialog.
To view the details of a measurement, select a point in the inspection group, and then select the Info tab.