Change the configuration of a join involving 4 walls or fewer by changing the type of join or the order in which the walls join.
Note: To edit a wall join with more than 4 walls, a wall join that spans multiple floors, or a wall join that is in more than one workset, see
Editing Complex Wall Joins.
- Click Modify tab
 Geometry panel
 (Wall Joins).
- Move the cursor over the wall join, and click within the gray square that displays.
To select multiple intersected wall joins for editing, draw a selection box around the joins, or while pressing Ctrl, select each of the joins.
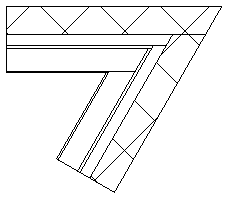
- On the Options Bar, select one of the available join types:
- Butt
(the default join type)
-
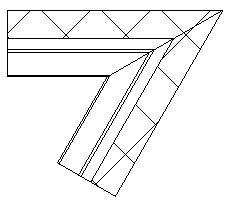
Miter
 Note: It's not possible to use miter joins with slanted walls.
 - Square off: Squares a wall end to 90 degrees.
 Note: It's not possible to use square-off joins with slanted walls.
- Butt
(the default join type)
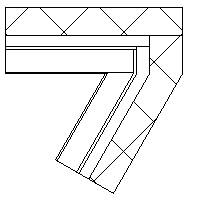
- If the selected join type is Butt or Square off, you can click the Next and Previous buttons to cycle through previews of the possible join orders. For the squared-off join shown above, the following alternative order would be available. (The Next and Previous function is only available if you selected a single wall join for editing.)
 Note: You cannot square off or miter the join between a wall and the interior of another wall, nor change the order of the butt join, because only one configuration of butt join is possible. An example of this layout is shown below (with the Don’t Clean Join option selected).
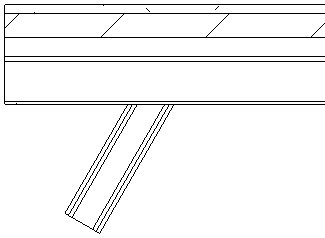
- When the desired configuration is displayed, click Modify to exit the tool.