A quick start on performing Energy Analysis using building elements in Revit.
You can use a detailed building information model from Revit (2014 or later) as the basis for your energy analysis. Revit will automatically create an Energy Analytical Model (EAM) from the building elements in the model (walls, windows, ceilings, roof, etc.), and pass that information to Green Building Studio for energy simulation.

The following video explains how to perform whole building energy analysis using building elements in Revit.
Energy Analysis Using Building Elements
The following instructions describe how to perform an energy simulation of an entire building model that is comprised of Revit building elements such as walls, roofs, and doors. Use these instructions to quickly create a baseline simulation that uses default energy settings. Then see the Energy Analysis using Building Elements - Detailed Workflow to learn how to modify the building element model and its energy settings to refine the analysis.
If you’d like to download a model to use for the analysis, here is a Health Center model located in San Francisco.
To perform energy analysis using building elements:
|
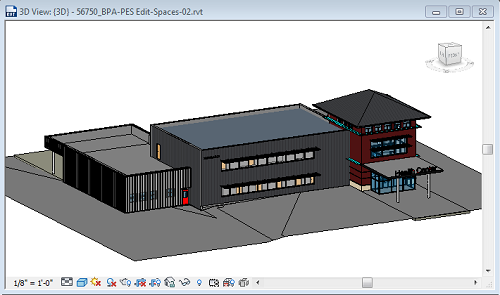
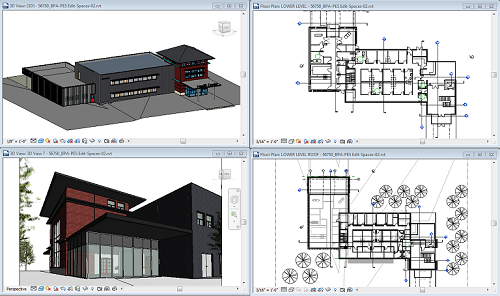
Create building model
|
Create the Revit building model |
|
Sign in to Autodesk 360
|
To use this feature, you must sign in to Autodesk 360. Click Sign in |
|
Set building elements as the basis for the energy simulation.
|
Click Analyze tab |
|
Specify the building energy settings as needed.
|
Click Analyze tab
For more information about these settings see Energy Settings. |
|
Run the Energy Simulation (Energy Analytical Model Created Automatically)
|
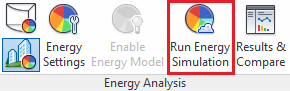
Display a 3D view of the model, and click Analyze tab |
|
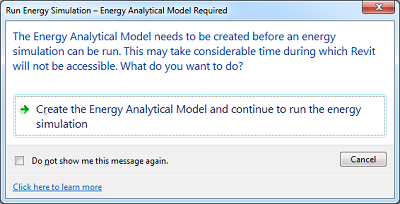
Check the Energy Analytical Model and proceed with the Simulation.
|
You are informed when the energy analytical model has been generated. Click OK. To learn about energy model validation and limitations, see Energy Analysis using Building Elements Model Validation. You can review the geometry in Autodesk Design Review. |
|
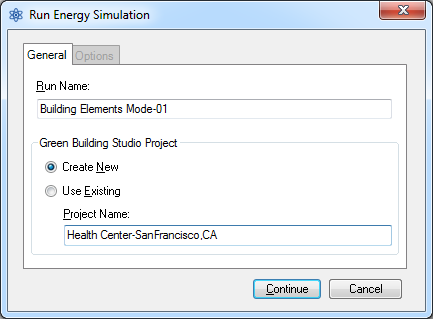
Name the simulation run and specify the Green Building Studio project.
|
In the Run Energy Simulation dialog specify the run name and the Green Building Studio Project to assign the run to. (Choose a name that is descriptive of the model and energy settings, and ensure that the Project you’re assigning the run to have the proper location and building type settings.) Then click Continue. |
|
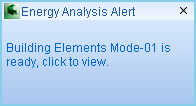
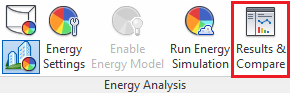
Access the results by clicking the pop-up alert or Results and Compare.
|
When the simulation is complete, an alert displays. Click the analysis name in the alert to view the simulation results. Or go to the Energy Analysis panel, click Results & Compare, and select the analysis from the project tree. |
|
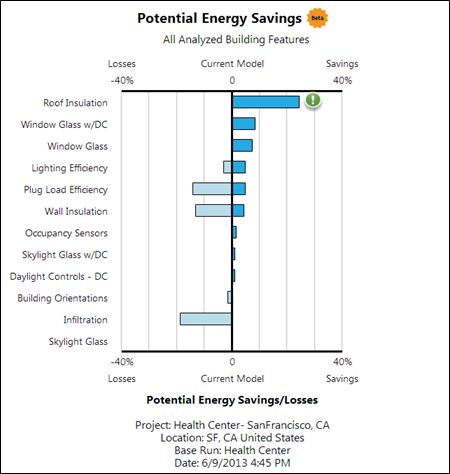
Review the simulation results.
|
In the Results and Compare dialog, view the analysis results. Tip: Use the Settings tab to select the charts to include in the results and to configure the display of energy analysis data on the Results tab. |
|
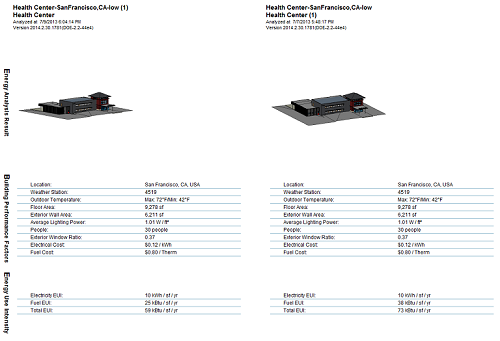
Make changes, simulate, and compare.
|
Modify the building model and energy settings as needed. Then repeat steps 5-7 to run a simulation on the modified model. For a side-by-side comparison of simulation results, select multiple analyses and click Compare on the toolbar. |
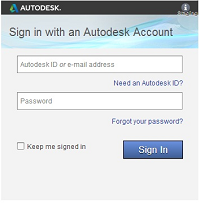
 Sign in to Autodesk 360. Enter your Autodesk ID and password.
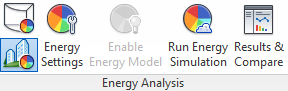
 Use Building Element Mode.
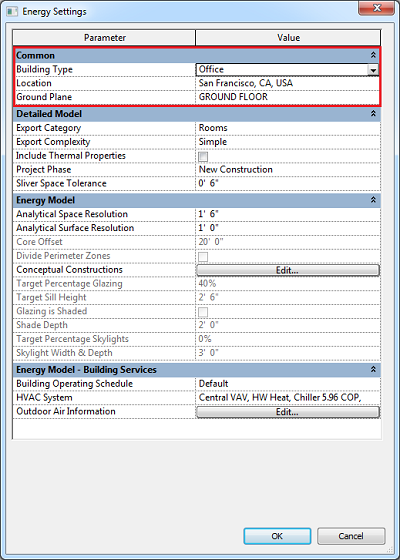
 Energy Settings.