| Quick Start |
Follow these steps to set the sky model and irradiance values in Revit:
- In the View tab in Revit, select "Render in Cloud" from "Graphics" panel.
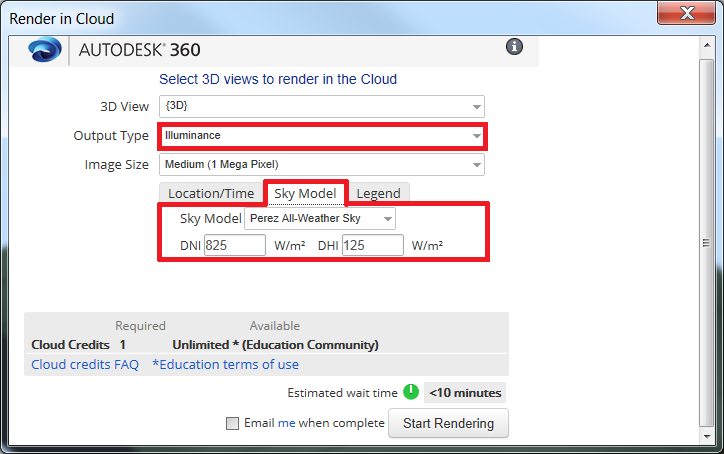
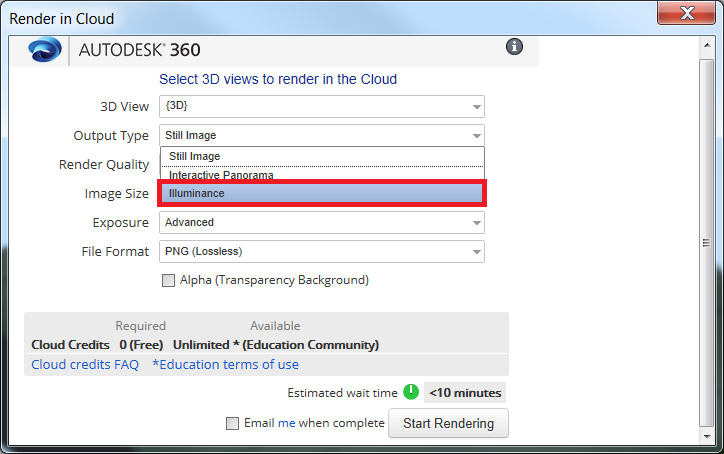
- In the Render in Cloud window, Change "Output Type" to "Illuminance".
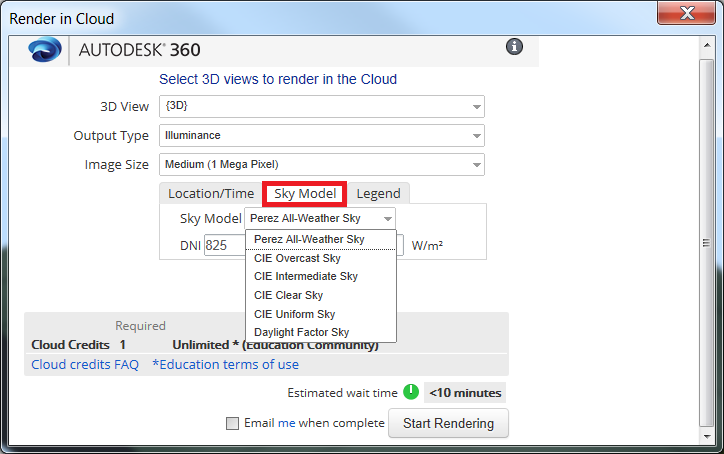
- Go to "Sky Model" tab and select the Sky Model (See the Detail Workflow to learn more about sky models).
-
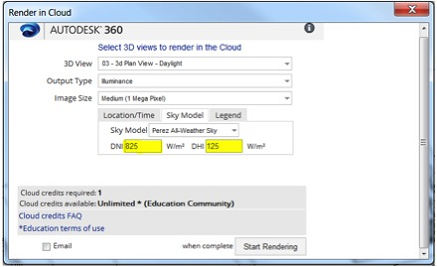
Type in Direct Normal Irradiance (DNI) and Diffuse Horizontal Irradiance (DNI) in W/m2(See more in Detail Workflow).

| Detail Workflow |
In the following you can learn more details about the selecting Sky Models and Irradiance Values:
- In the View tab in Revit, select "Render in Cloud" from "Graphics" panel.

- In the Render in Cloud window, Change "Output Type" to "Illuminance".

- Go to "Sky Model" tab and select the Sky Model.
 Here is some detail information about the options that you have:
- The Perez sky model is the most commonly used model in daylighting simulation applications and the model most analysts use in Radiance. The Perez model yields accurate results for all sky types from clear to fully overcast. It is also the model LEED requires be used for daylighting predictions.
- The CIE models are essentially simplified and standardized instances of the Perez model. They provide standard conditions for daylighting applications (Overcast sky, Intermediate sky, Clear sky, and Uniform sky). If you know what kind of sky you will have, or you're trying to get values for a particular situation (clear or overcast) then it is a good idea to use a CIE model.
- When you choose the Daylight Factor Sky, your results will be expressed as a percentage. This is the percentage of natural light falling on surfaces compared to that which would have fallen on a completely unobstructed horizontal surface under same sky conditions. The location or time of day does not matter if you are using a Daylight Factor Sky. Note: It is important to NOT include electric lighting in Daylight Factor renderings.
If you are unsure of which sky model to use, a good place to start is the CIE Overcast Sky model. This model will not have the unique characteristics of direct sun, and represents an overcast condition that could happen at any time of day and is a good way to put your design to the test. It is often standard practice to also render using the Perez model at an equinox and the solstices at noon, 9am and 3pm to visualize a range of standard conditions.
- With the exception of the Daylight Factor Sky model, you will need to specify the sun's intensity by entering irradiance values: DNI (Direct Normal Irradiance) and DHI (Diffuse Horizontal Irradiance). For all DNI and DHI values, make sure you use units of W/m
2
. See Using GBS Weather Files to get DNI & DHI Settings to learn how to get DNI and DHINote: The user needs t input DNI and DHI. The Global Horizontal Irradiance (GHI) will be automatically calculated as: GHI = DHI + DNI * Cos (solar zenith angle).
 Note: There are a parallel set of measures often found in climate files that are based on illuminance (measured in lux), instead of irradiance (measured in Watts). They are: DNL (Direct Normal Illuminance), DHL (Diffuse Horizontal Illuminance), and GHL (Global Horizontal Illuminance). Again, be sure to enter irradiance values into the tool… NOT these illuminance values.