The DXF Export function is a tool used to export the fitting development parts from within the Autodesk Fabrication software for use in a CAD or other third-party nesting program. There are a number of methods and locations within the Autodesk Fabrication software where you can export an item or items to a DXF file. They are:
- From the Item Folders
- From the Item Takeoff or Quick Takeoff
- From Job Contents Window
- From Opus - Profiler
- By DXF Exporting a Nest
Each method is described below.
From the Item Folders
In the Autodesk Fabrication products, to export an item file to DXF format, the item(s) must first have been created as a Catalog Items Item.
To export the Catalog Part to DXF format:
- Right-click the item
 DXF Export.
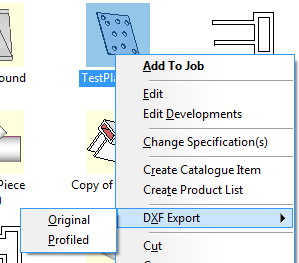
- Select Original or Profiled.
Original will get the part as it was originally created. No kerf or leadins are applied. Profiled applies kerf, if applicable, and leads.
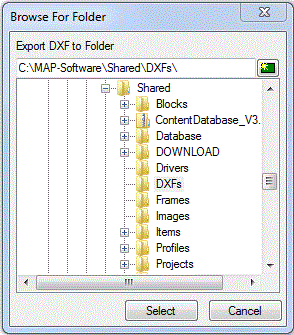
- Browse to and select the folder where you wish to save the DXF files.
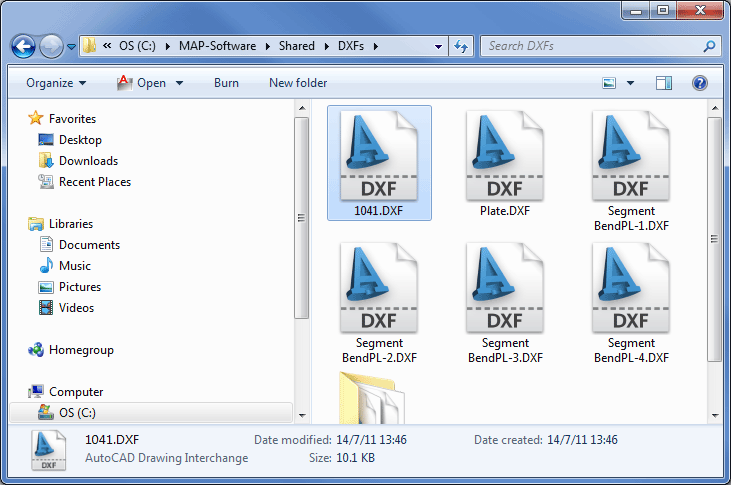
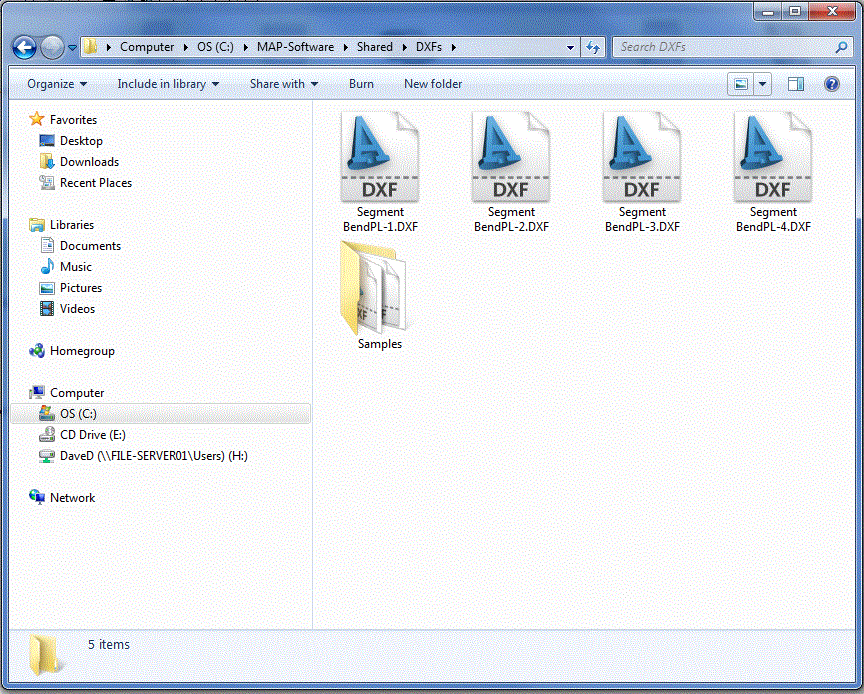
The item will be exported as a DXF file. If the item is composed of multiple parts, such as in a Segment Bend, the export will save multiple DXF files, depending on the number of developed pieces making up the item. These will be numbered in sequence: Item Name-Part No.DXF.
- If desired, you can create a new folder to store the exported DXFs by clicking New Folder
 in the Browse for Folder dialog.
From Item Takeoff View or Quick Takeoff View
The Autodesk Fabrication products can export an item file as a 3D model in DXF format for opening in a CAD software application.
To export to DXF from the Item Takeoff View or Quick Takeoff View:
- Right-click on one of the 4 views in item Takeoff view, or the view of the item in the Quick Takeoff window.
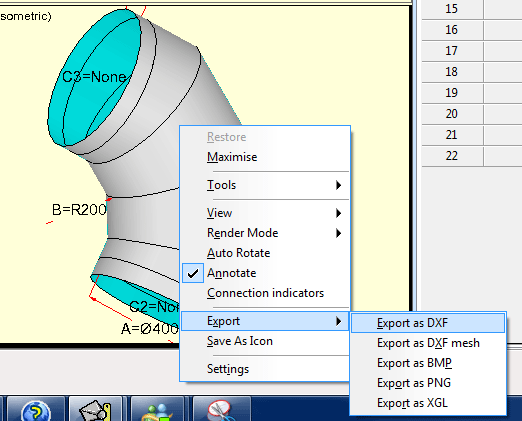
- From the right-click menu, click either Export as or DXF Export (No Mesh).
The No Mesh DXF file creates a simpler smaller sized model if you need to keep file size down to a minimum.
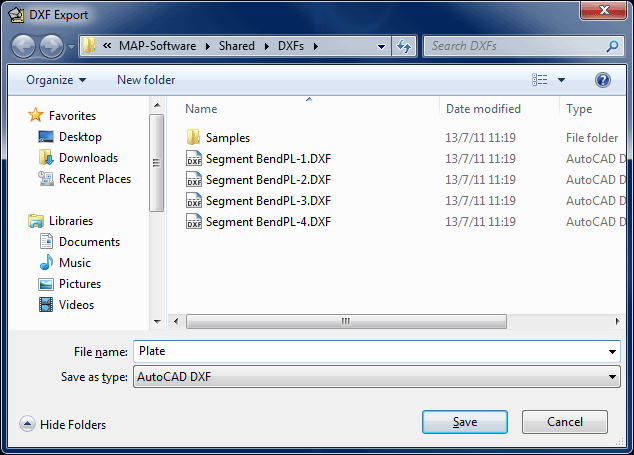
You are prompted to choose a location and file name for the 3D model to be saved.
- Specify a location and file name for the 3D model to be saved.
From Job Contents Window
The Autodesk Fabrication products can export the DXF file in the same format as in item folders, i.e. as Developed parts, but the item does not have to be saved as a Catalog item.
- Right-click the item, and click DXF Export.
- Browse to the folder you wish to save the DXF files, and click Select.
- The item will be exported into multiple DXF files, depending on the number of developed pieces that make up the item. These will be numbered in sequence (Item Name-Part No.DXF).
From Opus - Profiler
The ability to export a drawn Opus part is used for exchanging files with colleagues who may not have the Autodesk Fabrication software, or are using some other drawing software.
- The DXF Export command can be accessed by any of the following methods:
- From the toolbar, click DXF Export
 .
.
- At the command line, type DXFEXPORT .
- From the Tools menu
DXF Export in Opus and Profiler
DXF Export .
- From the toolbar, click DXF Export
- A window displays prompting to select the location and name for saving the exported file.
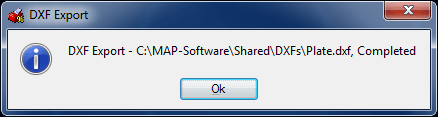
- Once the file has been successfully saved, a confirmation message displays.
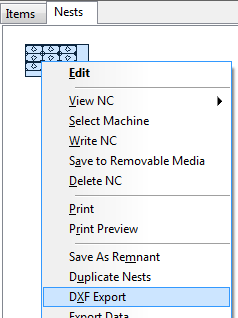
DXF Exporting a Nest
A nested sheet of parts can be exported as a DXF file for use in another software application.
To export a nest as a DXF file:
- Right-click on a nest or nests and select DXF Export.
- The nests will then be saved as DXF files, and the DXF file name includes the NC number associated with that nest, similar to what is shown below.