Upload designs
Upload designs in Fusion
In Fusion, go to the project where you want to upload the design.
In the Application bar, click File
 > Upload.
The Upload dialog opens.
In the Upload dialog, do one of the following:
- Drag the files you want to upload into the Drag and Drop Here area.
- Click Select Files and navigate to the files you want to upload.
Optional: Click Change Location to specify a different location to upload the selected files.
Click Upload.
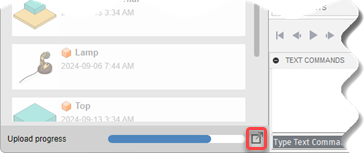
Optional: To see the Job Status dialog, at the bottom right of the Fusion window, click View Job Status
 .
.
Upload designs with the Fusion web client
Upload by Drag and Drop
- In the Fusion web client, from the Home page, navigate to the project and folder where you want to upload files.
- Drag and drop the item into the content area of the project or a project folder, and your content will be uploaded.
Upload files or folders
- In the Fusion web client, from the Home page, navigate to the project and folder where you want to upload files.
- Click Upload,
 .
. - Select File or Folder.
- Browse to and select the item you want to upload.
- Click Open.
Upload a Fusion assembly
In the Fusion web client, from the Home page, navigate to the project and folder where you want to upload files.
Click Upload,
 .
.Click Assembly.
Browse to and select the folder that contains the assembly to open the Upload Assembly dialog displays.
auto-detects a parent file based on the file formats available within the folder. This file shows in the Select parent file drop down. To override the selected parent, open the drop down and select a different parent file.
Click Upload.
uploads a single composite assembly. When you open the Assembly in the Fusion web client viewer, click the options on the top left to browse through the assembly structure. Some of these are Scene, Sheets, and Model. When you click one of these, the model browser opens. You can select parts or search for parts within this browser.
Upload content from Dropbox
- In the Fusion web client, from the Home page, navigate to the project and folder where you want to upload files.
- Click the Upload button,
 .
. - Click From Dropbox.
- If you are not already signed in to Dropbox, sign in.
- Browse to the file.
- Click Choose.