Activity 8: Machine the base surface using Horizontal
In this activity, you will use a Horizontal strategy to clear the base surfaces to ensure they are perfectly horizontal.

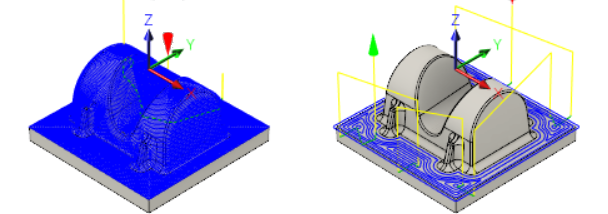
Part with Scallop applied for finishing (left). Part after using Horizontal to machine the base (right).
Prerequisites
- You have applied a Scallop strategy as a finishing operation on the part (Activity 7).
Steps
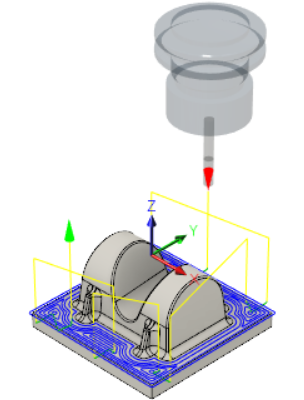
From the Horizontal dialog, select the 13 - Ø6 R1 mm bullnose tool.
- On the Manufacture toolbar, Milling tab, select 3D > Horizontal
 .
. - On the Tool tab
 , click Select.
 - Select the #13 - Ø6 R1 mm bullnose tool from the Tutorial4 library.
- Click Select to close the Select Tool dialog.
- On the Manufacture toolbar, Milling tab, select 3D > Horizontal
To avoid machining the top of the part and the small flat areas on the ridges of the part, limit the depth range to machine the bottom flat face only.
- Click the Heights tab
 .
. - Choose Selection from the Top Height drop-down menu.
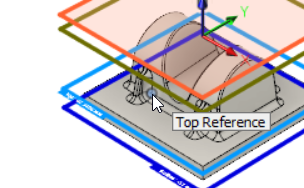
- For the Top Reference, select one of the vertices above the bottom fillet as shown in the following image:

- Click the Heights tab
Specify the machining passes.
Click the Passes tab
 .
.Change Tolerance to 0.02 mm.
Change Smoothing Deviation to: 1 mm
Enable the Stock to Leave checkbox. This operation machines down to the final shape of the part, without any stock allowance.
Change Radial Stock to Leave to 0 mm.
Change Axial Stock to Leave to 0 mm. This value should update automatically).
Click OK to automatically start calculating the toolpath. The toolpath is now calculated, and a preview appears on the canvas.

Activity 8 summary
In this activity, you used a Horizontal strategy to machine the base surface.