Activity 7: Use Scallop for a finishing operation
In this activity, you will use a Scallop strategy to finish the part. There is now 0.1 mm of remaining material on most of the part. There is a little more on top of the base surfaces, inside the 4 mm fillets, and on the lower part of the fillets at the base surfaces.
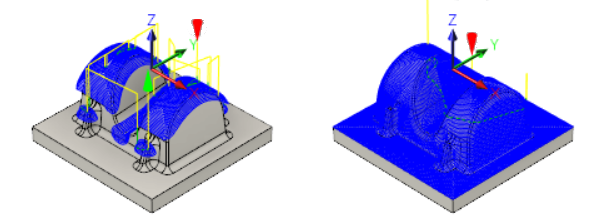
Part with Scallop applied for shallow areas (left). Part after using Scallop for finishing (right).
Prerequisites
- You have applied a Scallop strategy to machine shallow areas of the part (Activity 6).
Steps
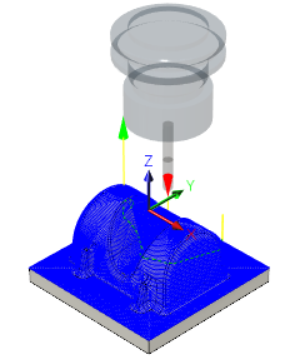
From the Scallop dialog, Select the Ø6mm ball tool.
On the Manufacture toolbar, Milling tab, select 3D > Scallop
 .
.On the Tool tab
 , click Select to access the tool library.
Select the tool 21 - Ø6 mm - ball from the Tutorial4 library.
Click Select to close the Select Tool dialog.
Note: The slope range was limited in the previous operations to confine machining to steep areas. In this operation we want to machine the entire part in one go to obtain a consistent amount of stock left. Machining is performed down to the flat area of the part, omitting the rectangular base.
Specify the machining passes.
- Click the Passes tab
 .
. - Set Tolerance to 0.02 mm.
- Choose Inside -> Out from the Inside/Outside Direction drop-down menu.
- Set Stepover to 1 mm.
- Enable the Stock to Leave checkbox.
- Set Radial Stock to Leave to 0.05 mm.
- Set Axial Stock to Leave to 0.05 mm. This value should update automatically.
- Click OK to automatically start calculating the toolpath. A preview appears on the canvas.
- Click the Passes tab
Activity 7 summary
In this activity, you used a Scallop strategy as a finishing operation on the part.