Activity 10: Tap the four holes
In this activity, you use the Drill operation to create threads by tapping the four holes.

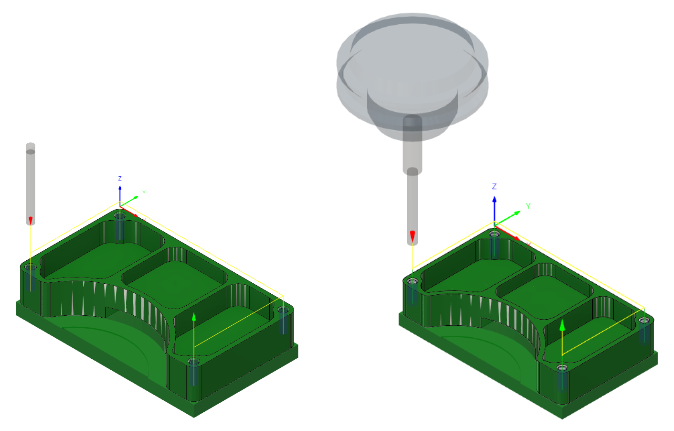
Before, showing the Drill toolpath applied at the four holes (left). After, showing the Drill toolpath using the tapping cycle applied at the four holes (right).
Prerequisites
- Activity 9 is complete.
Steps
Select the #5 – Ø0.138” (Tap right hand).
On the Manufacture toolbar, Milling tab, select Drilling > Drill
 .
.On the Tool tab
 , click Select to choose a new tool.
From the Documents > 2D Adaptive Milling Tutorial v1 list, select #5 – Ø0.138” (Tap right hand).
Click Select to close the Select Tool dialog.
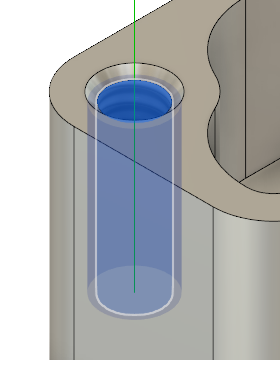
Select the faces of the threaded holes.
Select the Geometry tab
 .
.From the Selection Mode drop-down menu, confirm that Selected faces is selected.
Confirm that the Hole Faces button is active and select the face of one of the threaded holes.

Check the Select Same Diameter checkbox.
The other three remaining holes are automatically selected.
Set the drilling cycle type to Right tapping, then start the calculation.
Select the Cycle tab
 .
.From the Cycle Type drop-down menu, select Right tapping.
Click OK to create the toolpath.
Activity 10 summary
In this activity, you selected a tool and applied a Drill toolpath at the four threaded holes.

Before, showing the Drill toolpath applied at the four holes (left). After, showing the Drill toolpath using the tapping cycle applied at the four holes (right).