Activity 1: Create an additive MJF setup
In this activity, you open the sample file, switch to the Manufacture workspace, then create an additive MJF setup and select a printer.
Prerequisites
The Design workspace is open.
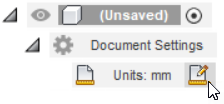
If necessary, switch from inches to millimeters.
In the Browser, to the right of Units, click Change Active Units.

In the Change Active Units dialog, select a Unit Type of Millimeter.
Click OK.
Steps
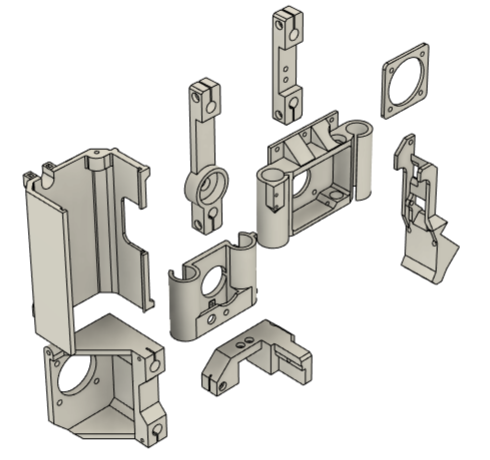
Open the Additive MJF file.
If necessary, on the Application bar, click Show Data Panel.
In the Data Panel, under Samples, double-click CAM Samples > Additive Manufacturing > MJF > Additive MJF.
Close the Data Panel.

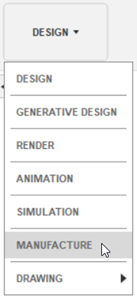
From the Workspace menu, select Manufacture.

Create a setup selecting the HP Jet Fusion 5000 printer.
On the Manufacture workspace toolbar, click Additive > Setup > New Setup
 .
.In the Setup dialog, next to Machine, click Select.
In the Machine Library, in the left panel, ensure that the Fusion Library is selected.
In the right panel, on the Filters tab, ensure that Capabilities is set to Additive and Technologies is set to MJF.
In the middle panel, find and select HP Jet Fusion 5000, then click Select.
The Machine Library closes and the HP – MJF print setting is automatically selected.
In the Setup dialog, deselect the Arrangement checkbox.
Click OK.
In the warning about no model being selected, click Yes.
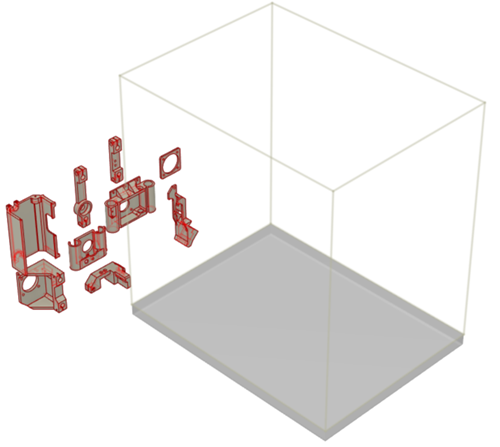
The Setup dialog closes, and a Setup node is added to the Browser. The nine components are outside the build volume and highlighted red.

Activity 1 summary
In this activity, you opened the sample file, switched to the Manufacture workspace, then created an additive MJF setup and selected a printer.