Activity 2: Duplicate and arrange the components
In this activity, you duplicate the components, arrange the components inside the printer's build volume, check the platform statistics, fill the build volume with more components, then check the platform statistics again.
Prerequisites
- Activity 1 is complete.
Steps
Duplicate the nine components to ensure there are enough parts for an efficient print, maximizing the use of the printer’s build volume.
On the Manufacture workspace toolbar, click Additive > Modify > Duplicate
 .
.On the canvas, click each of the nine components.
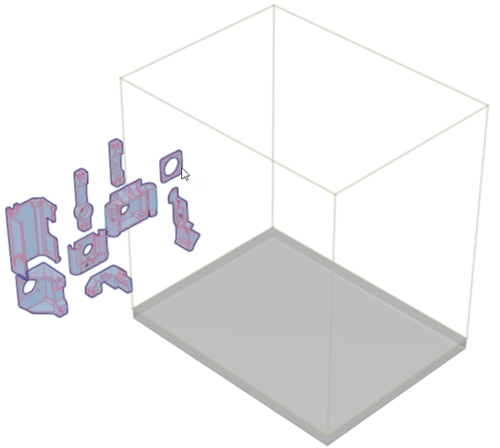
In the Duplicate dialog, ensure that Place Copies is set to At Same Location.
Enter a Quantity of 25. This creates a total of 225 components (9 original + 216 copies).
Click OK.
Fusion creates the copies of the selected components at the same location as the original components.
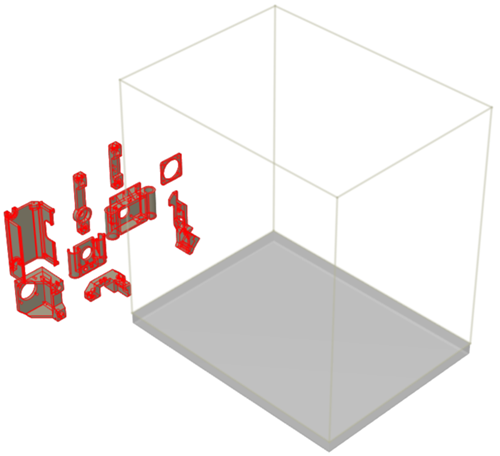
Arrange the components inside the printer’s build volume to optimize their placement and packing.
On the Manufacture workspace toolbar, click Additive > Position > Arrange
 .
.In the Additive Arrange dialog, set the Arrangement Type to 3D Arrange (Monte Carlo) and keep the Priority Type set to Component. The 3D Arrange (Monte Carlo) method uses random sampling to find an optimal arrangement for the components.
Change the following:
Frame Width to 0 mm.
Ceiling Clearance to 0 mm.
Object Spacing to 2 mm.
In the Advanced Settings, ensure that the Initial Rotation is set to Arbitrary. This enables the components to be rotated in any direction to reduce their height and improve packing efficiency.
Leave all other settings unchanged.
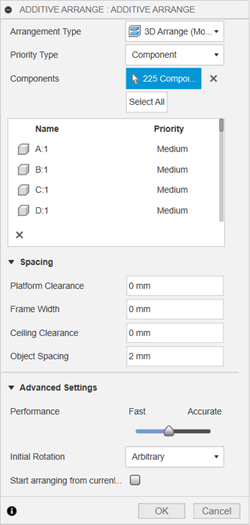
Click OK to arrange the components into the printer's build volume.
Note: The process may take several minutes.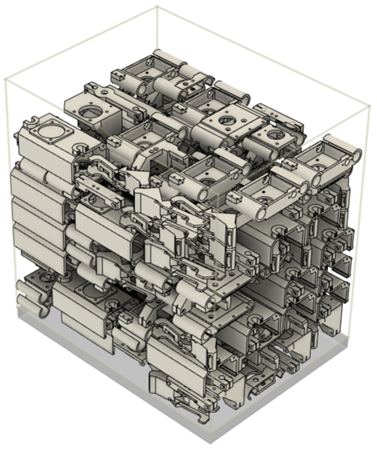
Check the platform statistics to verify that the components are packed efficiently.
On the Manufacture workspace toolbar, click Additive > Actions > Platform Statistics
 .
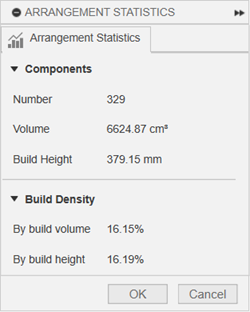
.The Platform Statistics dialog opens, showing information for that arrangement. For example:
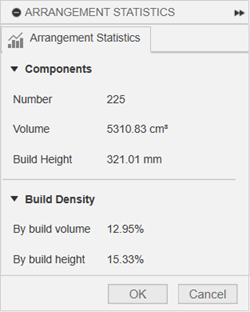 Note: Your statistics may vary because of the random nature of the 3D Arrange (Monte Carlo) method.
The number of components indicates how many parts you can produce in a single print.
The volume reflects the total space occupied by the components.
The build height shows how tall the print is, which can affect the print time and stability.
The build density indicates how densely the components are packed as a percentage of the overall build volume and the build volume up to the build height. Higher densities mean more efficient use of the printer's capacity.
Click OK.
Fill the build volume with more components to use the remaining empty space, increasing productivity.
On the Manufacture workspace toolbar, click Additive > Modify > Fill Build Volume
 .
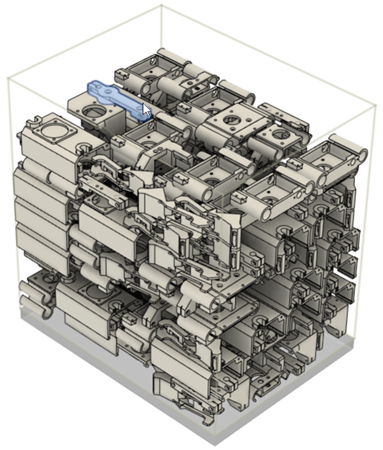
.In the Fill Build Volume dialog, ensure that Selection active then, on the canvas, click one component to fill the remaining empty space with copies of that component. For example:
Set the Filling Type to 3D (True Shape). This ensures that the additional components fill the build volume efficiently by considering their actual shapes, not just rectangular outlines (bounding boxes), allowing for optimal stacking and minimizing unused space.
Change the following:
Frame Width to 0 mm.
Ceiling Clearance to 0 mm.
Leave all other settings unchanged.
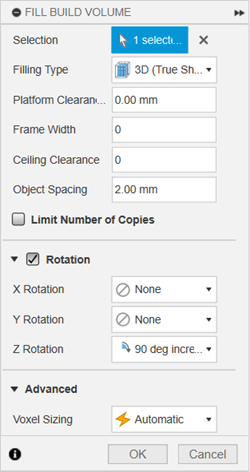
Click OK to copy the component and fill the empty space in the printer's build volume with the additional components.
Note: The process may take several minutes.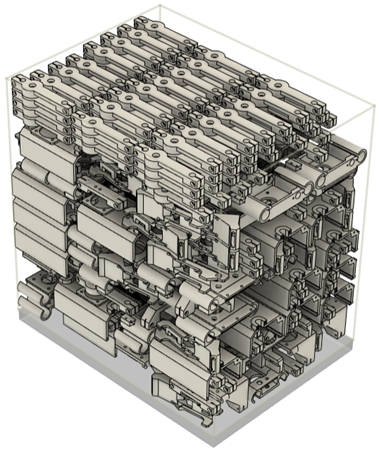
Check the platform statistics again to confirm that the new arrangement is still optimized.
In the Browser, right-click the Build Density node and choose Platform Statistics.
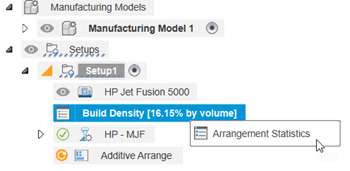
The Platform Statistics dialog opens, showing that more components can be printed and that packing efficiency has improved.
Click OK.
Activity 2 summary
In this activity, you duplicated the components, arranged the components inside the printer's build volume, checked the platform statistics, filled the build volume with more components, then checked the platform statistics again.