Activity 3: Create a section view
In this activity, you:
- Create a section view.
Prerequisites
- Activity 2 is complete.
Steps
Place a Section View.
A section view is a drawing view that cuts through a design to reveal the inside.
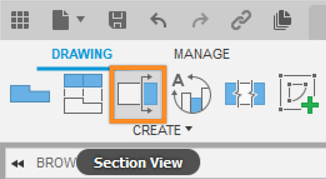
From the Create toolbar, select Section View.

The Section View command is located under the Create drop-down list.
Click the projected view on the right (above the title block) to select it as the parent view from which the section view will be created and associated.
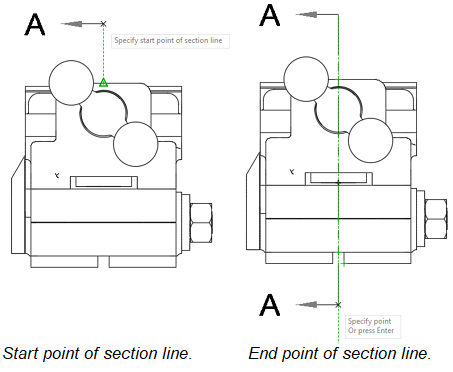
Use the triangular midpoint snaps to draw a vertical dividing line through the right projected view.
Click to specify the start point of the section line.
Click to specify the end point of the section line.
Note: For better visibility of the section line, click slightly above the view for the start point of the section line and then slightly below the view for the end point of the section line (as shown in the images below.)
Vertical dividing line through the right projected view.
Click the green check mark to commit the selection of the section line points.

The green check mark.
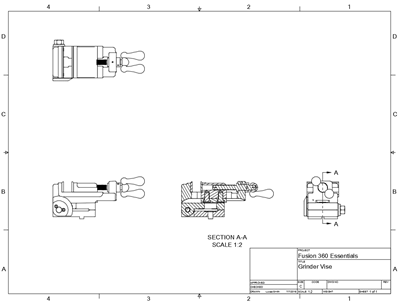
Place the view between the right projected view and the base view.
Click OK to generate the section view.

Drawing with a base view, projected views, and a section view.
Activity 3 summary
In this activity, you:
- Created a section view.