Activity 2: Create projected views
In this activity, you:
- Create projected views.
Prerequisites
- Activity 1 is complete.
Steps
Initiate a Projected View.
Now that we've created a base view of the model assembly, let's create projected views
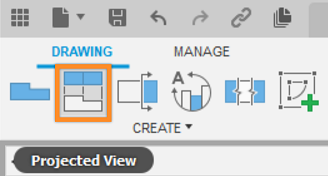
From the Create toolbar, select Projected View.
Click the base view to select it as the parent view from which the projected views will be created and associated.

The Projected View command is located under the Create drop-down list.
Place the Views.
Drag the cursor to the right of the base view, and notice that the projected view is previewed based on this alignment.
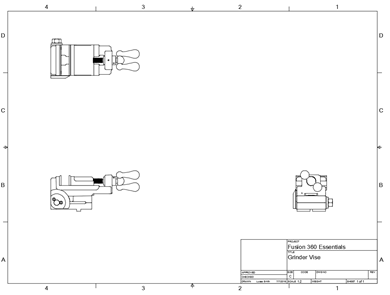
Click on the bottom right quadrant of the sheet (above the title block) to place the first projected view.
Click on the top left quadrant of the sheet to place the second projected view.
Press
Enterto finish the task.
The base view along with the projected views.
Note: A projected view inherits all its properties from the parent. When the properties of the parent view change, the corresponding properties of the projected view also change. You can change the properties of a projected view by double-clicking it.
Activity 2 summary
In this activity, you:
- Created projected views.