Activity 2: Compare the components in two design variants
In this activity, you compare the components in Tubescreamer C Schematic and the second PCB from Tuberscreamer Electronics design.
Prerequisites
- Activity 1 is complete.
- Close Tubescreamer C Board, but leave Tubescreamer C Schematic open.
Steps
Click Show Data Panel, if necessary, navigate to Samples > Electronics samples > Synchronizer Tutorial and open Tubescreamer D Electronics Design board.
Save it into location from previous activity.
Open Tubescreamer C Schematic from previous activity.
Click Validate > Validate > Synchronize
 .
.In the Synchronizer dialog, remain Tubescreamer C Schematic as the Source in the left column, and select Tubescreamer D Electronics Design as the Target in the right column.
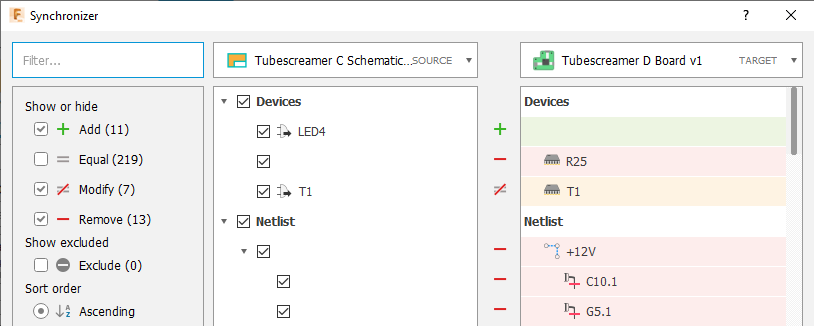
This display is useful for inspecting the design changes applied to Tubescreamer C to produce Tubescreamer D.
Note: If the columns contain little information, it means you have not enabled the libraries with components from this board or schematic.After reviewing the design changes in the Synchronize dialog, click Close to leave the two designs unchanged.
Activity 2 summary
In this activity, you compared the components in Tubescreamer C Schematic and Tubescreamer D Electronics Design PCB.