Activity 8: Create a design, validate, and export it to an Inventor file.
In this activity, you create a design from the selected outcome. Also, you create a simulation study based on the generative study setup in the Simulation workspace and export the design to the Inventor file.

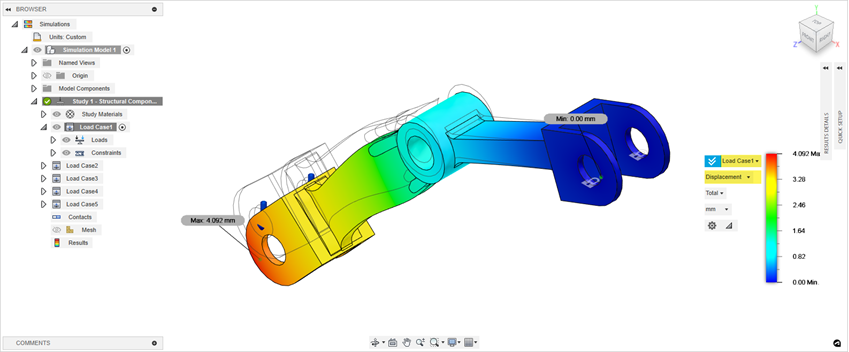
The selected outcome (left) and results for the simulation study based on the generative study setup (right).
Prerequisites
- Activity 7 is complete.
- You can use the predefined sample files from the Data Panel: Generative Design Samples > Outcomes.
Steps
Create a design from the selected outcome.
Note: You can use the predefined sample file from the Data Panel: Generative Design Samples > Outcomes > Outcome1_Front Loader and skip steps from a-e.- To create a design from the outcome, click Create > Design from Outcome
 .
.
In the upper-left corner of the Outcome View, an indicator shows that the design is being prepared.
This takes some time. - In the Job Status dialog, click Close.
- When the new design is ready, in the upper-left corner of the Outcome View, click the indicator.

- In the Design Ready dialog, click Open design.
Tip: Alternatively, you can open the design from the Job Status dialog. In the upper-right corner of the Fusion window, click the Job Status icon , expand the Create Design job, and then click Open Design.
The design opens in a new Untitled tab.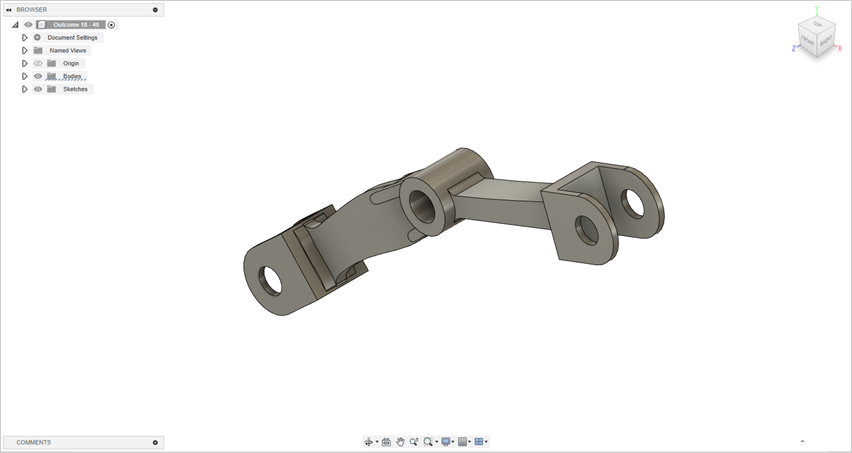
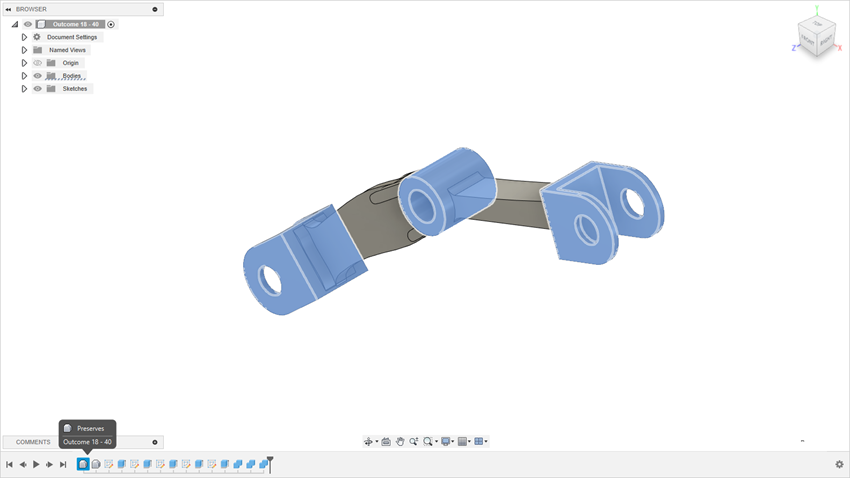
- To highlight the preserves on the created design, on the timeline, click the first icon.
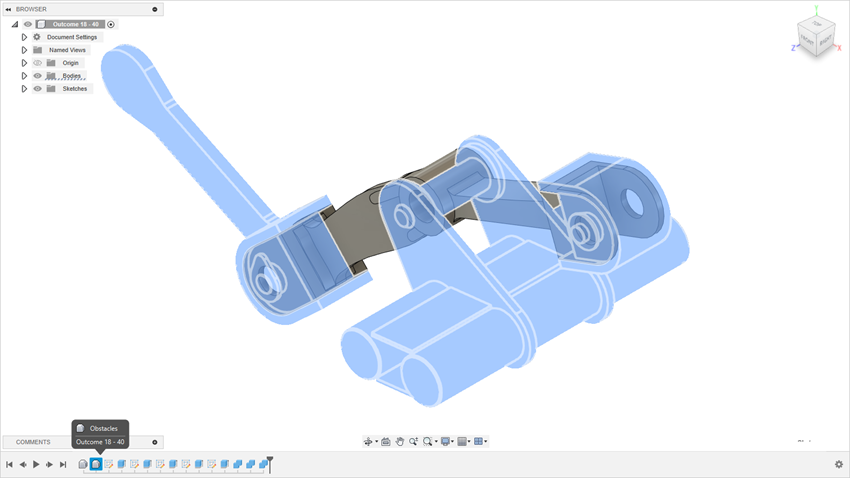
- To highlight the obstacles on the created design, on the timeline, click the second icon.
- To save the design under a new name, click
 and type Outcome1_Front Loader.
- To create a design from the outcome, click Create > Design from Outcome
Create a simulation study based on the generative design study.
Note: This step requires tokens to solve on the cloud.- On the toolbar, click Design to change workspace.
- Select the Simulation workspace from the drop-down list.
- To confirm that you want to use setup from generative design to create a new static stress study, click Yes.
Note: In the Browser, notice that the Study 1 creates automatically. In this study you can find materials and all load cases defined in the Generative Design workspace.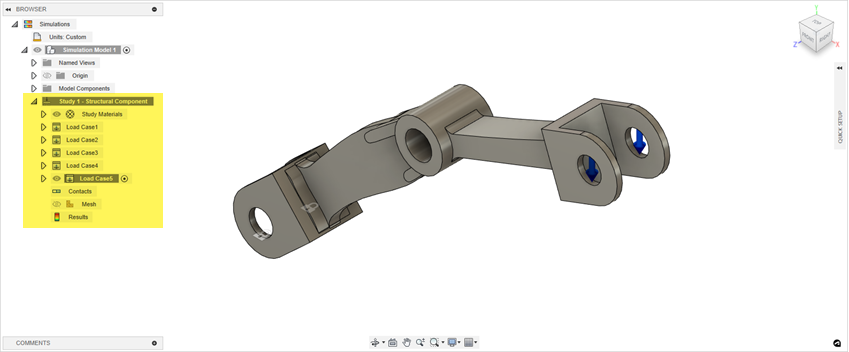
- On the Setup tab, click Solve > Solve
 .
. - In the Solve dialog, click Solve 1 Study.
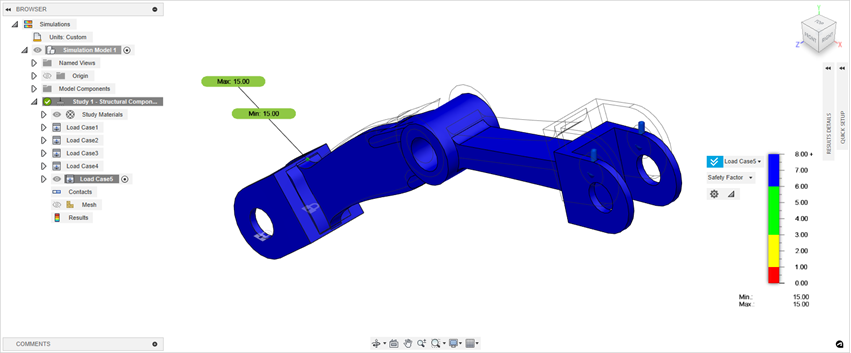
- To view the displacement, click the Results drop-down list next to the plot legend, and select Displacement.
- To view the displacement for other load case, click the Results drop-down list next to the plot legend, and select Load Case1.
Export the design to the Inventor file.
- On the toolbar, click Simulation to change workspace.
- Select the Design workspace from the drop-down list.
- Click
 File > Export.
 - Enter the GD Outcome name for the exported design.
- Specify the export type file: Autodesk Inventor Files (*.ipt).
- Specify the save location. Click ... to navigate to the local file location.
- Click Export.
Note: The export may take some time. After the application finishes exporting the file, the status will change to Complete in the Job Status dialog.
Activity 8 summary
In this activity, you created the design from the selected outcome. Also, you created the simulation study based on the generative study setup and exported the design to the Inventor file.