Activity 1: Prepare the Fusion environment
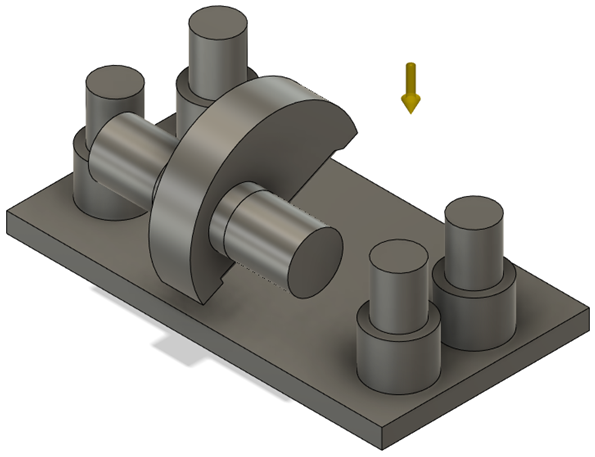
Before you begin, you need to open and save the sample design (GE Bracket) to a personal folder and set the units and outcome resolution.

The GE Bracket opened in the Generative Design workspace.
Prerequisites
- Fusion is started.
- Data file location: Generative Design Samples > GE Bracket.
Steps
Open the GE Bracket design.
- If necessary, click Show Data Panel
 .
. - In the Data Panel, under Samples, open Generative Design Samples > GE Bracket.
When you open a sample design in Fusion for the first time, it appears in the Design workspace. The design is read-only, and you should save a copy of it to a personal project.
- If necessary, click Show Data Panel
Save a working copy of the design to a personal folder.
- Click File
 > Save As.
 - In the Name box, type My GE Bracket Quick Start Tutorial.
- To the right of the Location box, click the DownArrow icon
 .
. - Click New Project.
- In the box, type My Generative Design Tutorials.
- In the Project list, to make it the current file saving location, click My Generative Design Tutorials.
- Click Save.
- Click File
Verify that U.S. (in) is the Default Unit Set for the new generative design study.
The generative units are independent from the units specified in the Design workspace. So the units system can change when you switch to the Generative Design workspace.
- On the toolbar, click Design to change workspace.
- Select the Generative Design workspace from the drop-down list.
The New Generative Study dialog opens. - In the dialog, select Structural Component and click Create Study.
Note: In the Browser, the Study 1 - Structural Component study appears. - In the Browser, to the left of the Model Components node, click the Expand icon
 .
. - If necessary, to see the components list, expand the GE_Bracket:1 node.
- At the top of the Browser, place the mouse pointer over Units, and to the right, click the Edit icon
 .
. - In the Units Settings dialog, from the Default Unit Set drop-down list, select U.S. (in).
- Click OK.
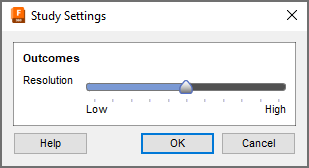
Specify the resolution of outcomes for the generative study.
The Study Settings dialog enables you to specify the desired resolution of outcomes. The more accurate the solution, the more time the application needs to complete the calculation.
- On the Define tab, click Study > Study Settings.
Tip: You can also access the Study Settings dialog by pressing E or placing the mouse pointer over Study 1 - Structural Component, and clicking Study Settings. - In the Study Settings dialog, if necessary, set the slider position between Low and High.

- Click OK.
- On the Define tab, click Study > Study Settings.
Activity 1 summary
In this activity, you opened and saved the sample file to a personal folder and set the units and outcome resolution.