Create a hub (new administrator)
Follow these steps as an administrator to create a hub for your organization.
Think of a name that you would like to use for your hub and make note of it.
Usually this is a name that represents your organization or will be recognizable to the people who will be working in the hub. If the hub is going to be used for sensitive data or projects, avoid giving it a name that could reveal its purpose.
On your computer, start Fusion.
When prompted, click Sign In.
In the browser window that opens, click Go to product.
Note: The reason Fusion authorization happens through a browser is to support password managers for an added layer of account protection.If this is the first time starting Fusion, it opens to a series of prompts that guide you through the setup process.
If not, click the hub switcher
 , and select Find hubs.
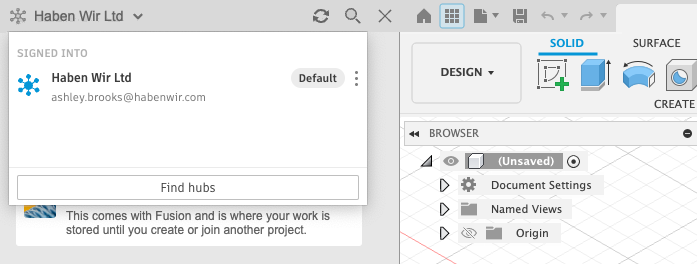
Follow the setup prompts using these guidelines.
Hub name: When prompted to enter a hub name, use the name you chose in the first step.
Team: You might be asked to select a team to associate your hub with. A team is related to your Autodesk account and let's you manage users and subscriptions for across all your Autodesk products. a team can have multiple hubs associated with it. For more information about hubs and teams, see Administer hubs
Discovery: Allow this if you want others with the same email domain as you to be able to find your hub. This is a personal preference, but generally if you’re working in a closed, secure domain (for example, autodesk.com), you’ll likely want your colleagues to be able to discover your team. If you’re using a generic email address (for example, hotmail.com), making the hub discoverable could present a security risk, so the option is discouraged, or simply unavailable.
Once you’ve set your Discovery preference (if applicable), click Create.
The hub is created. This should only take a few moments.
Click Go to hub.
You will be prompted to select preferences for data usage and how you intend to use Fusion. These preferences are optional; once you’ve finished with them, Fusion will have started, and you can start inviting people to the hub you'vecreated.
For more information on setting up Fusion hubs, see this Autodesk blog post.