Start your design
Create your first design, use some of the basic modeling tools, use the browser and the timeline, switch between workspaces, and save your first design.
Set the active project
Click the Data Panel icon
 in the upper left to display the Data Panel.
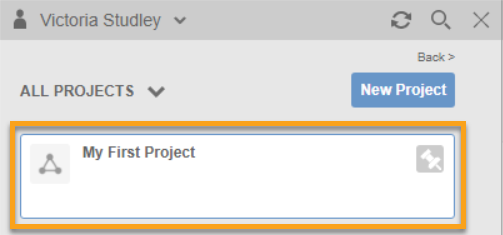
Click the back button next to the active project in the Data Panel.
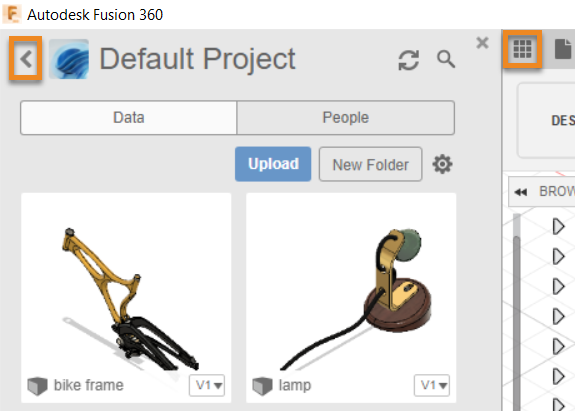
Double-click My First Project to make that project active.
Create and save a new design
Click the File icon
 > New Design.
Click the Save icon
 to save the design.
In the Name field, enter My first box.
Set Location to
<your name>'s First Project.Click Save.

Create a Box
From the Toolbar, expand the Create menu, and click Box.
Select the XZ Plane along the bottom of the canvas.
Pick two points to define the length and width of the box.
In the Box dialog, enter these values:
- Length: 100 mm
- Width: 100 mm
- Height: 50 mm
Click OK.

Round the edges of the Box
Right-click an empty area in the canvas, then select Press Pull from the Marking Menu.
Left-click, hold, and drag the window to select the entire Box.
Enter 8 mm for the Radius.
Click OK.

Add a hole to the Box
From the Toolbar, expand the Create menu, and click Hole.
Select the top face of the Box.
Drag the center of the Hole to the center of the Box.
Set Diameter to a value of 40 mm.
Change Extents to All.
Click OK.

Close and reopen your design
Click the
Xon the tab for My first box. The design is closed and you are presented with an empty design.
In the Data Panel, double-click My first box, or right-click on My first box and click Open.

Use the browser
Click the Hidden icon
 next to the Origin folder to display the origin planes.
Click the Visible icon
 again to turn the origin planes off.
Click
 next to the Bodies folder to expand the folder.
Note there is one Body in this design - the box you just created.

Use the Timeline
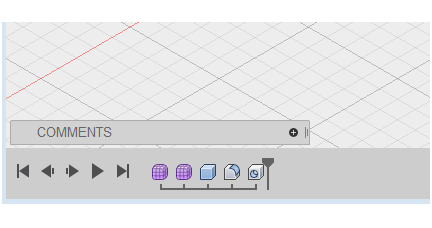
- Click the Play icon
 to replay the operations in the design.
 - Right-click the fillet operation
 in the Timeline.
 - Change the Radius to 5 mm and click OK.
Change workspaces
From the Toolbar, click the Design workspace, then select Render to switch to the Render workspace.
Notice the canvas appearance changes and the Timeline is replaced with the Rendering Gallery. This workspace is used to render images of your design.

Wait for the Rendering Gallery to display a thumbnail of your cloud renderings. Notice the progress of renderings that are in process.
Once the renderings have been processed, click on a thumbnail to display the full image in the Cloud Rendering dialog.
Close the Cloud Rendering dialog.
Click the Render workspace icon, then select Design to return to the Design workspace.