Organize members with groups
Groups help you manage hub members and control their permissions. Instead of assigning access to each member individually, you can create groups and give them access to specific projects.
To access the Groups section:
In the top-right corner of the Fusion web client, click your profile image.
Click Admin > Groups.
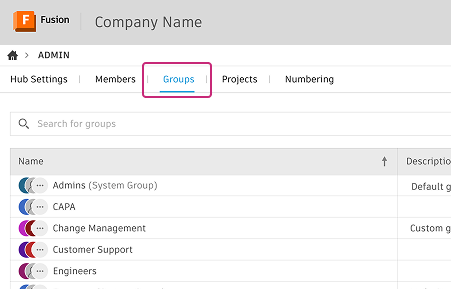
The Groups page displays all groups in your hub. This includes hub-level groups and groups created within project folders.
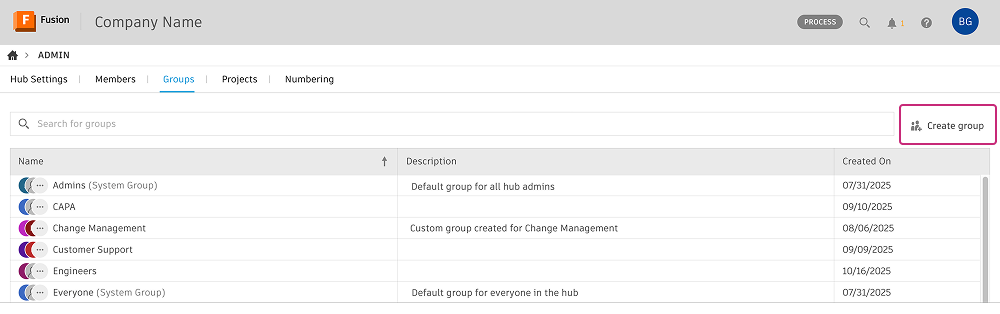
Create a group
On the Groups page, click Create group.
Enter a Group name and Group description.
In the Add or invite group members field, add members to your group:
- Type a member's name into the field and select from the auto-generated list. Hub members are recognized as you type.
- To add people from outside the hub, enter their email addresses separated by commas. They'll receive an invitation to join the hub.
Click Create group.
The new group appears in the list in alphabetical order. You can also use it to manage access to projects at the folder level.
Add members to a group
In the Fusion web client, you can add members to a group using either the Groups page or the Members page.
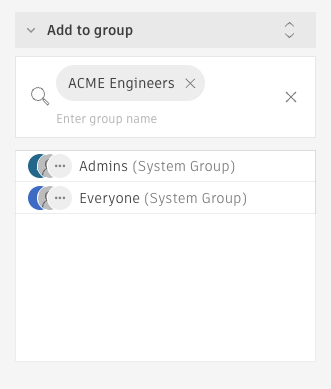
From the Members page
Select the member you want to add to a group.
A side panel with the member's details opens.
In the Add to group section, type the group's name into the field, select from the drop-down list, and press Enter.
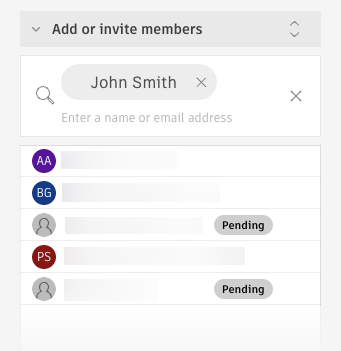
From the Groups page
Select the group you want to add members to.
A side panel with the group's details opens.
In the Add or invite members section, type the member's name into the field, select from the auto-generated list, and press Enter.
To add people from outside the hub, type their email addresses separated by commas and press Enter. They'll receive an invitation to join the hub and appear in the list with a Pending status.
The member is added to the group.
Remove members from a group
You can remove members from a group using either the Groups page or the Members page.
From the Members page
Select the member you want to remove from a group.
A side panel with the member's details opens.
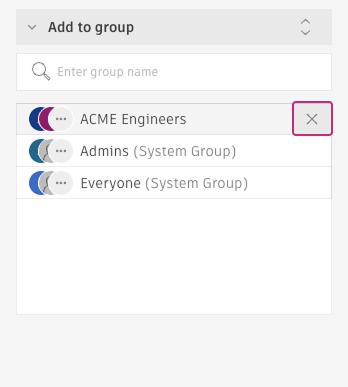
In the Add to group section, locate the group you want to remove:
- Scroll through the list, or
- Type the group's name in the search field to locate it quickly
Hover over the group's name and click the X.
From the Groups page
Select the group you want to remove members from.
A side panel with the group's details opens.
In the Members section, find the member you want to remove:
- Scroll through the member list, or
- Type the member's name in the search field to locate them quickly
Hover over the member's name and click the X.

The member is immediately removed from the group and loses access to any projects or workspaces that were granted through this group.
Edit group details
On the Groups page, click the group you want to edit.
A side panel with the group's details opens.
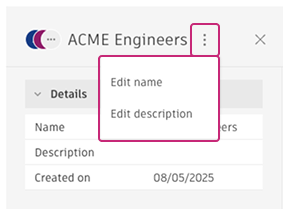
Click More
 in the panel header.
Choose Edit name or Edit description.
Make your changes directly in the editable field.
Press Enter to save your changes.
Changes to group names and descriptions take effect immediately.