Activity 3: Create circles, constrain, and cut holes
In this activity, you sketch several circles on the front face of the bracket. You add constraints and use the circles to make holes.
Prerequisites
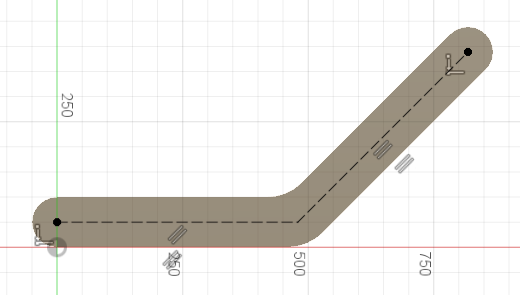
- Activity 2 is complete: The edges have been rounded, the profile extruded into a body, and the construction lines have been sketched on the front surface of the bracket.
Steps
Create five circles at specific locations on the construction lines on the front face of the bracket.
- To sketch the first circle, select Sketch > Circle > Center Diameter circle
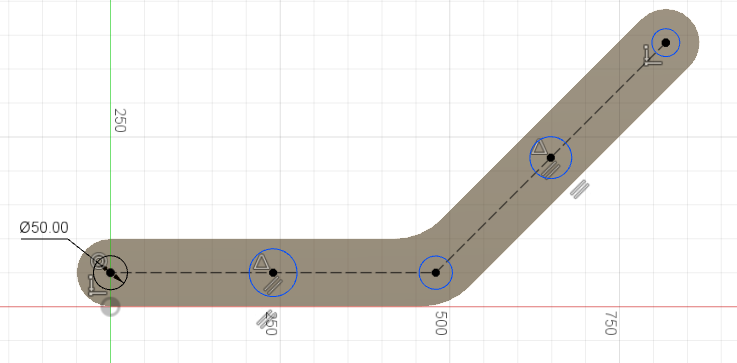
 . Snap the center to the left-side end point of the horizontal line. Enter 50 mm as the diameter and press keyboard Enter.
 - Create a circle centered at the midpoint of the horizontal line. A triangle glyph indicates that your circle is locked to the midpoint.
- Create a circle centered at the intersection of the two construction lines.
- Create a circle centered at the midpoint of the angled line.
- Create a circle centered at the right-side end point of the angled line.
For the next four circles, we specify diameter in a later step. For each circle, be sure to snap the center of the circle to the appropriate point on the construction line.
- To sketch the first circle, select Sketch > Circle > Center Diameter circle
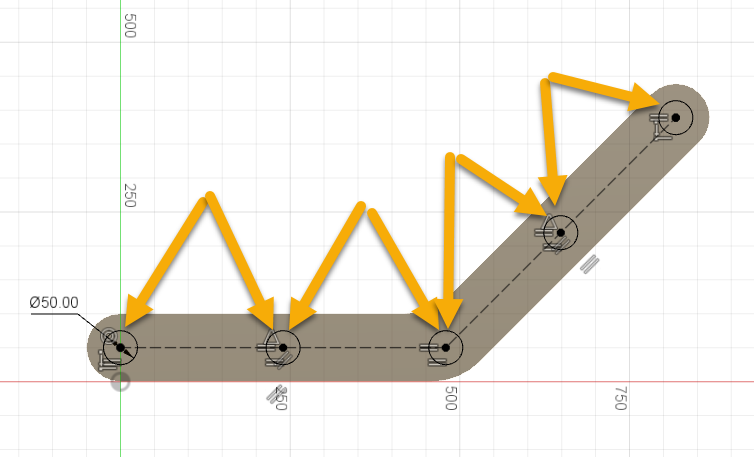
Constrain the five circles to be the same diameter.
- Select the Equal constraint
 .
. - Select the circle that has the 50 mm dimension and the circle next to it.
Note: You have to select the circles in pairs. One Equal constraint is always applied to two circles. To apply each constraint you need to select two circles (the first that has already been constrained and the second that has not). - Repeat by selecting the second circle and the circle next to it.
- Repeat by selecting the third circle (located at the bend in the elbow) and the circle next to it.
- Repeat by selecting the forth circle and the circle next to it.
- To complete the sketch, click Finish Sketch
 .
.
- Select the Equal constraint
Extrude the circles to create holes.
- To extrude the circles, select Modify > Press Pull
 .
. - Select the five circular profiles.
- Drag the arrow through the part, and make sure that Cut is selected.
- To finish the tool, click OK.
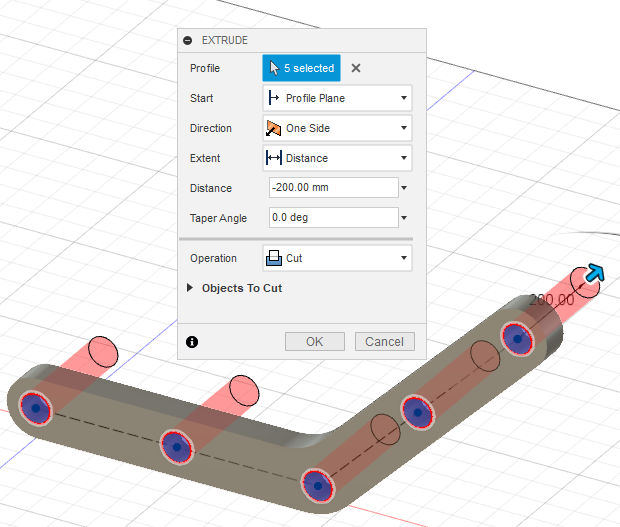 Note: One sketch may contain multiple profiles. Make sure to select the 5 circles. You can add or remove profiles from a selection later by using the CMD key on mac and CTRL key on windows.
- To extrude the circles, select Modify > Press Pull
Activity 3 summary
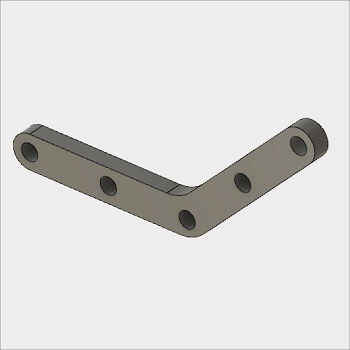
In this activity, you sketched several circles using the construction lines created in the previous step. You dimensioned one circle and used constraints to ensure all are the same diameter. Finally, you extruded the circles to cut five identical holes in the bracket.