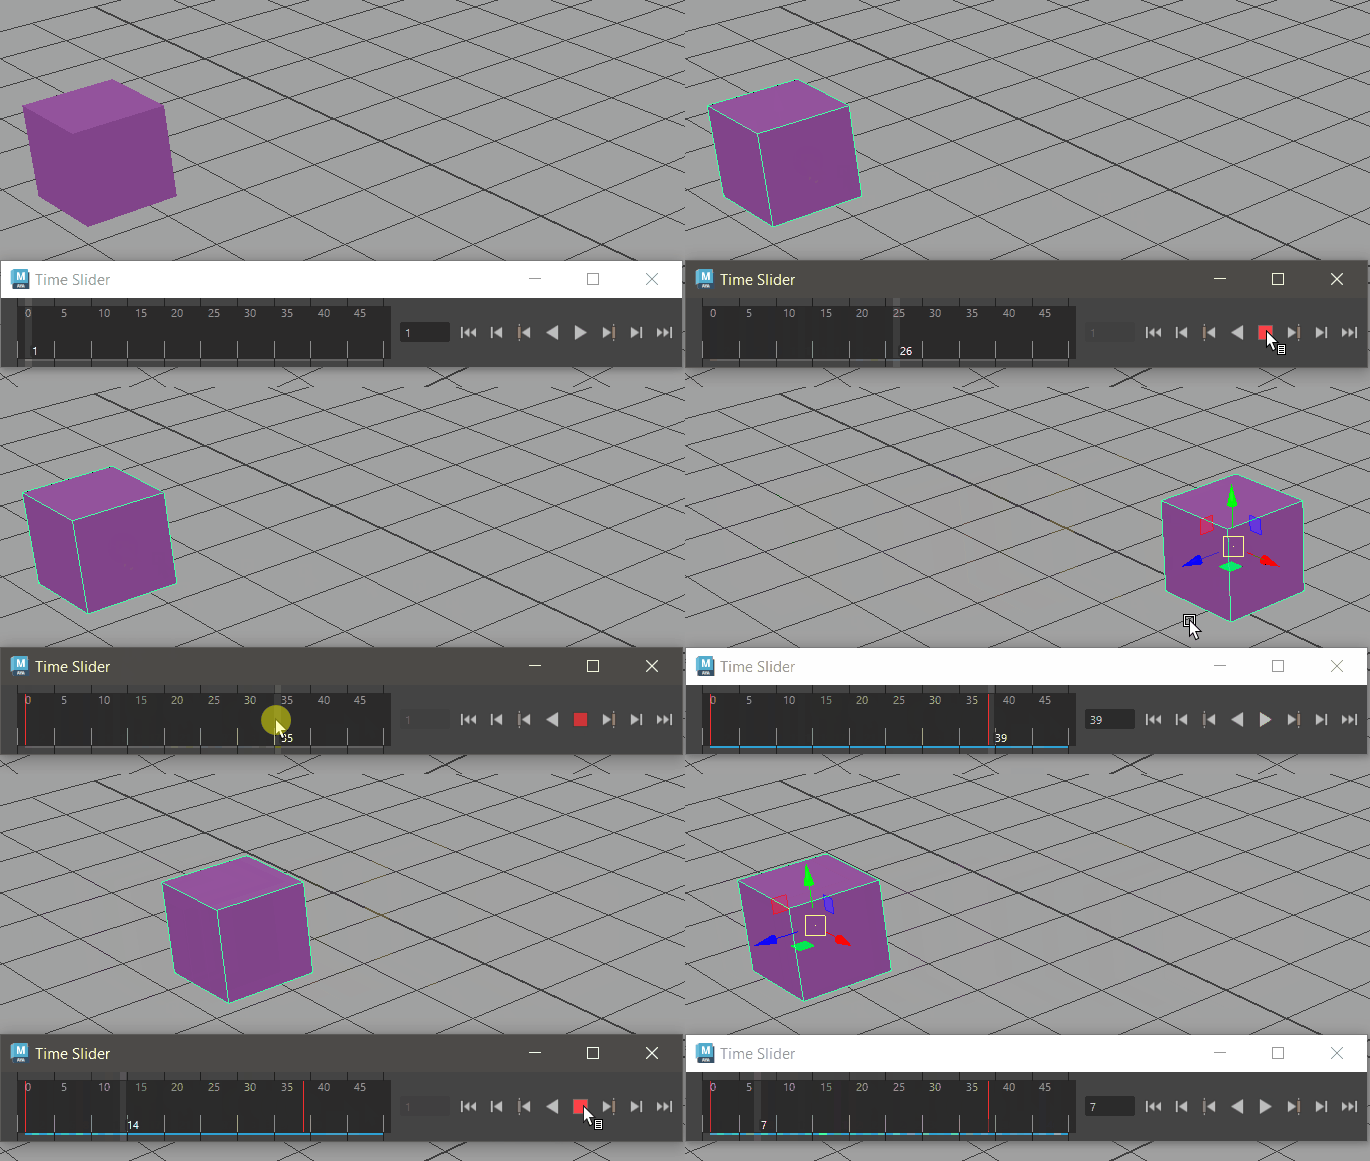
Setting keys on an object to animate it with the Time Slider
Keys are markers that specify the property values of an object at a particular time and space. Setting keys is the process of creating the markers that specify timing and action in your animation. Animation is the process of creating and editing the properties of objects that change over time.
Once you create an object you want to animate, you set keys that represent when the attributes of that object change during your animation.
- You can set more precise values, or key on a specific axis, using the Attribute Editor, Channel Box, or the Graph Editor.
- You can rearrange, remove, and duplicate keys and sequences of keys. For example, you can copy the animated properties of one object onto another, or you can stretch a chunk of animation over a longer period of time than you originally keyed.
- You can display color beads over the key ticks in the Time Slider to represent which curve (translation, rotation and scaling) is keyed by turning on Color Coded Keys in the Animation controls menu.
Keys in the Attribute Editor

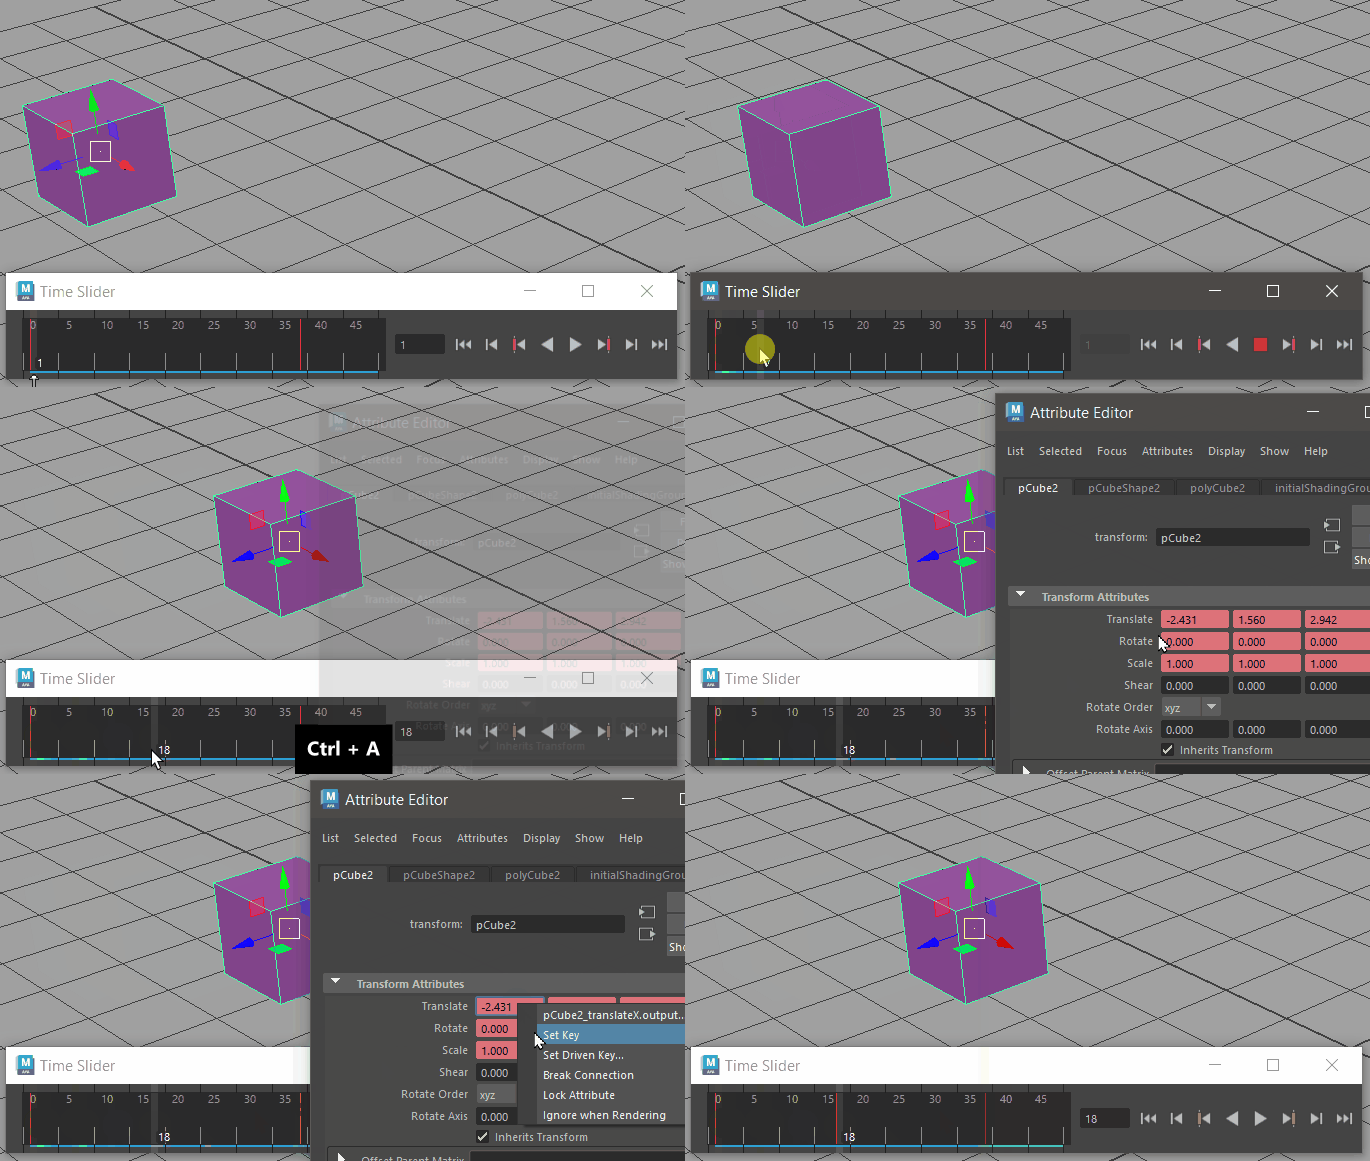
Setting a key using the Attribute Editor
The Attribute Editor (hotkey: Ctrl + A) displays attributes you can edit and key (animate). You can key attributes by right-clicking them in the Attribute Editor, and then selecting Set Key from the pop-up menu. This menu is not available for attributes you cannot key. See Set keys.
Certain attributes are assigned a keyable status by default in Maya. For example, all objects are assigned the following keyable attributes:
- Rotate X, Y, and Z
- Scale X, Y, and Z
- Translate X, Y, and Z
- Visibility
Keys in the Channel Box, Graph Editor, and Dope Sheet

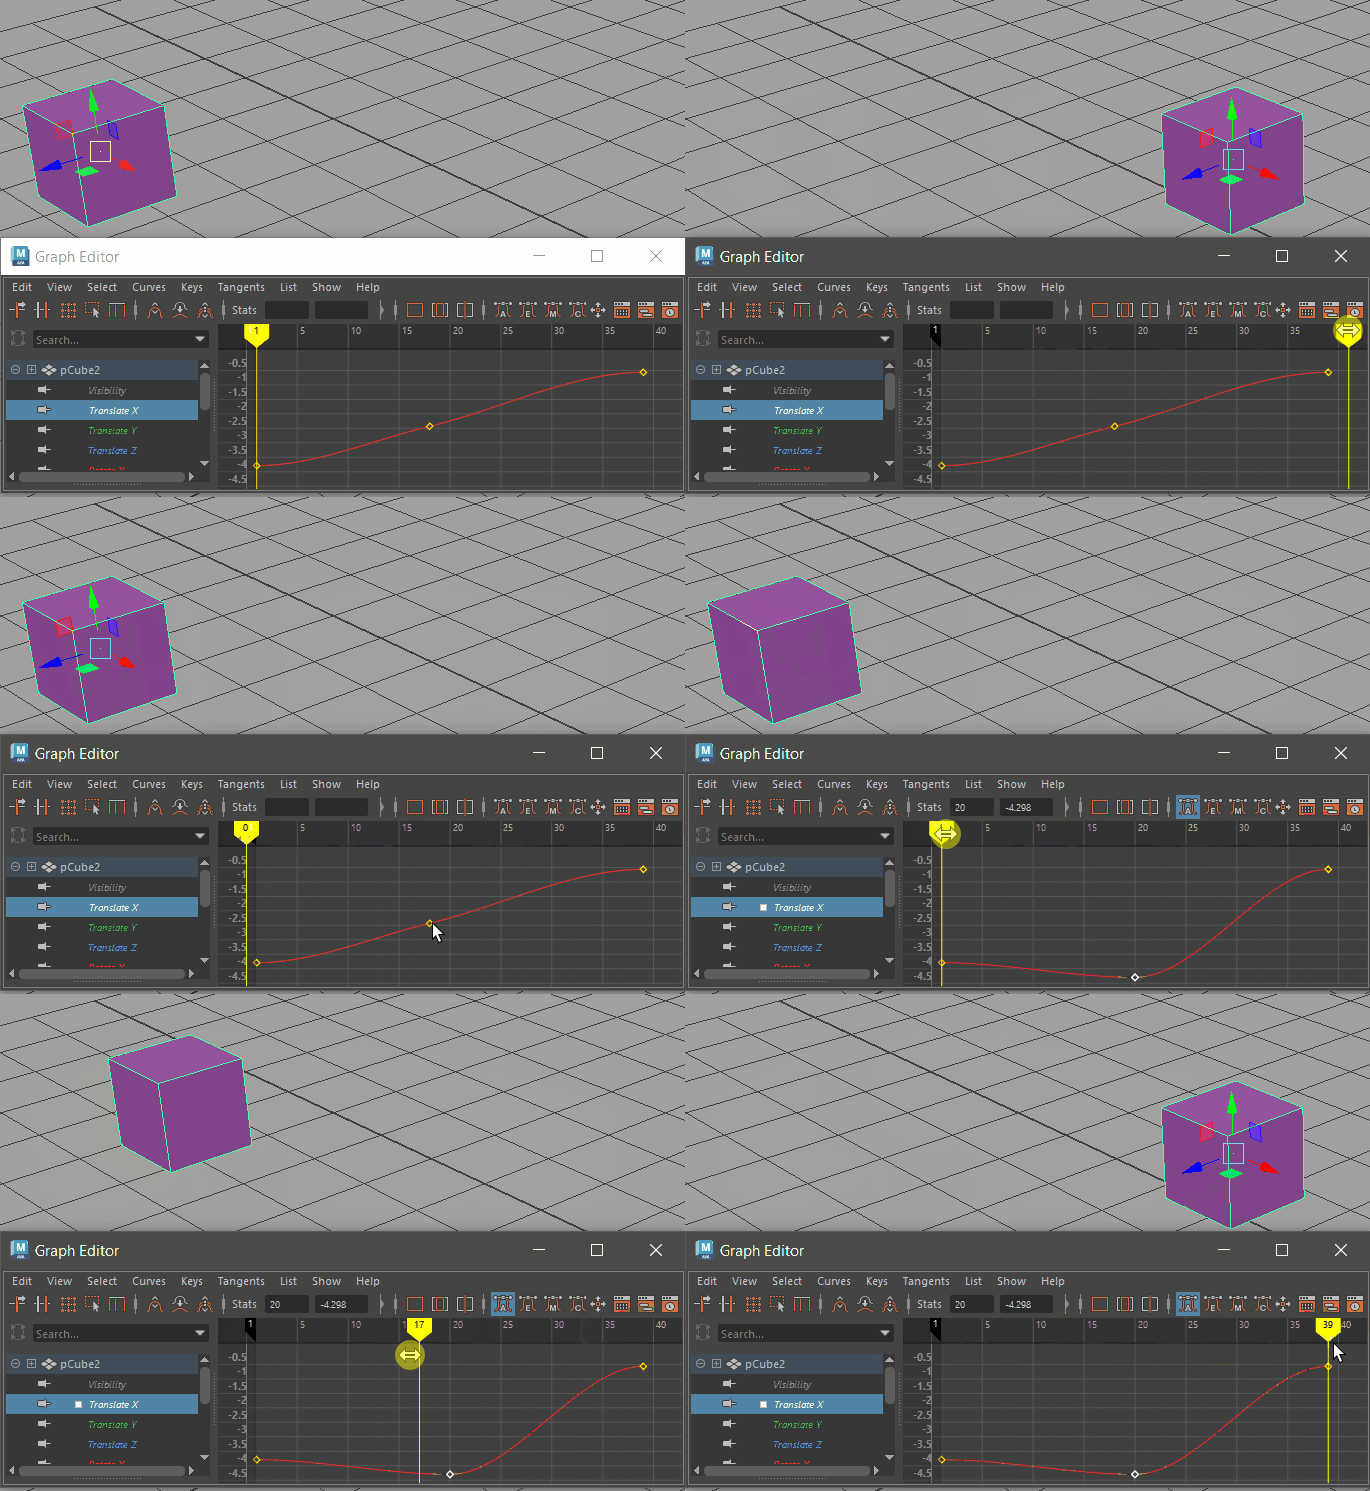
Modifying a key in the Graph Editor
You can use the Channel Box for keying operations on attributes of selected objects.
You can also use the Graph Editor to edit and key animation curves for previously animated objects. See Keyframe animation and the Graph Editor. You can also use the Dope Sheet to set timing and keys for objects.