When multiple surfaces are live, you can snap to any of the objects in your selection.
To set multiple live surfaces
- Select the objects in your scene.
Note: The live surface can be a polygon mesh, NURBS surface, GPU cache node, construction plane, or smooth mesh preview mesh. Make Live also supports hidden surfaces.
- Do one of the following:
- Click the Make Live icon in the Status Line.
- Select Modify > Make Live.
The selected objects become live surfaces.
The name of the first selected object is displayed in the field next to the Make Live icon in the following format: <FirstSelectedObject...>. Hovering over the field displays a list of all of the live surfaces. A list of live objects is also displayed in the Help Line.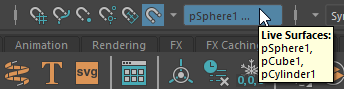 Tip: You can open the Make Live History menu (
 ) to display a list of previously live surfaces. Hovering over any of the items in this list also displays a full list of live surfaces in the Help Line.
A live surface's wireframe color is dark green, but it only displays when Wireframe or Wireframe on Shaded mode is enabled.
) to display a list of previously live surfaces. Hovering over any of the items in this list also displays a full list of live surfaces in the Help Line.
A live surface's wireframe color is dark green, but it only displays when Wireframe or Wireframe on Shaded mode is enabled.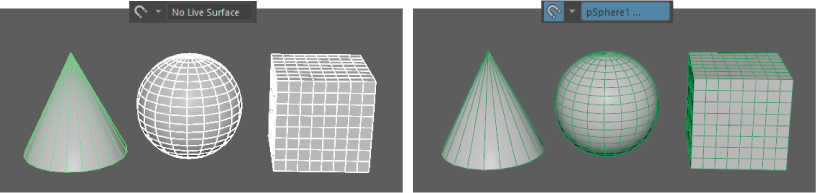 The same color is applied to the names of the live surfaces in the Outliner, making it easier to find live surfaces in a long list of objects.
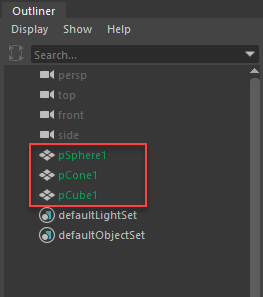 Tip: Select Windows > Settings/Preferences > Color Settings > Inactive > Modeling > Live to change the color of the live surfaces in the Viewport and the color of live surfaces' names in the Outliner.
 - (Optional) Right-click the Make Live icon or Make Live to add or remove surfaces from the make live list.