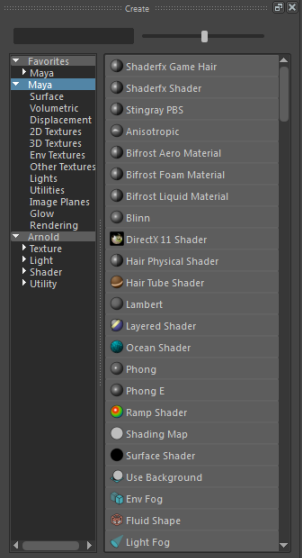
When you first open the Hypershade, the Create panel appears at the bottom left. From this panel, you can choose among nodes that let you create different types of rendering effects.
Click on a node in the Create tab to add it to your scene. See Create and connect nodes in the Hypershade for more information.

Select one or more sections. Only the nodes in the selected sections are displayed in the right panel. To clear your selection, press Enter in the search area.
Use the scroll bar to navigate through the Create tab and click to create the node that you want.

Searching for a render node
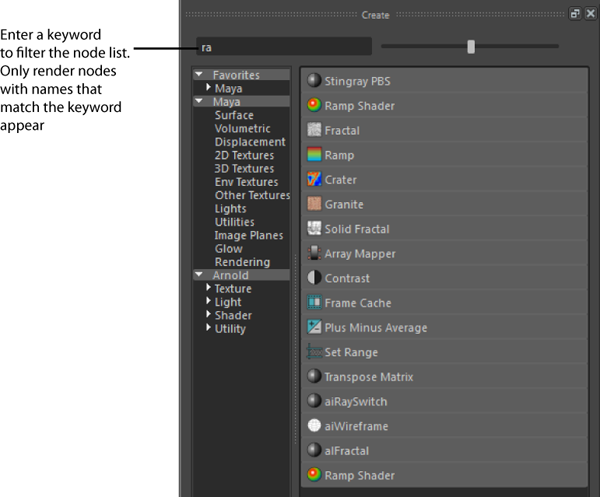
Enter the keyword for the render node that you want to create. As you enter a keyword, the right panel of the Create tab updates in real time and only render nodes with names that match what you entered are displayed.

Favorites
You can create a Favorites list so you can easily access your most commonly used nodes.
To add a shader to your Favorites list, middle-drag the shader to Favorites. Alternatively, you can right-click the shader and select Add to favorites. The Hypershade sorts your favorites in categories to enable you to locate your shaders easily.
For more information regarding favorites, see Creating and using favorites.
Creating render nodes
See Create and connect nodes in the Hypershade for more information on how to create a render node.
For more information regarding the Maya render nodes that you can create using the Create tab, see:
Mapping methods
When you map a 2D or 3D texture to an object, you connect it to an attribute of the object’s material. If you are selecting a 2D texture, you can right-click the texture to select the Mapping method you want to use. Normal mapping is the default, but you can also select Create as projection, or Create as stencil.