When you click the Repair workflow step, and no model repairs are needed, you can continue directly on to the Supports workflow step. If a model does need repair, Print Studio detects the model issues, such as holes and other geometry defects. You can either repair the model automatically or manually.

On the Prep bar, the Repair icon indicates that issues exist
Automatically repair a model
To automatically repair a model quickly without reviewing the issues first, on the Prep bar, click Supports to advance to the next workflow step. Skipping steps in the workflow causes Print Studio to perform those steps automatically.
- If necessary, on the Prep bar, click
Repair.

- Select a red-shaded model in need of repair.
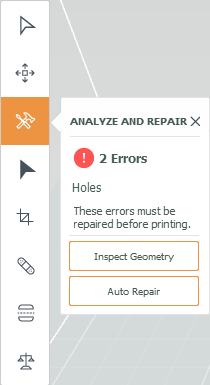
On the vertical toolbar, the Analyze and Repair tool indicates the number and type of issues.
- Optional: Click
Inspect Geometry to show the issue directly on the selected model.
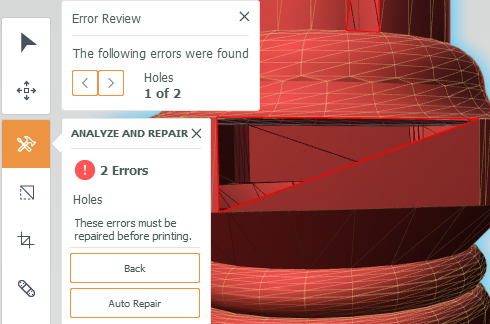
- On the
Analyze and Repair button menu, click
Auto Repair.
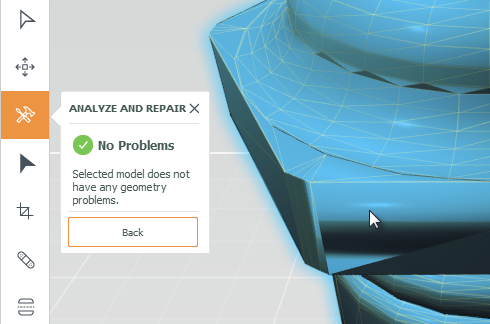
Once repaired, the red-shading is removed to indicate a healed model.
Manually refine model geometry
Sometimes, Print Studio may not be able to repair issues automatically, preventing you from advancing to the next workflow step. Make the repairs manually to continue. The available tools also give you more control to manipulate the existing geometry. The additional repair tools are useful to work with scanned models, such as reality captured data, that have unwanted geometry that needs to be trimmed away.
- If necessary, on the Prep bar, click
Repair, and select a red-shaded model.
On the vertical toolbar, the Analyze and Repair tool indicates the type of issue.
- Optional: Click Inspect Geometry to show issues directly on the selected model.
- Use the manual repair tools to make more advanced repairs or to refine model geometry.
-
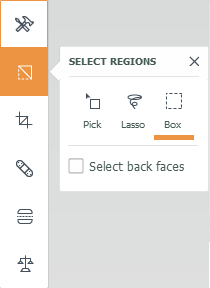
Select Regions enables you to select specific geometry. Use
Pick to select individual faces. Use
Box and
Lasso to select regions that include all faces you want. Once selected you can delete, invert, or separate the selection.
Note: For Box and Lasso, you can also select back faces at the same time. Back faces are the faces in the model directly behind the faces you can see when you make the selection.
Once you have made a selection, click the Actions icon
 to show the Actions wheel.
 Tip: You can also use Shift+click to add to a selection or Ctrl+click (Windows)/Cmd+click (Mac) to remove a portion from the selection.
The Actions wheel enables you to Delete, Invert, Flip, and Separate the selection.
-
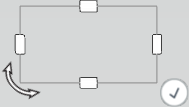
Crop
 enables you to select a specific region, deleting all surrounding geometry. Adjust and rotate the cropping area as needed.
-
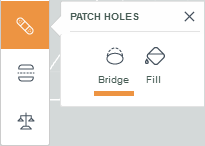
Patch Holes enables you to select to edge faces across a span and create a
Bridge and then use
Fill to patch the hole.
-
Plane Cut enables you to cut along the X, Y, or Z axis creating a flat surface. It can also be used to show a cut-away view of an object. Position the plane circle and click the Accept icon.


-
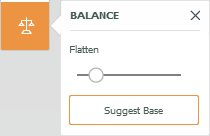
Balance is a plane cut that tells you whether your model can balance on a flat surface once printed.
Suggest Base indicates possible faces that could act as a base, changing the plane based on the selected face. The green circle shown on the model indicates the current center of mass. As you move the plane, the center of mass changes. If the plane has cut the model into two pieces, the center of mass can't be calculated. Position the plane circle and click the Accept icon.

-
Select Regions enables you to select specific geometry. Use
Pick to select individual faces. Use
Box and
Lasso to select regions that include all faces you want. Once selected you can delete, invert, or separate the selection.